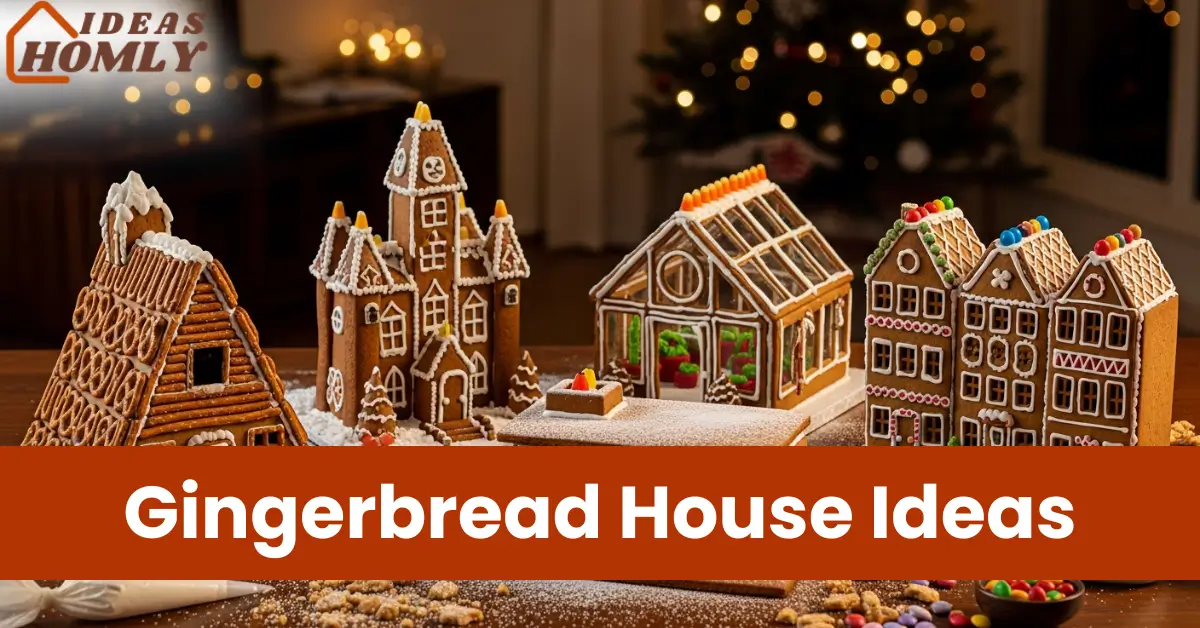
A gingerbread house isn’t just candy and icing; it’s a centerpiece that sparks conversations at any holiday gathering. I’ve seen how the right design can stop guests in their tracks.
The smell of spiced ginger, the crunch of candy, and the artistry of edible walls bring more joy than store-bought décor ever could.
Over the years, I’ve noticed that classic houses sometimes feel repetitive. That’s why I love experimenting with new designs that surprise friends and family.
Below are five gingerbread house ideas that look impressive but remain practical to build. Each one balances creativity with construction so that anyone can pull it off with the right tools and sweets.
1. A-frame Alpine Cabin with Pretzel Logs and Faux-Bois Roof
The alpine cabin is one of my favorite designs because it looks rustic yet cozy. Its A-frame structure makes the walls easy to cut and assemble. For the “logs,” I use thick pretzel rods, lining them along the sides to mimic stacked timber. They give the house both stability and texture.

The roof is where the fun begins. I cover it with chocolate wafers, then brush on streaks of icing to create a faux-bois effect. That small detail transforms a plain roof into a realistic wood surface. Powdered sugar on top adds a snowy alpine finish.
For extra charm, I like surrounding the cabin with shredded coconut “snowbanks” and a few gummy bears as skiers. It’s simple, but guests always comment on those playful additions.
The balance between rustic pretzel logs and smooth icing keeps this cabin looking professional without needing a pastry degree.
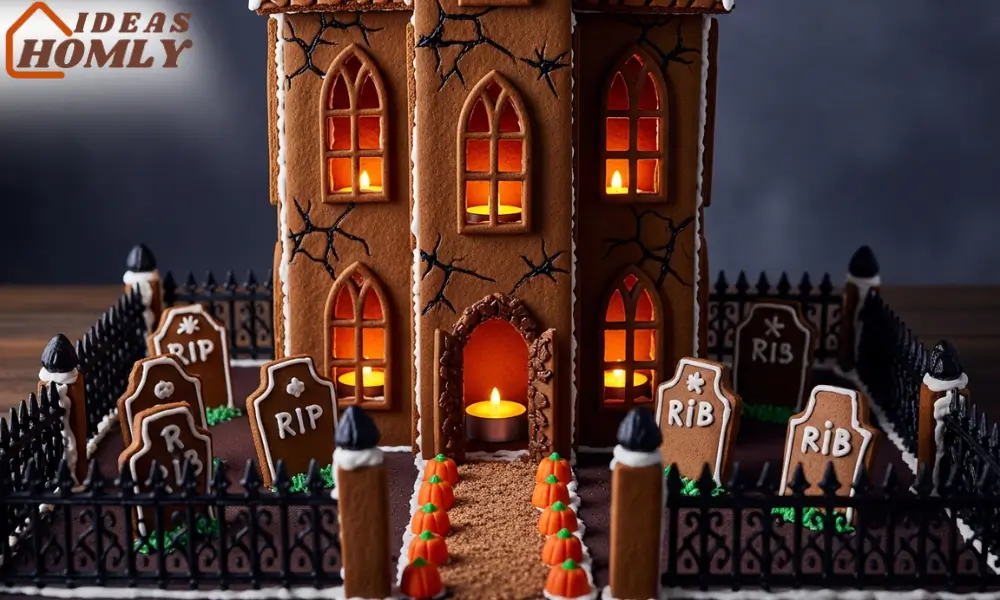
2. Haunted Gingerbread Manor with Tombstones and Candy Fence
If you enjoy mixing spooky vibes with holiday cheer, a haunted gingerbread manor is unforgettable. The base is a tall, rectangular structure, giving the house a looming, gothic feel.
I make the walls darker by adding cocoa powder to the gingerbread dough. This small tweak gives it a rich, eerie tone without changing the recipe much.
For the yard, I cut small slabs of cookie dough into uneven tombstones and stand them upright with icing.
A black licorice “iron” fence around the property seals the haunted look. I’ve even used melted chocolate to smear cracks across the walls, it looks like weathered stone that has stood for centuries.
Lighting changes everything. Slip a battery-operated tealight inside the manor, and the windows glow with a soft flicker. That one detail brings the scene alive, especially if you cut out tall, arched windows before baking.
Add a few candy corn pumpkins near the path, and you’ve got a deliciously eerie display that guests can’t resist photographing.
3. Glass-Greenhouse Gingerbread with Isomalt Panes and Edible Plants
For a lighter and elegant option, I recommend building a gingerbread greenhouse. The trick is to swap traditional window cutouts with isomalt sugar panes.
When melted and poured into the openings, they set clear and glossy, looking exactly like glass. The effect feels modern and adds a touch of refinement that most gingerbread houses lack.
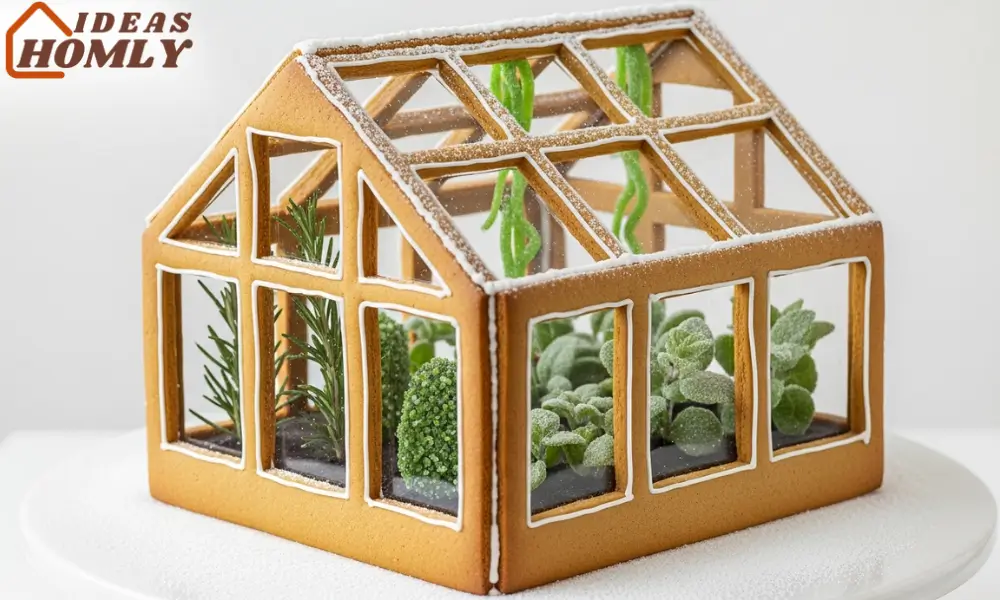
Inside the greenhouse, I fill the space with candy “plants.” Green gummy strips, mint leaves, and tiny sprigs of rosemary dipped in sugar all create a believable indoor garden. Even though they’re edible, they also work as decorative accents you can admire before nibbling.
The structure itself is straightforward, flat walls with large cutouts for the windows. I reinforce the roof with thin gingerbread beams so the “glass” panels don’t sag.
What I love most about this design is how it blends rustic gingerbread with the look of real architecture. Place it on a cake stand, dust some powdered sugar “snow” around it, and it instantly becomes the centerpiece of your holiday table.
4. Mid-Century Modern Ranch with Flat Roof and Ribbon Windows
Not every gingerbread house has to look like a fairy tale cottage. A mid-century modern ranch adds a cool, architectural edge to holiday baking.
I keep the walls low and long, then top the structure with a flat roof. It’s easier to assemble than steep peaks, and it holds candies securely.

For the windows, I cut out narrow slits along the front before baking. Once cooled, I fill them with melted sugar or isomalt to mimic ribbon windows.
The effect is sleek and instantly recognizable as mid-century style. A terrazzo effect on the patio is easy too, just press crushed candy into the icing while it’s wet.
To finish, I decorate the lawn with colored coconut “grass” and a few gumdrop trees. Guests often laugh when they see a gingerbread house that looks more like a retro suburban home than a cabin. It’s a refreshing break from the usual gingerbread themes.
5. Brownstone Row That Forms a Gingerbread Village
For those who love detail, a brownstone row creates a whole streetscape instead of one house. I bake several narrow rectangular buildings and line them side by side.
Each one gets its own unique door, roofline, and candy trim. Together, they form a row of townhouses that feels alive.
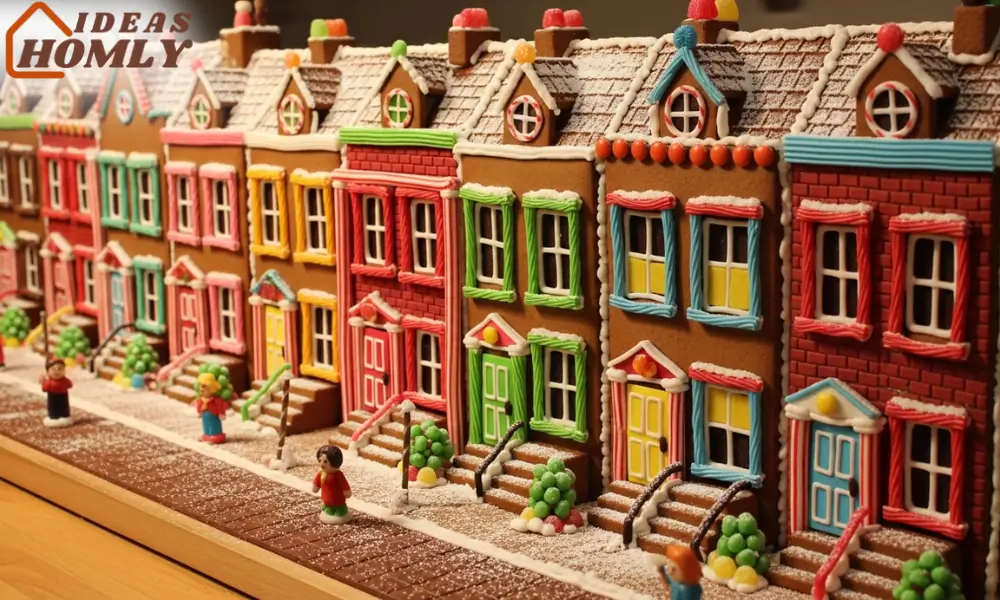
Brickwork is easy to fake with a piping tip and red icing. Add licorice ropes for stair railings and dust the roofs with powdered sugar for a wintry touch.
By making each townhouse slightly different, you get variety without extra effort. The best part is that this design doubles as both a centerpiece and individual houses that can be shared after the party.
I like to place the row on a long board and add a “street” down the middle using chocolate slabs. It feels like an edible holiday village scene.
It always impresses guests, and the modular build means you can bake the houses in stages without rushing.
Conclusion
Gingerbread houses are more than holiday décor; they’re edible art that sparks conversations.
Whether you choose a rustic alpine cabin, a spooky haunted manor, a sleek greenhouse, a retro ranch, or a detailed brownstone row, each idea offers a unique way to surprise your guests.
The key takeaway is that impressive gingerbread designs don’t need advanced skills.
With a few clever candy choices and construction tricks, anyone can craft a showstopping centerpiece. And honestly, watching your creation slowly disappear bite by bite is part of the fun.
FAQs
I usually bake and build the structure a week before the gathering. The dough stays sturdy for days if kept in a cool, dry place. Decoration can be added closer to the event so the candies look fresh.
Royal icing works best for “glue.” It hardens quickly and holds heavy candies in place. I keep some in a piping bag while assembling so I can patch cracks instantly.
Technically, yes, everything is edible. However, after sitting out for days, some parts become stale. I usually nibble the candies and roof pieces, while the walls make a great snack for dunking in coffee.
Cut the pieces evenly and let them cool completely before assembling. I also reinforce the inside seams with extra icing. For heavier roofs, support them with pretzel sticks or thin cardboard templates while the icing dries.