Are your kids getting bored with their usual backyard toys? Do you wish they spent more time playing creatively outdoors instead of staring at screens?
You’re not alone. Many parents (including me) face this challenge. The good news is that there’s a muddy solution that kids absolutely love, and it won’t break the bank.
Imagine turning a corner of your backyard into an outdoor play kitchen for your little ones. There, they can mix mud pies and leaf soups for hours. Sounds messy, right? It is but in the best possible way!
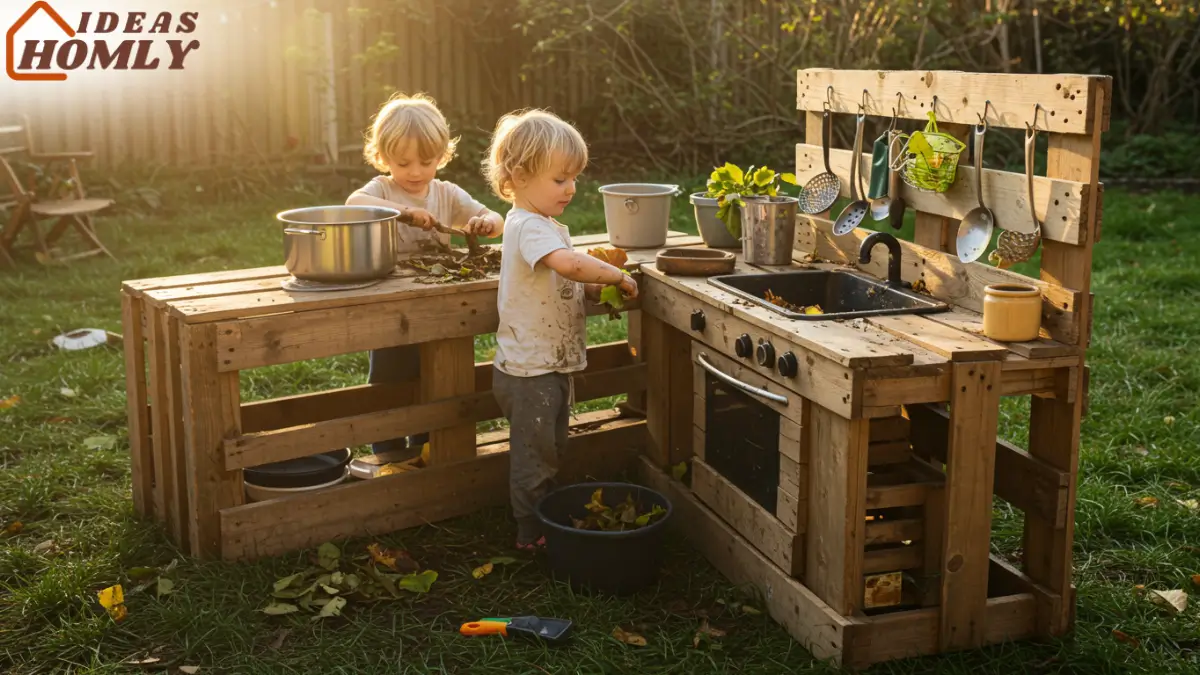
A mud kitchen is basically an outdoor pretend kitchen for kids, complete with a counter, sink, and “stove.” It’s a dedicated space where they can concoct messy creations from dirt and water.
It’s a fun DIY project that costs little (often using scrap materials) and provides endless entertainment.
In this guide, I’ll discuss how to build a mud kitchen in just 3 easy steps. We’ll plan it out, build it, and add some creative finishing touches. By the end, you’ll have a fantastic backyard mud kitchen ready for play.
You might find this helpful: Mud Kitchen Sink Ideas for Backyard Play
Why Build a Mud Kitchen?
So, why go through the trouble of building a mud kitchen? Simply put, it’s one of the best ways to encourage outdoor play and learning. Here are some key benefits of a mud kitchen for kids:
- More time outside: Children spend more time outdoors away from screens when they have an engaging play space like this. Fresh air and open-ended play beat couch time!
- Imaginative pretend play: A mud kitchen inspires unstructured pretend play, which is fantastic for creativity and problem-solving. Kids can become chefs, whipping up mud pies, or scientists mixing magic potions.
- Sensory development: Mixing mud, water, sand, and leaves is a full sensory experience. Playing with natural materials builds sensory skills and even strengthens immune systems through exposure to harmless soil bacteria.
- Basic skills through play: Measuring, pouring, stirring – it’s like a stealth science and math lesson. Kids learn basic cooking concepts (without wasting real food) and practice coordination.
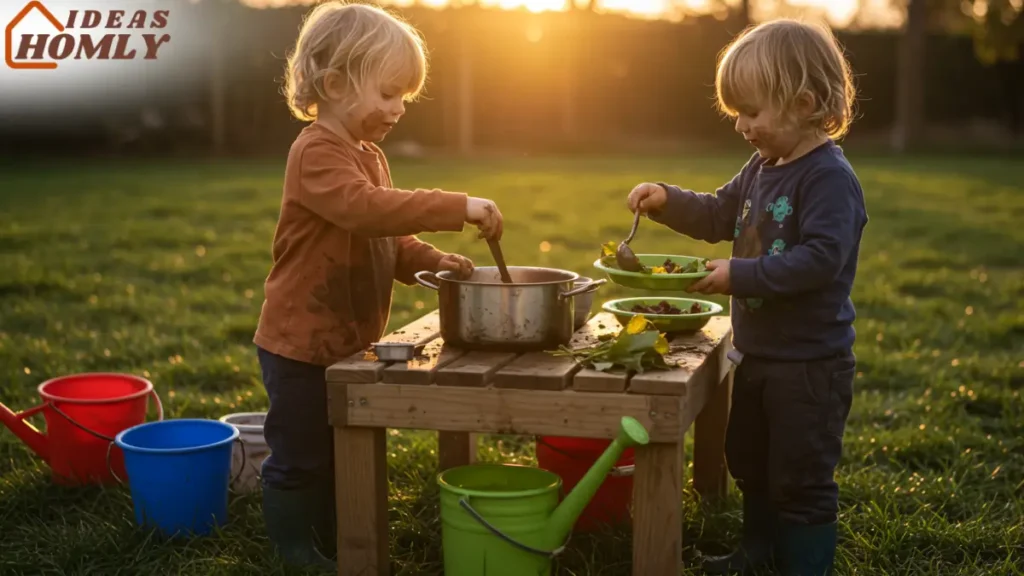
- Social and independent play: A mud kitchen can be enjoyed solo or with friends. Kids practice sharing, teamwork, and independent decision-making as they play, cook, and serve their muddy creations.
In short, a mud kitchen is an outdoor play station that delivers messy fun and developmental benefits.
It’s a hands-on way for children to explore nature, use their imagination, and just be kids. Moreover, you get the mess out of your actual kitchen, a win-win for everyone!
Step 1: Plan and Prepare Your Mud Kitchen
Every successful DIY project starts with a bit of planning. In this step, you’ll decide where to put your mud kitchen.
You’ll also figure out the design and gather all the materials. A little preparation now will make the building process smooth and enjoyable.
Choose the Right Spot (Location & Size)
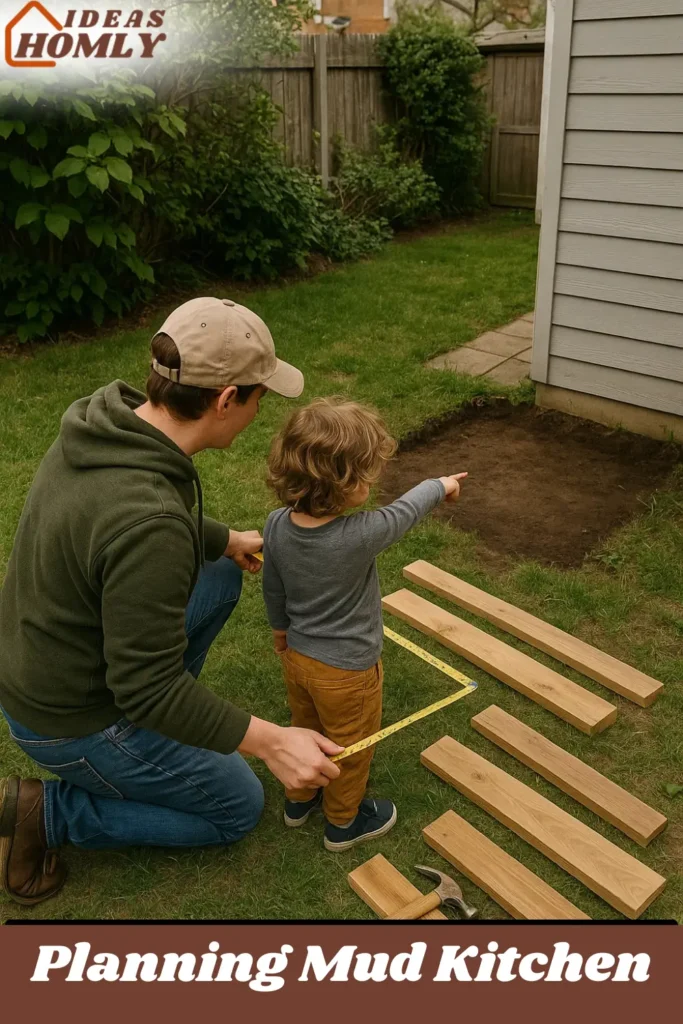
Pick an area in your yard that can handle some mess. Remember, mud kitchens can get muddy! Ideally, pick a flat spot for the kitchen so it doesn’t wobble.
A patch of grass, bare dirt, or even a corner of the patio can work. Make sure it’s somewhere you won’t mind a bit of mess.
Alternatively, pick a spot that’s out of view if you’d rather not always see the chaos. If your children are young, place the kitchen where you can easily supervise them. Also consider height: the counter should be roughly at your child’s waist level for comfortable play.
For toddlers, a counter height around 18-20 inches might work. For older kids, 24-26 inches is more comfortable. (You can adjust by shortening or lengthening the legs as needed.)
Decide on a Design (Simple vs. Complex)
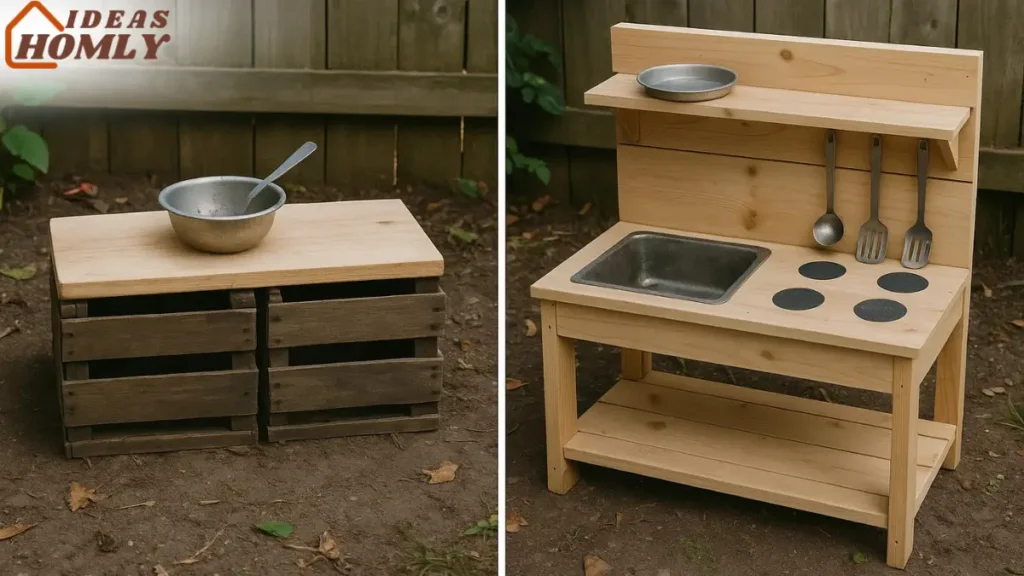
Mud kitchens come in all shapes and sizes. You can keep it super simple or go all out. On the simple end, you could set a board on a couple of old crates to make a mud counter.
On the other extreme, you might build a deluxe play kitchen with a built-in sink, oven knobs, and storage shelves.
For this guide, we’re aiming for something in between. Our build will be a sturdy freestanding mud kitchen with a counter and a sink (no plumbing required).
Feel free to tweak the design to suit your materials and imagination. You could even repurpose an old piece of furniture for this project.
Alternatively, use a wooden pallet as the frame to make a pallet mud kitchen. Sketch a simple plan on paper if that helps visualize your mud kitchen.
Materials and Tools Checklist
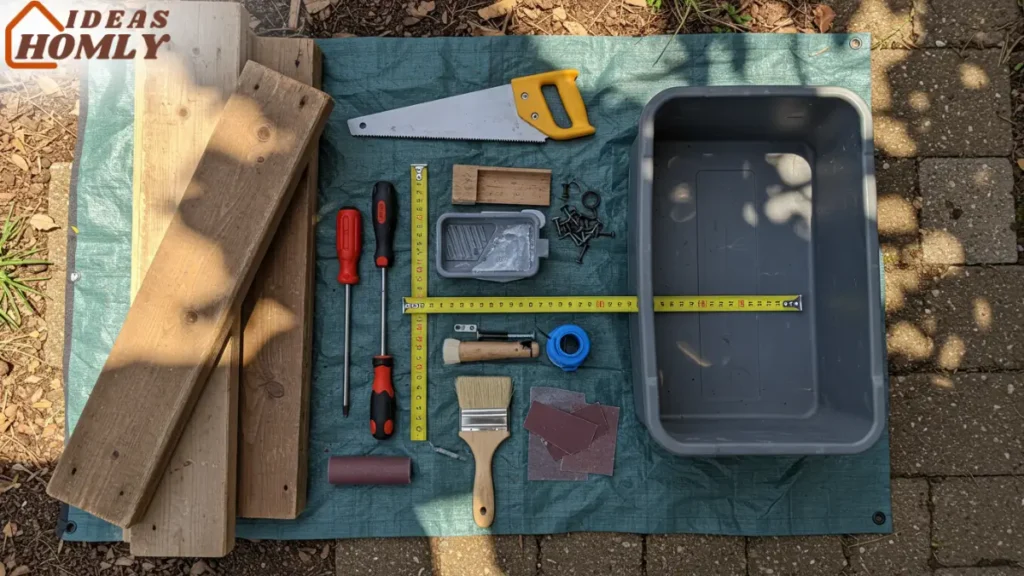
Gather all your materials and tools before you start building. Here’s what you’ll typically need:
- Wood boards or pallets: These will form the structure. For example, use 2×4 lumber for the frame and legs, and use wider boards or pallet planks for the countertop and shelves. Cedar or another naturally rot-resistant wood is ideal for durability.
- Plastic tub or basin: This will be your “sink” where kids can mix mud. An old wash basin or storage bin works great.
- Screws and fasteners: Exterior-grade wood screws (deck screws) are ideal. You’ll use longer screws (~2.5 inch) for structural joints and shorter screws (~1.25 inch) for attaching thinner boards.
- Saw (hand saw or power saw) to cut wood to length.
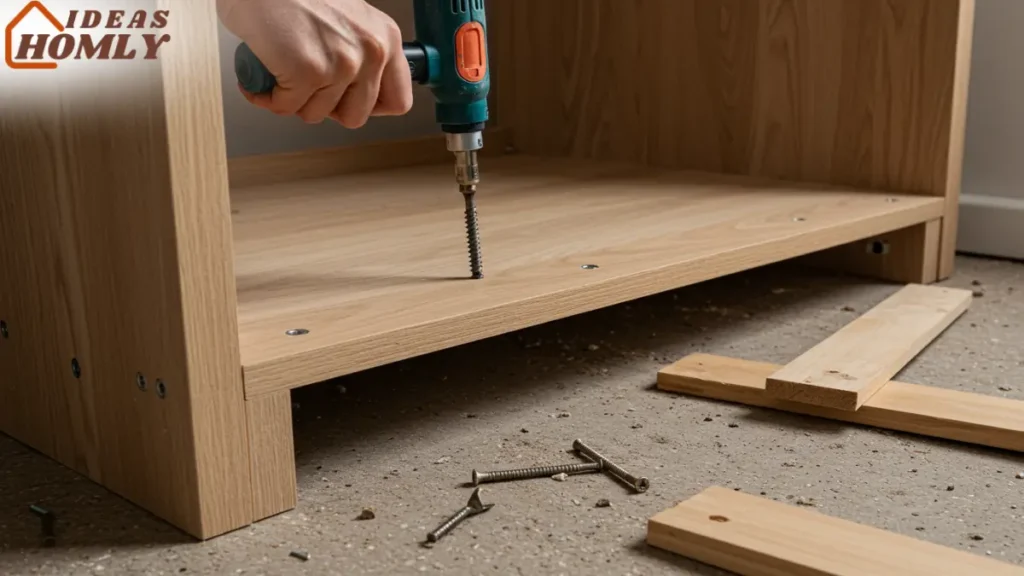
- Drill (with bits) to drill pilot holes and drive screws.
- Sandpaper (or a power sander) to smooth rough edges.
- A measuring tape and pencil for marking cuts and aligning pieces.
- Optional: Add extras like outdoor wood paint or sealant for weatherproofing. You can also include hooks for hanging utensils, old knobs or handles as stove controls, a play faucet fixture, or any other fun touches you want.
You’ll also love this article: Why Mud Kitchens Are Great for Kids?
Step 2: Build the Mud Kitchen Structure
Now for the fun part building the kitchen itself! Don’t worry if you’re new to woodworking; we’ll keep it straightforward. Our mud kitchen design will have a basic table-like structure with a countertop and an opening for the sink.
Build the Frame and Legs
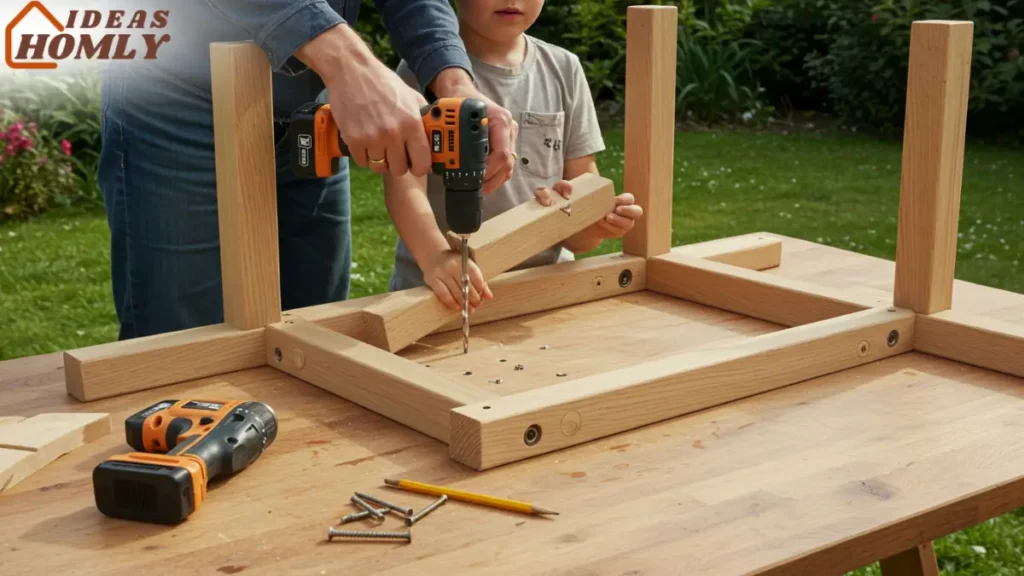
Start by building the frame for your countertop. Cut your wood to size for a rectangular frame (imagine a tabletop frame).
For example, cut two boards about 4 feet long for the front and back pieces. Then cut another two boards around 1.5-2 feet long for the side pieces. Screw these together into a rectangle.
This will be the top frame that supports the counter surface and surrounds the sink. Next, attach the legs. You’ll need four legs, two for the front and two for the back.
The back legs are often made taller to create a backsplash or to support a shelf above the counter. (In our example, we made the front legs ~24″ high and the back legs ~36-48″ high.)
Attach the legs firmly to the corners of your frame using long screws through the frame into each leg. It’s a good idea to have a helper hold things steady while you attach the legs. Also, use a level to ensure the frame sits flat when the legs are on.
Pro Tip: If you’re using pallet wood or reclaimed boards, first ensure there are no stray nails. Also, sand down any rough areas of the wood where hands will touch it.
Add the Countertop (with Sink Opening)
With the frame and legs up, it’s time to create the countertop surface. Lay your planks or boards across the top frame.
Commonly, people use deck boards or fence boards side by side to cover the surface. Measure and cut these boards to fit the width of your frame, and screw them onto the frame supports.
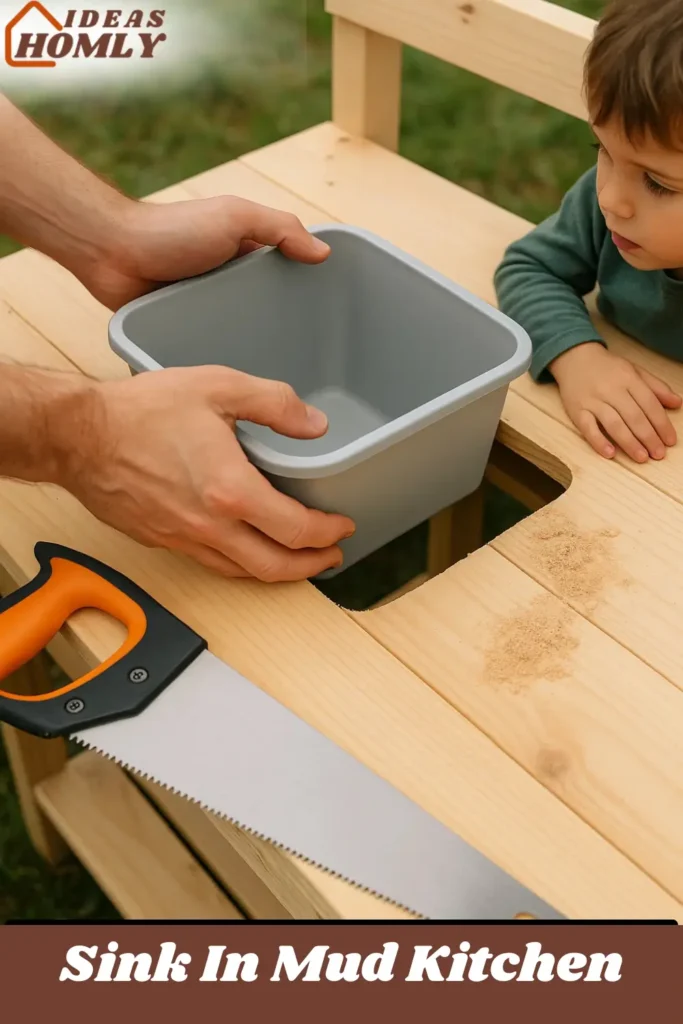
Leave a gap in the counter where the sink will go. Typically, this means leaving an opening sized to fit your plastic tub or basin.
An easy way: trace the tub’s rim on the boards and cut along that line. Make the hole slightly smaller than the rim, so the tub rests snugly in place.
No jigsaw? You can simply not cover one section of the frame and instead support the tub from underneath with a couple of cross beams. Then drop in the tub. Voila, you have a sink!
If you want, add a small backsplash piece along the back edge of the counter (a vertical board) to prevent dirt from falling behind. It also gives you a place to mount any accessories.
Build a Bottom Shelf (Optional)
Adding a lower shelf is optional, but very useful for storage. If you have enough wood, you can create a shelf near the bottom between the legs.
Screw a support board between the two front legs, a few inches above the ground. Do the same for the back legs. (Around 6 inches up from the ground is a common choice.)
Then lay a few boards or slats across those supports to form a shelf. This bottom shelf is perfect for placing buckets, extra pots, or ingredients like sand and extra dirt. It also helps brace the structure, making your mud kitchen even sturdier.
Now your basic structure is complete, you should have a sturdy wooden frame with a countertop and a built-in sink space.
Take a moment to admire it (and maybe give it a test wobble to ensure everything is tight). In the next step, we’ll add finishing touches to make it truly special.
Here’s something interesting: Mud Kitchen Play Ideas for Kids
Step 3: Add Finishing Touches and Fun Features
Now that the main structure is built, it’s time for the details that will make your mud kitchen truly exciting. This step is all about smoothing rough edges, decorating, and adding accessories that turn a plain structure into an inviting mud kitchen for kids.
Smooth the Wood & Weatherproof it
First, give all the surfaces a good sanding. Use coarse sandpaper (like 80-120 grit) to round off any sharp corners and smooth out rough areas.
This prevents splinters and makes the kitchen safer for little hands. Pay special attention to the edges of the countertop and any cut-outs (like the sink hole).
If you plan to leave the mud kitchen outdoors year-round, consider protecting it from the elements. Applying an outdoor stain or paint will help seal the wood. For extra protection, add a coat of clear sealant or polyurethane on top of the paint/stain.
Focus on areas that will get wet or muddy often (around the sink and countertop). Using a waterproof finish means your mud kitchen will last longer and be easier to hose clean.
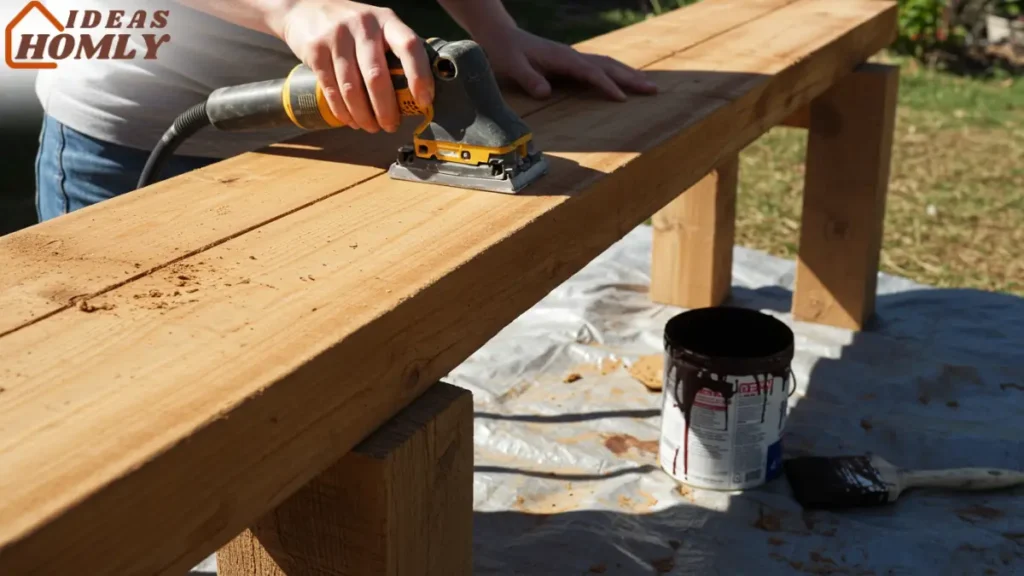
Remember, even treated wood or a good sealant might need a fresh coat every couple of years to stay weather-resistant. It’s a good idea to re-seal the wood every so often.
Let any paint or stain dry completely before moving on to the fun stuff.
Add Creative Kitchen Features
Here’s where you can really personalize your mud kitchen. A few ideas:
- Stovetop burners: Draw or paint some “burners” on the countertop to resemble a stove. For instance, trace circles and fill them in with black paint to look like hot plates. You could also cut out circular pieces of black plastic or use old stove grates if you have them.
- Knobs and dials: If you want functional knobs that turn, you can craft them from wood. One DIY method: cut short pieces of wooden dowel and attach them with a screw, allowing them to spin. Alternatively, repurpose old knobs from broken appliances or furniture and screw them on as oven controls.
- Hooks and hangers: Install a few hooks on the backsplash or sides for hanging utensils and pans. Simple cup hooks or sturdy screw-in hooks work perfectly for this. Kids love having a place to hang their ladles, spoons, and mini pots.
- Shelves or storage: If you have extra wood, add a little shelf above the counter or use crates under the counter for storage. Open shelves can hold toy dishes or ingredients (like a jar of pebbles or sand).
- Pretend faucet: Attach a play faucet on or near the sink to make it look like a real kitchen. This could be a cheap, salvaged faucet or even a DIY faucet made from PVC pipes. (It’s okay if it doesn’t actually work – it’s just for pretend play.)
- Chalkboard menu: Consider painting a section of the backsplash with chalkboard paint or mounting a small chalkboard. The kids can scribble “today’s specials” or recipes on it, adding to the role-play fun.
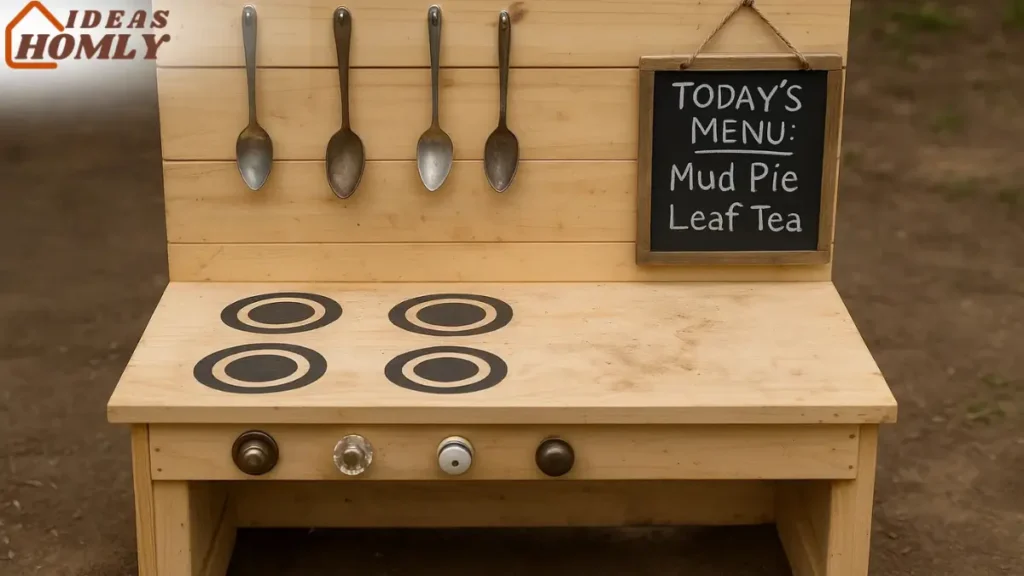
Feel free to get creative and use whatever odds and ends you have. The beauty of a mud kitchen is that it doesn’t need to be perfect. It’s meant to be well-loved and used by imaginative kiddos!
Stock and Introduce the Mud Kitchen
Finally, it’s time to stock the kitchen and invite the kids to play! Gather some inexpensive or old kitchen utensils for them to use. Items like spoons, spatulas, pots and pans, muffin tins, measuring cups, and mixing bowls are all great choices.
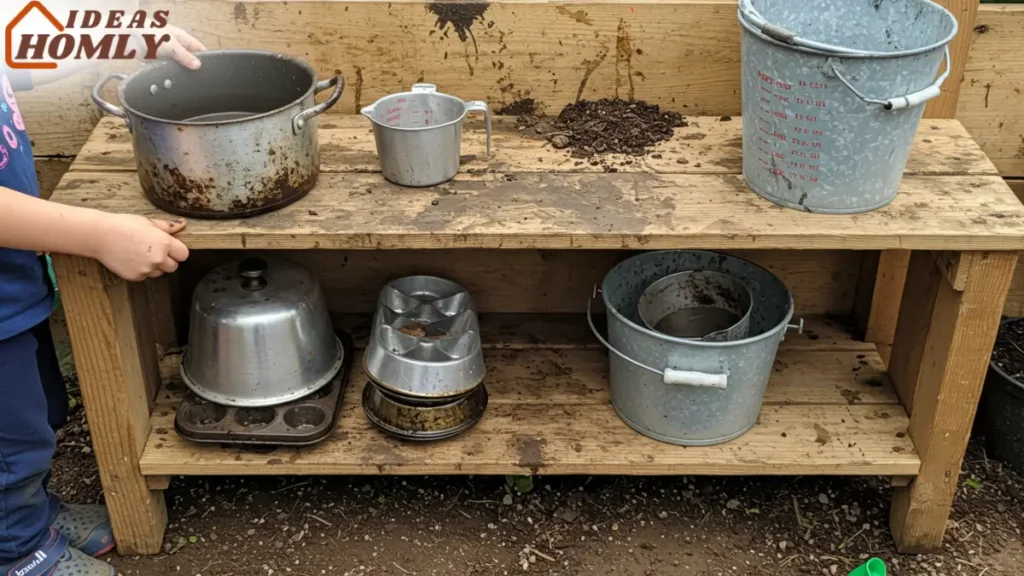
Thrift stores and garage sales are gold mines for these items, so you don’t have to use your good cookware. Prepare some basic “ingredients” for mud cooking.
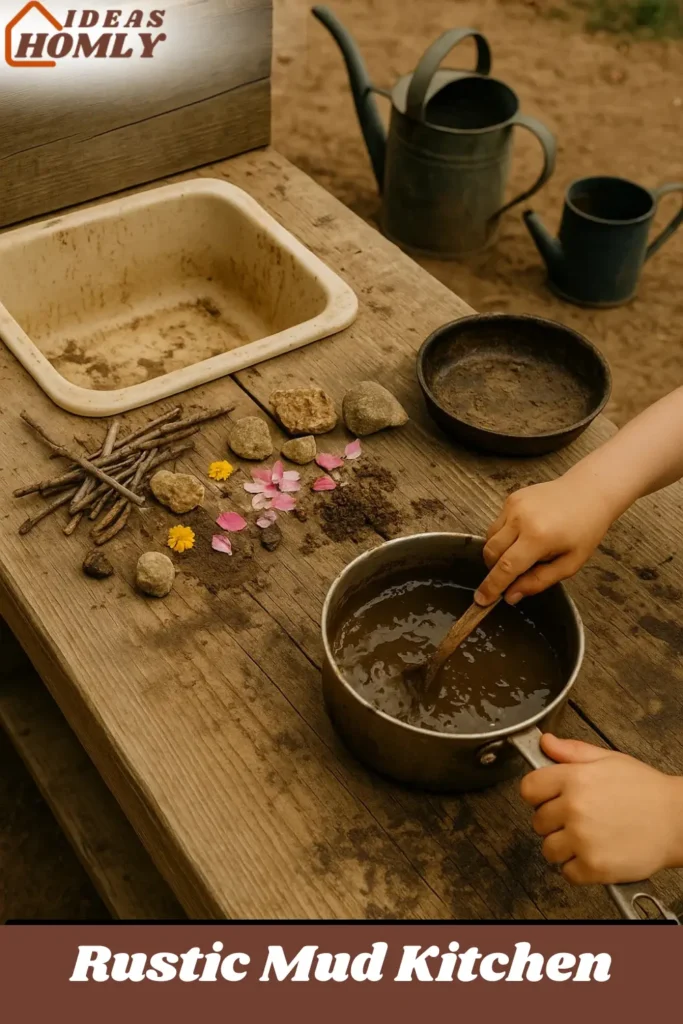
For example, fill one bucket with soil or sand (for mud) and another with water. You can also set out natural materials like leaves, flowers, or pebbles for them to mix in.
When you first unveil the mud kitchen, set some basic ground rules (like “mud stays in the kitchen area”). Then let the children come in.
They will intuitively start mixing, pouring, and creating their mud recipes. Keep a hose or a bucket of clean water handy for easy cleanup of kids and utensils afterwards.
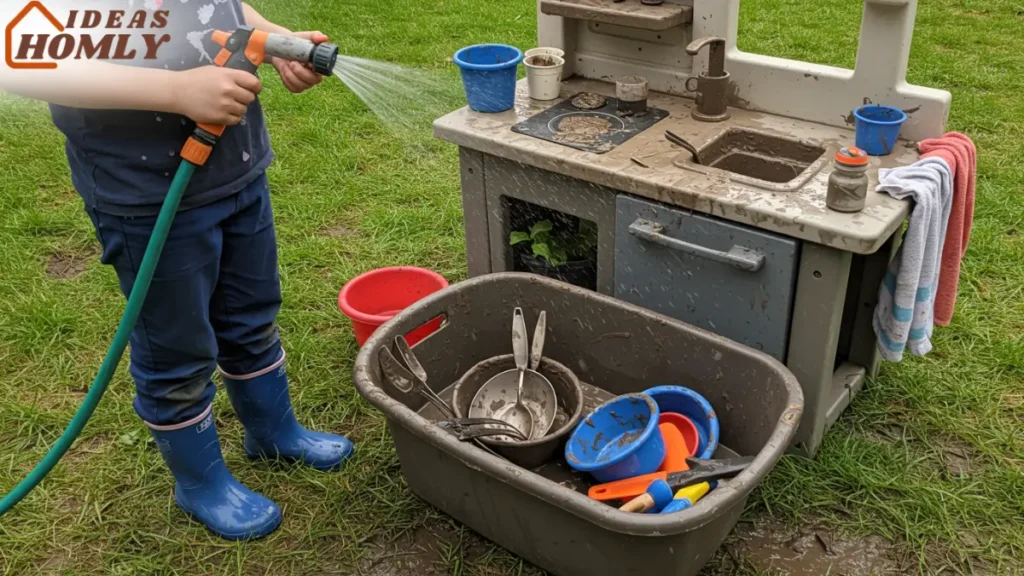
Cleanup Tip: Have a large bin or old plastic tub for quick clean-up. When playtime is over, just toss all the muddy tools and bowls into the bin and rinse them with a hose.
You can also hose down the kitchen itself to wash off excess mud. Everything is designed to get dirty, so cleanup is stress-free.
With the finishing touches complete and the kitchen fully stocked, your DIY mud kitchen is ready for action. Stand back and watch as your children immerse themselves in this delightful outdoor play station you built with love!
Conclusion
Building a mud kitchen is a relatively simple DIY project that delivers huge rewards. In just a few steps, you’ve created a dedicated play space that will keep your kids happy and engaged outside.
You haven’t just repurposed some basic materials into something fun – you’ve also given your children an outlet for creativity and sensory play right in your backyard.
By following this guide, you now have the know-how to build a mud kitchen that’s sturdy, safe, and packed with play value. Remember, there’s no right or wrong way to set it up. Every mud kitchen will reflect the builder’s personal touch and the kids’ imaginations.
So, what are you waiting for? Grab some wood and start building your mud kitchen messy, magical adventures await! Your little chefs will be delighted (and you’ll love seeing them play for hours).
Enjoy the mud, and have fun watching your DIY project become the neighborhood’s favorite play spot.
FAQs
To build a basic mud kitchen, you’ll need some kind of wood for the structure (e.g. lumber or pallets), a sturdy container or tub for the sink, and screws or nails to hold it together.
Additionally, bring basic tools like a saw, drill, and sandpaper. Other helpful items include outdoor wood paint or sealant, and fun extras like hooks or knobs. In short: wood, a tub, fasteners, and tools are the main things you’ll gather.
Absolutely, A mud kitchen is a great upcycling project. You can build your own using recycled wood, such as pallets or old boards. Many DIYers use pallet wood for the frame and shelves of a pallet mud kitchen, just be sure to sand it well and remove any old nails first. Using scrap wood keeps costs low and adds rustic charm to the finished kitchen.
To help your mud kitchen withstand the weather, use materials and finishes meant for outdoors. Start by choosing a durable wood (cedar is naturally rot-resistant). When building, apply an exterior wood stain or paint, and then add a clear sealant for extra protection.
Pay extra attention to sealing the countertop and any spots that will get wet or muddy. Even with these steps, expect to reapply a protective finish every couple of years to keep the wood sealed. And if possible, place the kitchen on pavers or a patio, or cover it with a tarp during long wet winters to extend its life.
Pick a spot that is flat and okay to get messy. It helps if the kitchen is in a spot where you can easily supervise the kids. However, you might prefer a corner where the mess isn’t always in view. Avoid places where runoff from mud and water will be a problem (for example, right against the house might not be ideal).
Many people set up mud kitchens near a fence or wall. A fence offers flat ground, and you can even use it to mount a backdrop or hooks. The key is a level location with a bit of open space for the kids to move around.
Mud kitchens can be enjoyed by a wide range of ages. Toddlers (even as young as 1–2 years old) can start exploring a mud kitchen with close supervision. Preschoolers and early elementary kids (3-7 years) are the prime age, they love it.
Even older children up to 8–10 years old often still find it fun to whip up muddy creations. If very young toddlers are playing, use lightweight pots and plastic utensils so they won’t hurt themselves if dropped. Also, be mindful of any rough edges or corners. Always supervise little ones during muddy play.
The whole point of a mud kitchen is for kids to get messy, so expect dirt! But keeping it manageable is easier than it sounds. Set up a simple cleaning routine: have a big bin or bucket for all the dirty tools and dishes. When playtime is over, toss everything in and spray it down with a garden hose.
You can also hose off the kitchen itself, if it’s well-built and sealed, it can handle water. Encourage the kids to help rinse things off; it’s all part of the fun. And don’t worry if it never looks pristine, a bit of dried mud gives the kitchen character.
No, you don’t need plumbing or a running water hookup. In fact, many folks purposely avoid a real faucet to conserve water and prevent constant flooding of the play area. Instead, just provide a container of clean water or fill the play sink with water when the kids are ready to cook.
You can refill it with a hose or watering can as needed. This way, kids get the experience of water play without unlimited access (which keeps the mess under control). Just remember to empty out any standing water when they’re done, so it doesn’t attract mosquitoes.

