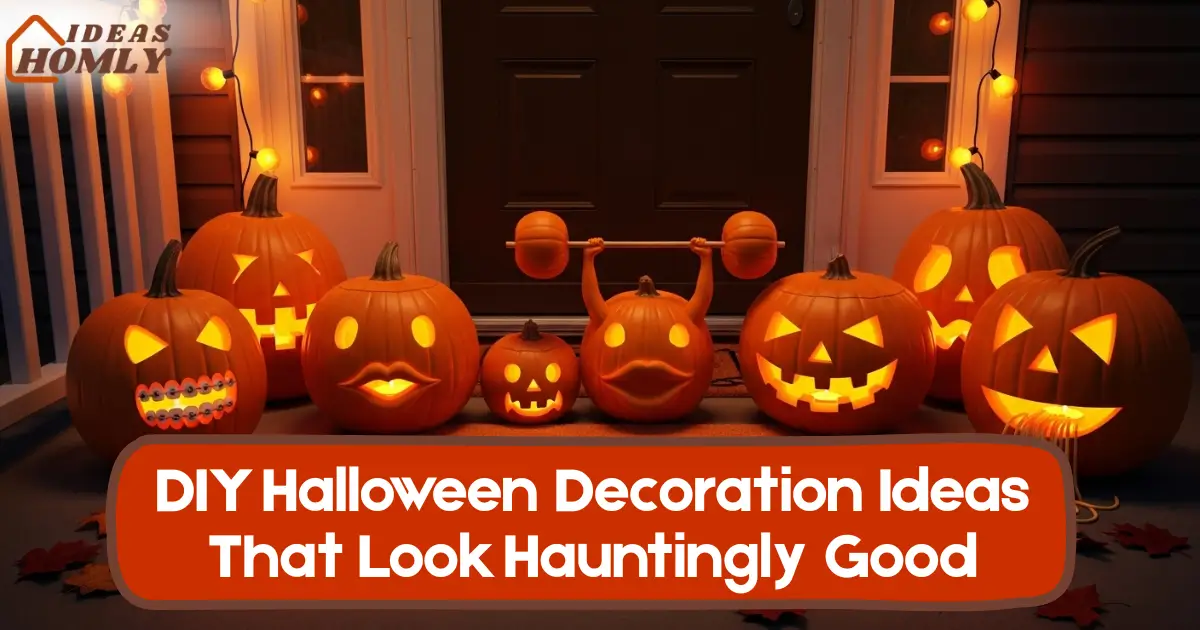
When people talk about DIY Halloween decorations, most picture messy glue guns or hours of cutting paper bats. The truth?
You don’t need a haunted mansion or an art degree to pull off eye-catching Halloween décor. You just need clever ideas, affordable supplies, and a bit of creative chaos.
I’ve gathered a few projects that strike the perfect balance between spooky and stylish. Each one is realistic enough to pull off at home and looks professional once the lights go down.
From floating candles to a cursed mirror (yes, it’s as creepy as it sounds), here’s how you can turn your place into a scene that neighbors won’t forget.
1. Pool Noodle Bone Arch
The first time I made this, I realized pool noodles are Halloween gold. They bend, they paint easily, and they’re light enough to attach anywhere. The idea is to form an archway that looks like a giant skeleton spine welcoming guests to your door.
Start with a few white or beige pool noodles. Cut them in half and thread them through garden wire or PVC pipe. Bend the structure slightly to give it that natural “bone curve.”
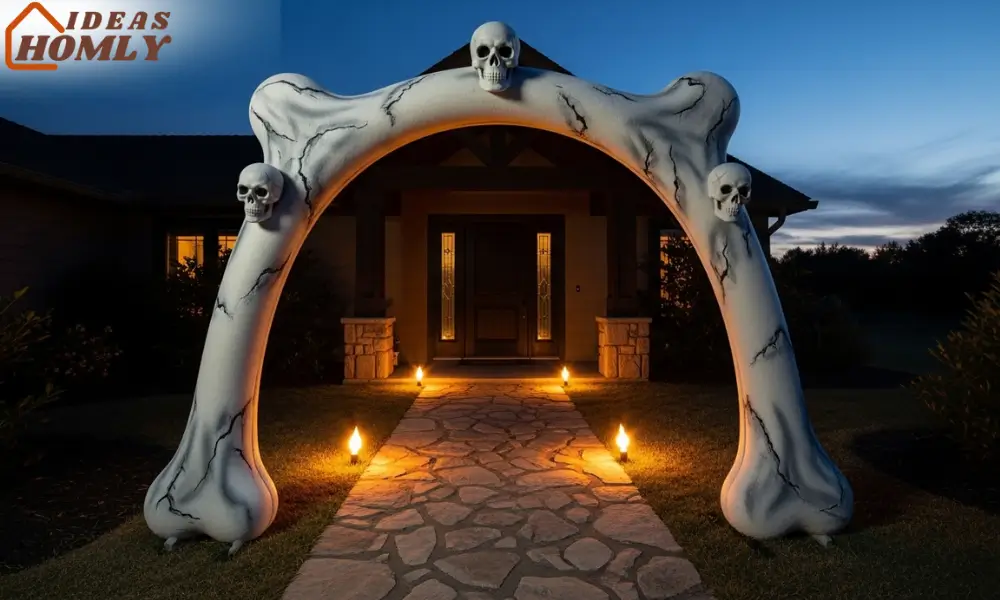
Spray paint the whole thing in off-white or antique ivory and add faint grey streaks for shadows. When I added a flickering LED strip underneath, it instantly looked like something from a fantasy graveyard.
If you want to get fancy, glue small foam skulls at the top corners. I’ve found those plastic skull garlands from craft stores work perfectly for this. This decoration looks amazing at entryways or as a centerpiece for an outdoor Halloween setup.
Quick Tip: Secure the arch with heavy stones or sandbags at the base so the wind doesn’t take your skeleton on a walk.
2. Floating Candle Lake
This one’s for people who love a bit of movie magic. A “floating candle lake” looks best when placed over a dark corner or reflective surface, think a garden pond, a water bowl, or even a mirror tray. The idea came to me while trying to reuse leftover battery candles from last year’s Halloween party.
Take flameless LED candles (I prefer the tea light ones with a flicker effect). Suspend them over your surface using clear fishing line or transparent nylon thread.
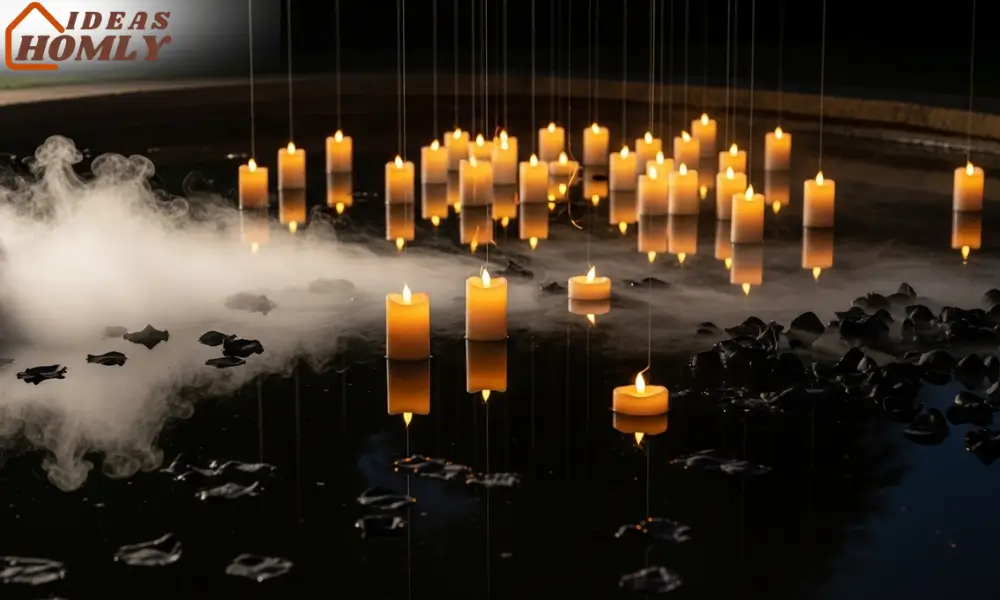
If you’re using an outdoor pond or large bowl, add a few on floating bases so they drift around like little glowing souls. When the lights are dim, it gives an eerie illusion that the candles are floating mid-air.
To make it extra dramatic, surround the area with dry ice fog or a low-lying mist machine. I tried adding black rose petals once, it gave the water a haunted Victorian feel. Whether indoors or outside, this setup easily becomes the star of the night.
Floating Candle Lake Essentials
| Item | Approx. Cost | Buy Now |
|---|---|---|
| LED Tea Light Candles | $8-$15 per set | From Amazon |
| Fishing Line | $3-$5 | Hardware or online |
| Mirror Tray / Bowl | $10 | Thrift stores |
| Dry Ice or Fog Machine | $8-$20 | Party supply stores |
3. Pepper’s Ghost Window
If you’ve ever walked past a window and seen a ghostly figure move, you’ve probably seen a version of the Pepper’s Ghost illusion, a classic stage trick used for decades. It sounds complicated, but it’s surprisingly doable at home with some patience.
I first tried this with a small glass sheet and my old tablet. I placed the tablet flat on a table, facing upward, and leaned the glass at about 45 degrees.
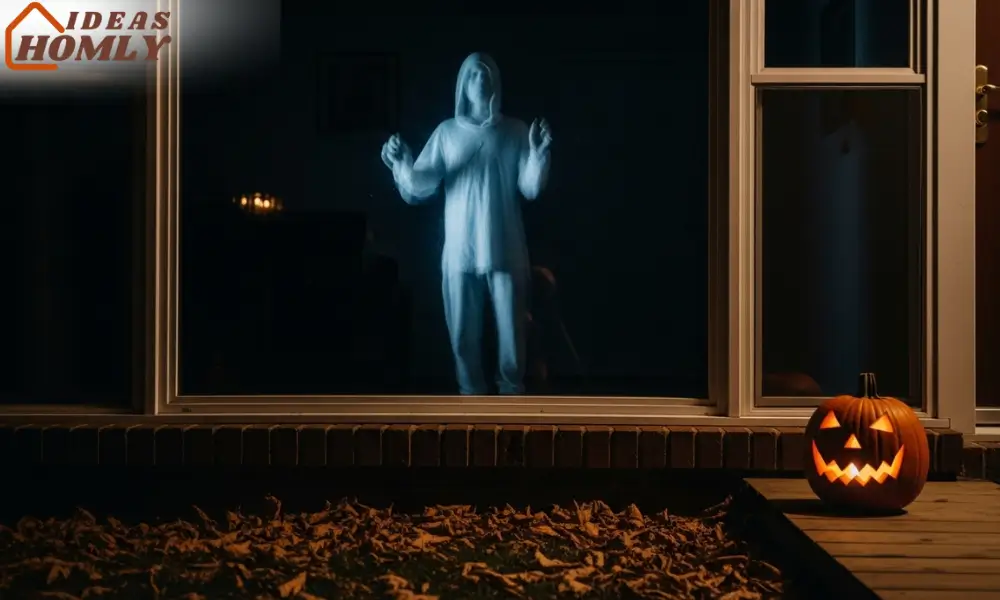
Then I played a loop of a ghostly figure moving slowly in black-and-white. From the right angle, it looked like a transparent spirit floating in the air behind the glass.
For Halloween décor, I set this up near a front window. People passing by couldn’t figure out if it was a projection or something real. If you’re going for subtle scares instead of jumpy screams, this trick nails it.
Pro Tip: Keep the room dim and avoid strong backlighting. The illusion works best in low light where reflections can blend naturally.
4. Cardboard Gothic Windows
Every year, I end up making at least one large backdrop, and Gothic windows have become my go-to. They look expensive but are made entirely out of cardboard and black craft paper.
The trick is to cut pointed arches and layer them with translucent vellum or tissue paper that glows when light hits from behind.
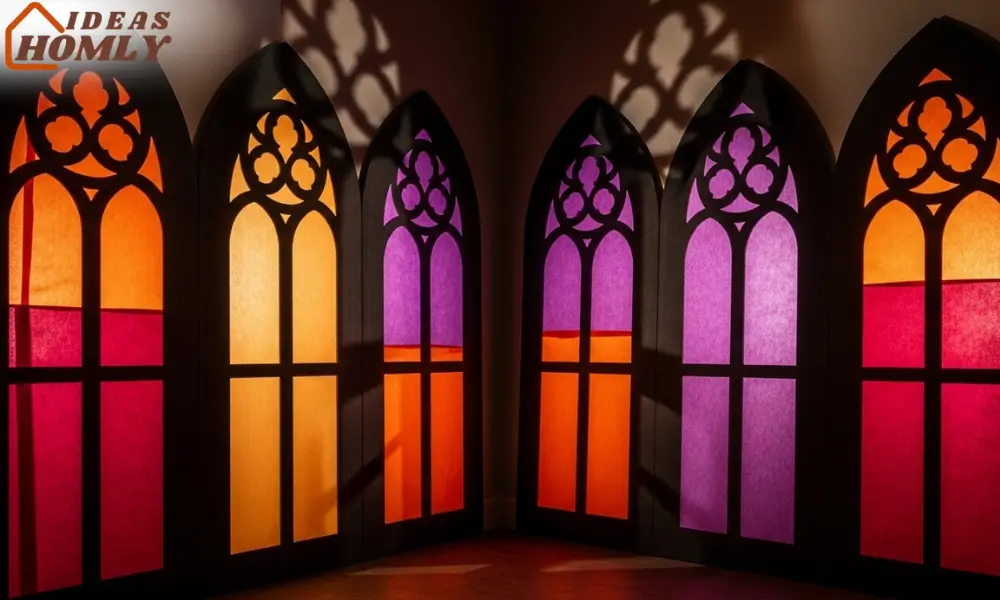
To start, sketch a few window frames on cardboard; arched, narrow, or even broken styles. Cut them out, paint them matte black, and tape translucent colored sheets behind them.
I used orange, purple, and crimson for that stained-glass look. Tape an LED strip behind the frame or use a simple lamp. When the light shines through, it turns your wall into a haunted cathedral scene.
This DIY Halloween décor idea is perfect for renters since it doesn’t damage walls. I even attached mine with removable strips so cleanup was easy the next morning. It’s lightweight, eerie, and surprisingly affordable.
Why I Love This: The faint glow through colored paper gives that subtle gothic vibe without looking too heavy or fake. It’s artsy but spooky in the best way.
5. Mossy Grave Place Cards
If you’re hosting a dinner or outdoor Halloween party, these mossy grave place cards are the easiest way to impress guests before they even sit down. I first used them for a small backyard dinner and couldn’t believe how realistic they looked under candlelight.
Cut small rectangles of thick foam or cardboard about the size of a phone. Paint them with a mix of grey and brown so they resemble aged tombstones. Once dry, write each guest’s name using white chalk marker or silver pen.
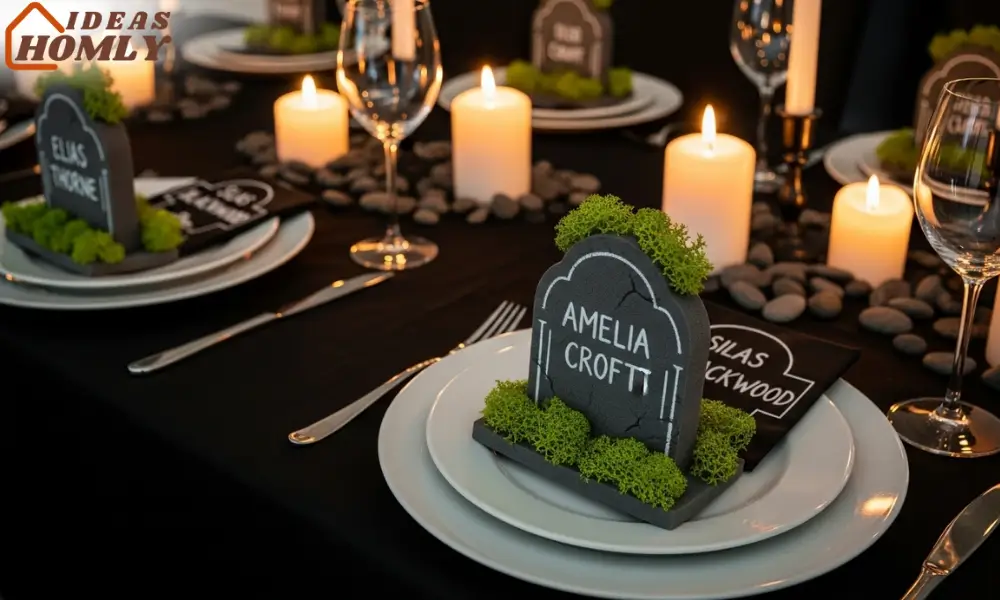
Lightly spray the top edge with water and press some preserved moss or green craft moss onto the surface. The moisture helps it cling and gives it that damp, ancient look.
Place each “grave” on the plate or tuck it into small mounds of dirt if you’re decorating an outdoor table.
I once arranged mine in a tray filled with pebbles to create a mini graveyard centerpiece. It took maybe 20 minutes total, and the reactions were priceless.
Tip: If you’re setting them outdoors, brush a thin layer of Mod Podge over the names so dew or humidity doesn’t smudge them overnight.
6. Witch Hat Ceiling Constellation
Every Halloween needs at least one floating-witch moment. This setup is surprisingly simple, and it looks amazing over a dinner table or hallway. The idea is to hang black witch hats from the ceiling at different heights so they look like they’re levitating.
I used lightweight hats from a dollar store and threaded clear fishing line through each tip. Then I tied them to small ceiling hooks.
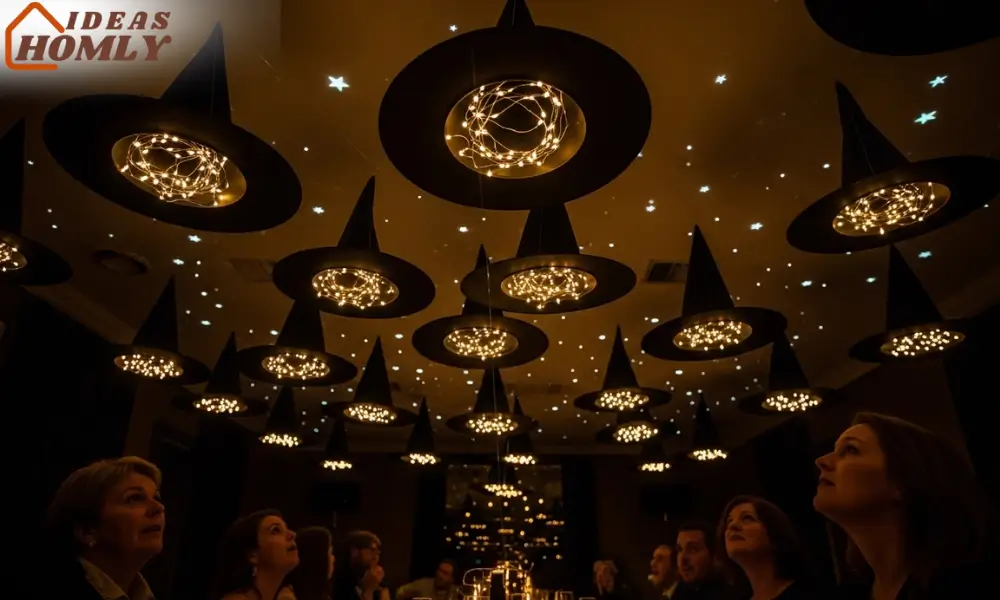
Once they were all hanging, I tucked small LED fairy lights inside every hat. When the lights turned on, the ceiling looked like a glowing night sky filled with witches drifting midair.
You can make it extra charming by using hats of different sizes or adding glow-in-the-dark stars around them.
I once paired this with a quiet spooky soundtrack, and guests kept staring upward the entire evening. It’s inexpensive, reusable, and fits both modern and rustic Halloween décor styles.
Witch Hat Constellation Setup
| Item | Quantity | Cost |
|---|---|---|
| Witch Hats (Fabric or Felt) | 6-10 | $10–$15 |
| Fishing Line | 1 Roll | $3 |
| LED Fairy Lights | 1-2 Sets | $8 |
| Ceiling Hooks / Adhesive Hooks | Pack | $5 |
7. Shadow Puppet Projector Box
If you love interactive Halloween décor ideas, this one’s worth the small effort. A shadow puppet projector box creates moving silhouettes on your wall or window using nothing more than a flashlight, a shoebox, and a bit of imagination.
Cut a large square in one side of the box and tape tracing paper or thin white fabric over it. That’s your “screen.” On the opposite end, cut a small hole just big enough for a flashlight lens. Inside, you can hold up paper cutouts of bats, witches, or ghosts and move them gently to create motion.
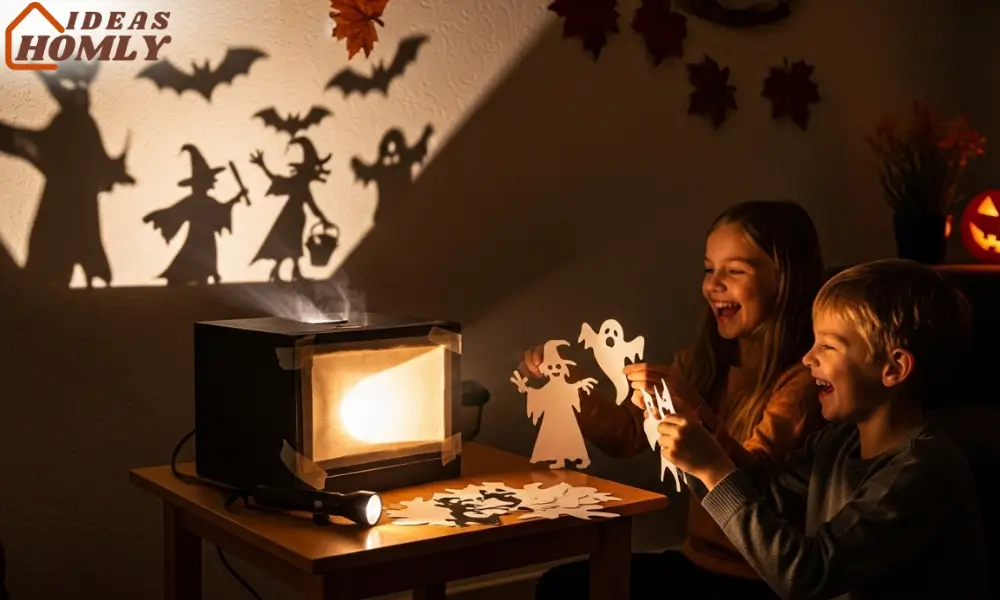
When I tried this the first time, I used a small desk lamp instead of a flashlight and added a slow-turning fan to make the shadows flicker naturally.
It looked like spirits dancing across the wall. You can get kids involved, too; they’ll love creating their own monsters or creatures for the show.
If you’re going for a more cinematic setup, place the projector behind a thin curtain so the shadows appear larger and mysterious. It’s such a fun DIY Halloween project that costs almost nothing but looks like something straight out of an old horror film.
8. Cursed Mirror Trick
This is the kind of decoration that always makes people jump back and laugh nervously. The cursed mirror illusion works by layering a spooky face image onto a mirror so it appears only under certain lighting.
Find an old frame or thrifted mirror. Print a semi-transparent image of a ghostly face or skull; black and white works best.
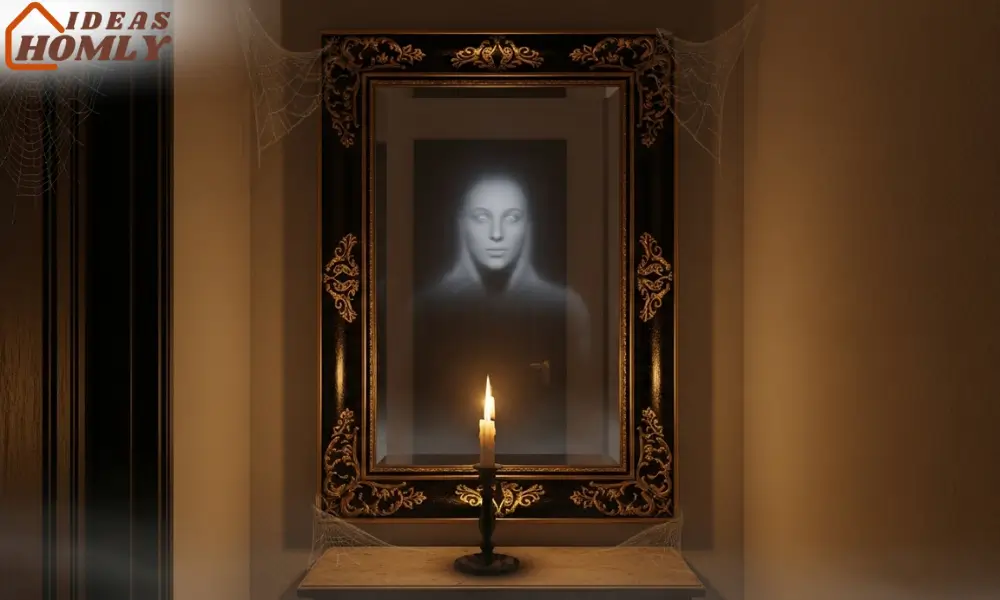
Tape it behind the mirror’s glass but in front of the reflective layer (you might need to remove the backing first). Replace the mirror and shine a dim light or motion sensor light toward it from below.
In daylight, it looks like a normal mirror. But as soon as the light changes, the face appears faintly, giving anyone a fright when they pass by. I placed mine in the hallway one year and ended up startling myself more than once.
If you don’t want to mess with glass, an easy alternative is using a reflective sticker sheet on cardboard and placing a translucent print over it. You’ll still get that chilling “haunted portrait” effect.
Pro Tip: Position it near flickering candles or an LED strobe light for the best result. It adds that slow reveal effect that gives viewers a mini heart attack in a fun way.
Supplies Checklist + Budget Tips
One thing I’ve learned after years of DIY Halloween decorating is that you don’t need high-end supplies to make jaw-dropping results. With a few basics and a little creativity, you can transform your home into a scene straight out of a spooky movie.
Here’s a quick checklist that covers most of the ideas mentioned above.
| Category | Supplies | Approx. Price | Where to Buy |
|---|---|---|---|
| Lighting | LED candles, fairy lights, strobe lights, tea lights | $10-$25 | Amazon, Walmart, craft stores |
| Craft Basics | Cardboard sheets, foam boards, scissors, hot glue, tape | $8-$15 | Dollar stores, stationery shops |
| Decor Details | Fake moss, fishing line, Mod Podge, spray paint, tissue paper | $5-$20 | Art stores or online |
| Props | Witch hats, skull garlands, plastic bones, fake cobwebs | $10-$30 | Party shops or Amazon |
| Electronics (Optional) | Fog machine, projector light, motion sensor | $20-$60 | Electronics or party stores |
Budget Tips for Smart Spooky Decor
- Reuse last year’s props. Spray paint and repurpose instead of buying new each season.
- Buy LED lights in bulk. They last longer, and you’ll always have extras for other rooms.
- Thrift for frames and mirrors. Antique stores have great finds that look perfectly haunted without effort.
- Use cardboard creatively. It’s free, recyclable, and can mimic anything from stone walls to cathedral windows.
- Store everything neatly. Label boxes so you don’t waste money rebuying what you already own next year.
If you track costs, most of these eight projects can fit within $50–$80 total, especially if you already have tools or leftover lights at home.
Conclusion
DIY Halloween decorations don’t need to look cheap or take forever. What makes these ideas stand out is the mix of clever illusions and easy materials.
Whether it’s a glowing witch hat ceiling or a haunted mirror that gives guests a chill, every project adds its own charm.
I like to think of Halloween décor as storytelling; each light, shadow, and color sets a mood. A well-placed cardboard window can feel gothic and mysterious, while a pool noodle arch makes the entrance look like a haunted castle gate.
It’s not about perfection; it’s about having fun, experimenting, and enjoying that one night when spooky creativity is totally allowed.
So, grab your glue gun, dig out those forgotten LED candles, and bring these Halloween décor ideas to life. When the first trick-or-treater gasps at your setup, you’ll know it was all worth it.
FAQs
Start with pool noodle arches, cardboard windows, or floating candles. These require minimal tools, no technical skills, and deliver maximum visual impact. Beginners can make them within a few hours using basic materials like tape, paint, and fishing line.
The secret lies in lighting and texture. Soft glows, flickering candles, or backlit paper instantly add realism. Mix matte paints with rough finishes like moss, cloth, or paper for a weathered effect. Always test the setup under dim light to fine-tune shadows and contrast.
Absolutely. The pool noodle arch, witch hat constellation, and mossy grave place cards all work perfectly outdoors. Just use weather-resistant glue, secure with weights, and choose waterproof LED lights to keep them safe through wind or rain.
Most of these decorations last for several years if stored properly. Keep them in dry boxes or sealed bins away from sunlight. Foam, cardboard, and LED lights can be reused season after season with a few touch-ups.
Go for a mix of warm orange, deep purple, and soft white lights. Avoid harsh white bulbs; instead, use flickering LED candles or fairy lights hidden behind props. It creates a mysterious atmosphere that’s spooky yet welcoming.