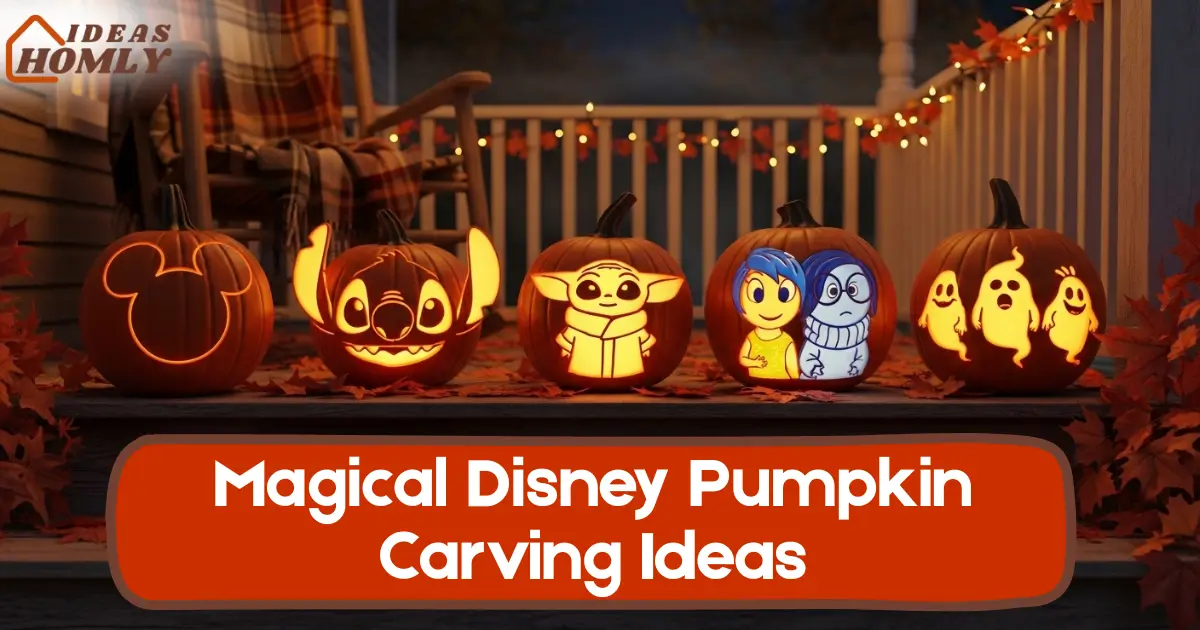
When it comes to Halloween, nothing brings out the child in me faster than a glowing Disney-themed jack-o-lantern.
From Mickey’s cheerful grin to Grogu’s big curious eyes, Disney pumpkin carving ideas have become one of my favorite ways to make October nights more magical.
Whether you’re decorating your porch, hosting a Halloween party, or competing in a carving contest, a Disney-inspired pumpkin instantly steals attention.
I’ve noticed something interesting, every year, Disney jack-o-lantern designs trend again on Pinterest and Instagram. People just can’t get enough of that nostalgic sparkle. And honestly, I get it.
There’s something heartwarming about watching your favorite characters glow softly in candlelight.
In this guide, I’ll share five of the most magical Disney pumpkin carving designs that anyone can actually make at home, even if your previous carving attempt looked more like a potato than a pumpkin.
You’ll find simple instructions, carving tips, and even ideas for photos you can post later.
So, grab your carving kit, make some hot cocoa, and let’s talk pumpkins that look straight out of a Disney dream.
Why Disney Carvings Are Popular
I’ve carved pumpkins for years, but Disney-themed ones always draw the biggest smiles. There’s a simple reason for that, Disney characters are instantly recognizable. You don’t even need to explain what your pumpkin is supposed to be; everyone just knows.
These designs tap into nostalgia. For adults, it’s a flashback to childhood movie nights. For kids, it’s seeing their favorite hero glowing on the porch.
That emotional connection makes every carving more than just decoration, it’s a memory in the making.
Another reason Disney pumpkins dominate Halloween trends is their social-media shareability. A Mickey web-eared pumpkin looks incredible in photos.
It’s no wonder “Disney pumpkin carving ideas” rank so high every October. People love posting their versions and comparing how well they captured each character.
If you want a carving that gets both wow reactions and double taps, Disney designs never miss. They’re fun, wholesome, and instantly click with every age group.
Tools, Materials & Best Practices
Before jumping into the carving itself, I’ve learned that the right tools make or break the design. A regular kitchen knife won’t give you those delicate outlines that Disney characters need. Here’s what works best for me:
| Tool / Material | Purpose | Pro Tip |
|---|---|---|
| Precision carving knife | For outlines and small cuts | Keep the blade sharp for cleaner curves. |
| Clay loop or ribbon tool | For shaving layers (depth carving) | Ideal for features like eyes or smiles. |
| Mini drill bits | For dotted effects or texture | Great for creating glowing star patterns. |
| Tracing paper / projector | To transfer stencils accurately | Helps keep the proportions right. |
| LED tealight or fairy lights | For safe illumination | Makes colors pop better than candles. |
Choosing the right pumpkin:
Round pumpkins suit Mickey or Grogu designs best, while tall ones fit Stitch or the Haunted Mansion ghosts. Try to pick pumpkins with smooth skin and an even surface; they’re much easier to carve and photograph.
Transferring the outline:
I usually print or trace the stencil onto baking paper, tape it on the pumpkin, and prick along the lines with a needle or stylus. If you have a small projector, it’s even easier; just project the image and follow the lines directly.
Carving styles:
There are two main approaches:
- Full-cut carving: where you cut all the way through the pumpkin. Best for bold shapes like Mickey’s ears.
- Depth carving: where you scrape just the surface layer. It gives a glowing effect perfect for detailed faces like Joy or Stitch.
One thing I’ve learned the hard way: don’t rush the lighting test. Once carved, place a light inside and dim the room to check how the shadows fall. It’ll help you fix any uneven spots before Halloween night.
5 Disney Pumpkin Carving Designs
Each of these designs is not only fun to create but also perfectly suited for a cozy Halloween display. I’ve included what I personally use for lighting, sketching, and photography so you can recreate them easily at home.
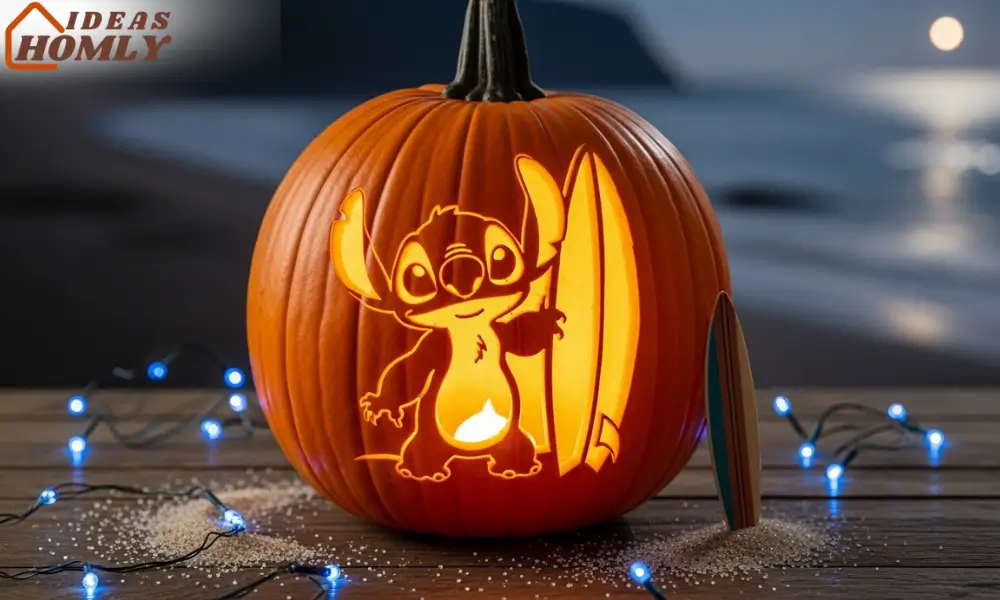
1. Stitch Surfboard Silhouette
I have a soft spot for Stitch, that mischievous grin always brightens my day. This carving focuses on Stitch holding a surfboard, perfect for fans of Lilo & Stitch. The shape is bold, playful, and recognizable even in the dark.
Step-by-Step Plan:
- Sketch: Print a Stitch silhouette or trace one from a coloring book. Keep his wide ears and small claws visible; they define the shape.
- Cut: Start by carving the surfboard outline, then carefully shave Stitch’s body without cutting all the way through.
- Lighting Tip: Use a small LED light close to the bottom so the glow reaches Stitch’s ears evenly.
- Photo Idea: Place a blue backdrop or small toy surfboard next to it for a beach-at-night vibe.
This design works beautifully for beginners because Stitch’s rounded body doesn’t require ultra-precise detailing. It’s also a favorite among kids, expect a few “Aloha!” comments if you post it online.
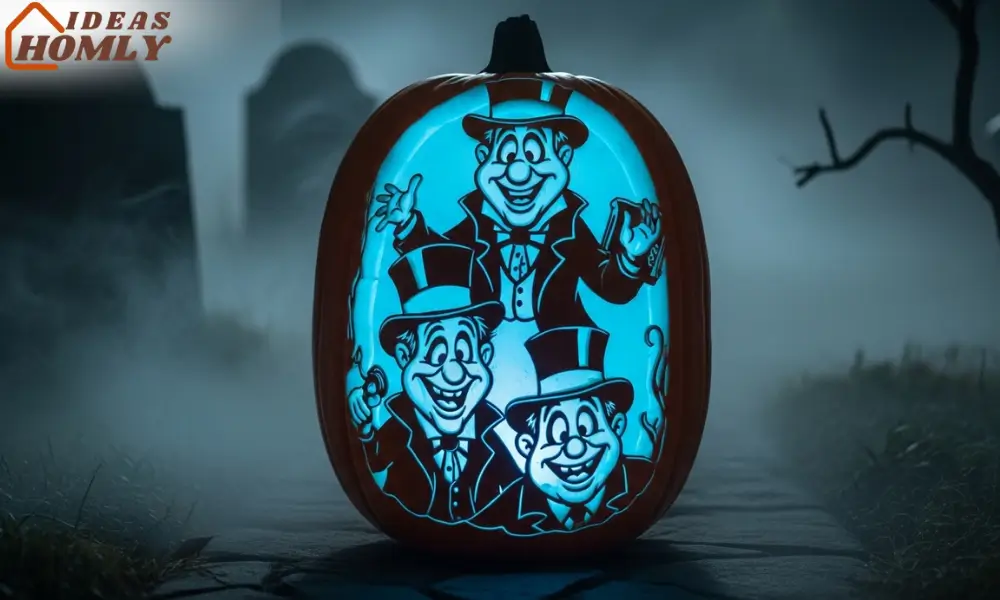
2. Haunted Mansion Hitchhiking Ghosts
If you prefer something spookier (but still family-friendly), the Haunted Mansion Hitchhiking Ghosts design is a perfect pick. It combines Halloween chills with Disney nostalgia.
Step-by-Step Plan:
- Sketch: Find the classic trio silhouette: Phineas, Ezra, and Gus. Their tall hats and ghostly shapes are easy to recognize.
- Cut: Use shallow carving to capture their faces, then cut deeper around their hats and coats for contrast.
- Lighting Tip: Insert a cool-tone LED light (blue or white). It makes them appear ghostlike.
- Photo Idea: Photograph against a misty or smoky background to match the haunted-house theme.
I tried this one last year and got the most compliments from guests. The eerie blue glow looked incredible through the fog. It’s a design that instantly gives “Haunted Mansion vibes” without needing sound effects.
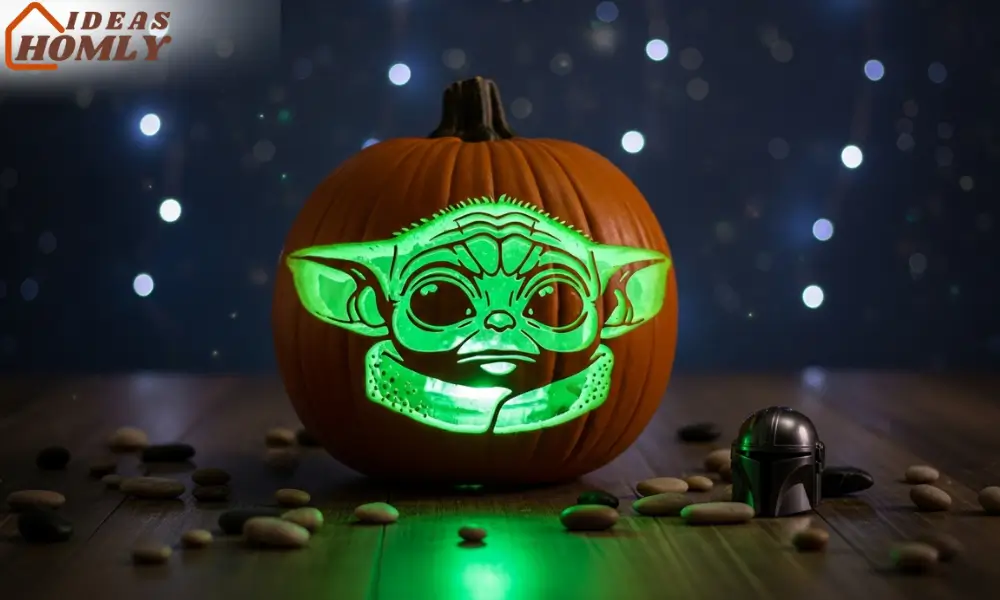
3. Grogu Ears Cutout
Of all the Disney pumpkin carving ideas, Grogu (or Baby Yoda, if you prefer) might just win the popularity contest. His tiny frame and giant ears make a perfect pumpkin stencil.
Step-by-Step Plan:
- Sketch: Print or project Grogu’s outline with his big eyes and robe. Draw lightly on the pumpkin using a washable marker.
- Cut: Carve fully around the ears for that classic shape, then use a clay loop to lightly shave the face area to reveal details.
- Lighting Tip: Green LED tea lights create an authentic “Force glow.”
- Photo Idea: Place him beside a small toy Mandalorian helmet or star background for extra cuteness.
This design is simple, recognizable, and guaranteed to go viral on social media. Every year I see new variations, some with floating stars, others with Grogu holding candy. It’s an easy crowd-pleaser.
4. Mickey Web Ears
No list of Disney jack o lantern designs is complete without Mickey Mouse. This version combines Mickey’s head outline with spiderwebs woven into his iconic ears, a clever nod to Halloween without losing that cheerful Disney charm.
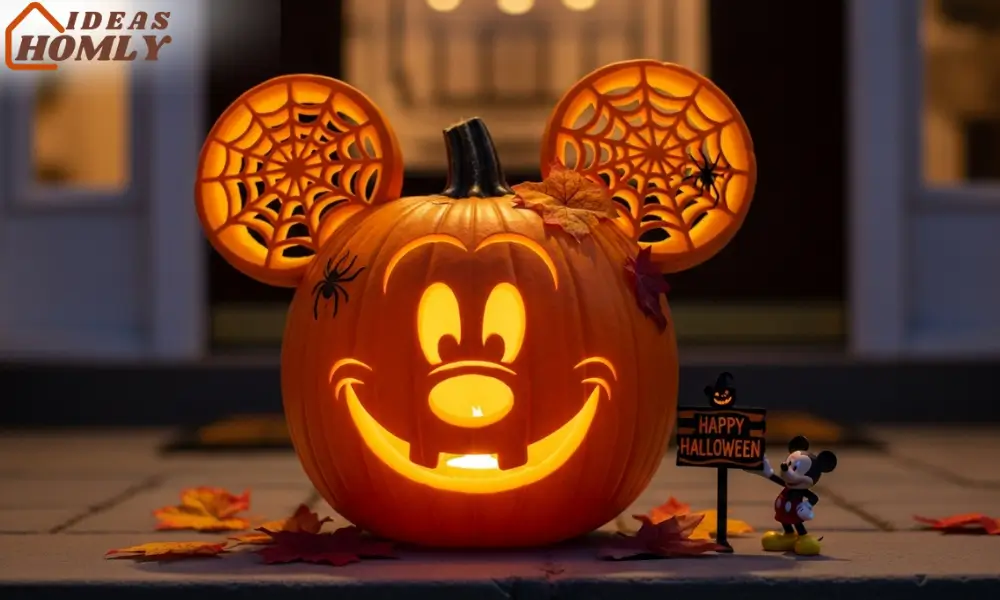
Step-by-Step Plan:
- Sketch: Draw Mickey’s round head and add simple web lines inside the ears. Keep the center bold so the shape remains clear.
- Cut: Cut through the web strands carefully; they’re thin but give a dramatic effect when lit.
- Lighting Tip: A warm amber LED creates the best contrast between the web and the pumpkin surface.
- Photo Idea: Add a small “Happy Halloween” sign or mini Mickey figurine for a perfect porch setup.
The best part? This design looks great even in daylight. If you’re decorating early for Halloween, Mickey’s smiling face makes your porch feel festive without being scary.
5. Joy / Sadness Split
This one’s for fans of Inside Out. The Joy/Sadness Split design is emotional and artistic, literally showing both sides of the pumpkin’s mood.
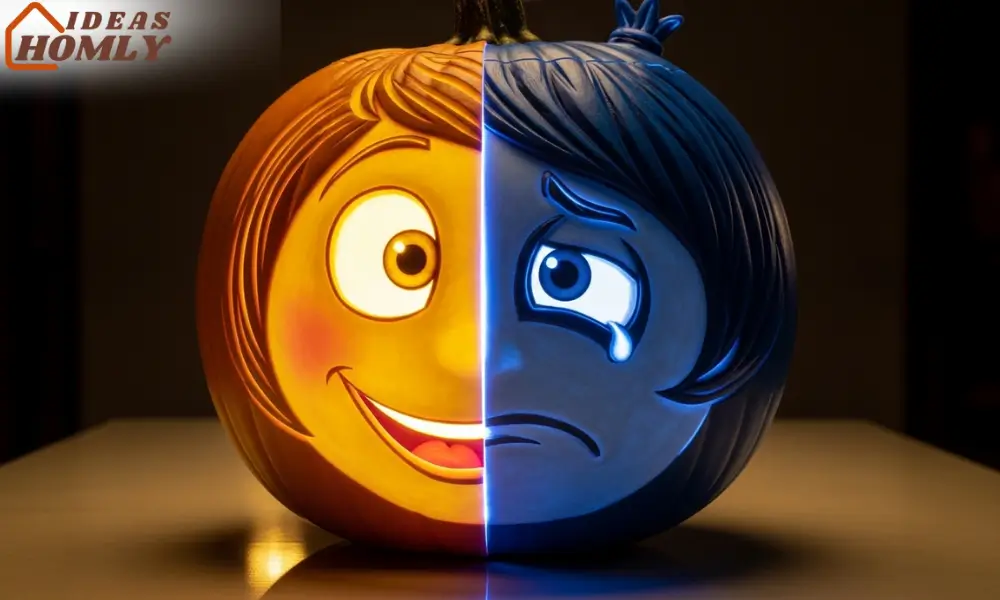
Step-by-Step Plan:
- Sketch: Divide the pumpkin vertically. On one half, draw Joy’s outline with her bright expression; on the other, Sadness with her droopy eyes.
- Cut: Use depth carving to shade Joy’s side lightly and carve Sadness’s deeper for contrast.
- Lighting Tip: Mix two colors, yellow LED on one side, blue on the other. The effect looks striking in the dark.
- Photo Idea: Take a close-up shot focusing on the dividing line to show the emotional contrast.
This is one of those Disney carving patterns that truly stands out at night. It feels expressive and unique, perfect if you like creative designs that tell a story rather than just mimic a face.
Difficulty & Time Comparison
| Design | Skill Level | Estimated Time | Best Light Color |
|---|---|---|---|
| Stitch Surfboard | Easy | 45 mins | Warm white |
| Haunted Mansion Ghosts | Intermediate | 1.5 hrs | Cool blue |
| Grogu Ears | Easy | 40 mins | Green |
| Mickey Web Ears | Beginner | 30 mins | Amber |
| Joy / Sadness Split | Advanced | 2 hrs | Dual color (yellow + blue) |
Each of these carvings can be scaled up or simplified depending on your time and tools. If you’re short on time, Mickey or Grogu works best. If you want something to truly impress your neighbors, the Joy/Sadness Split pumpkin will do it.
Customization & Variation Ideas
Here’s where the fun really starts. After carving my first Disney pumpkin, I realized you can easily level up your design with a few creative tweaks.
Each small change makes the pumpkin feel more like your own version rather than a copy of a stencil.
Add color accents:
You don’t have to stick to orange and black. A touch of paint or glow stick color can make a huge difference. For instance:
- Paint Stitch’s surfboard light blue for that tropical touch.
- Use green glow sticks behind Grogu to mimic his “Force aura.”
- Add purple accents to the Haunted Mansion ghosts to make them pop.
Mix Disney with Halloween symbols:
I’ve seen people combine Disney pumpkin carving ideas with spooky themes, Mickey with bat wings, Joy surrounded by candy corn, or Stitch wearing a witch hat. Small changes like these turn a regular carving into a conversation piece.
Multi-pumpkin displays:
If you’ve got the time and energy, try a mini display. One pumpkin could feature Mickey, another Grogu, and a third Stitch. Add fairy lights connecting them, and you’ve got a complete Disney Halloween corner that looks fantastic in photos.
The best part is that every variation still feels magical. You can experiment without needing professional art skills, just creativity and a steady hand.
Displaying & Photographing Disney Carvings
After all that effort, it’s only fair your carvings get the attention they deserve. How you display and photograph them matters as much as the carving itself.
Choose the right background:
I’ve found that dark backdrops; navy, black, or even deep purple, make the glow stand out the most. If you want something more cinematic, use a fabric with small sparkles to give that Disney night-sky feeling.
Add props for personality:
A few small Disney toys can completely transform your setup. I sometimes place Stitch’s figurine beside his carved pumpkin or surround Grogu’s with pebbles to look like his hover pod.
Framing for social media:
If you’re sharing on Instagram or Pinterest (which you definitely should), shoot from a slightly lower angle with the light shining upward. It gives the pumpkin more depth and captures that cozy glow.
Here’s a quick reference table that helps you nail your display setup:
| Setup Element | Best Choice | Why It Works |
|---|---|---|
| Background | Dark fabric or plain wall | Makes glow stand out |
| Lighting | LED tealight or fairy string | Safe and consistent |
| Props | Disney figurines or autumn leaves | Adds context and color |
| Photo Angle | Low or side view | Enhances the carved depth |
| Upload Time | Evening (7-10 PM local) | Best engagement on social media |
If you want your pumpkin to go viral, remember: good lighting + clever angle = scroll-stopping post.
Conclusion
Disney pumpkin carving isn’t just about decorating for Halloween. It’s about bringing your favorite stories to life in a way that glows, literally. From Mickey’s web ears to Grogu’s tiny cutout, each carving adds a spark of nostalgia and creativity to your spooky setup.
The real magic lies in the small moments: watching your design glow for the first time, hearing your family recognize the character instantly, or seeing your kids’ faces light up. Those are the reasons I keep carving every year.
If you’re planning to try one of these Disney jack o lantern designs, start simple. Pick one character you love, gather your tools, and carve with patience. By the end of the night, you’ll have something that feels part art, part childhood memory and 100% magical.
FAQs
Yes, many free Disney stencils are available online, especially around Halloween. Check official Disney fan communities or DIY craft blogs. Just make sure the stencil is clear and printable for accurate tracing.
Medium-sized pumpkins (about 10-12 inches in diameter) work best. They’re large enough for detail but not too big to handle. Smaller pumpkins are great for simple Mickey or Grogu patterns.
After carving, coat the cut edges with petroleum jelly or a pumpkin-preserving spray. Store it in a cool, dry place during the day to prevent shriveling.
LED tea lights or battery-operated fairy lights are the safest and most consistent. Avoid real candles, they can darken the inside and make details harder to see in photos.