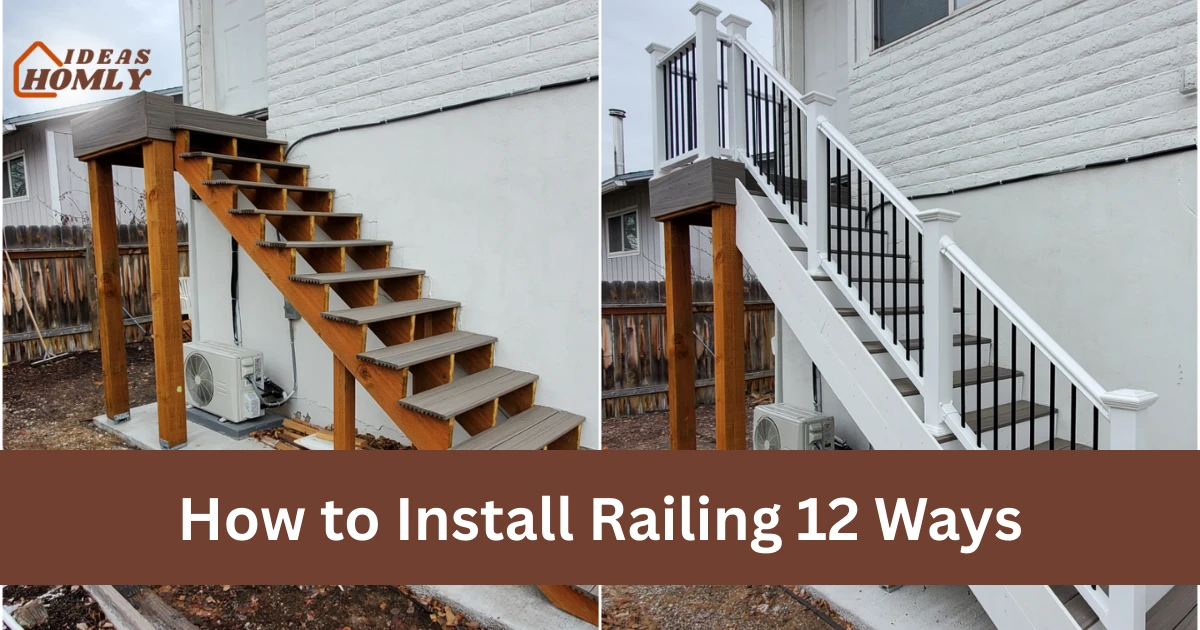
Installing a railing improves safety, support, and stability in places like stairs, balconies, decks, and porches. A well-installed railing prevents falls and gives people something secure to hold while walking up or down steps.
Many homeowners believe railing installation requires a contractor. In reality, many railing systems are simple to install if you measure carefully and use the correct tools.
In this guide, I share 12 practical ways to install railing systems that work in real homes. I explain each method in simple steps so anyone planning a DIY project can understand the process.
Basic Preparation Before Installing a Railing
Before installing any railing, preparation always saves time and prevents mistakes. Correct measurements and proper tools help you install a railing that stays stable for years.
I always measure the installation area first. After that, I choose the railing type, material, and hardware that fits the space.
1. Install a Wooden Stair Railing
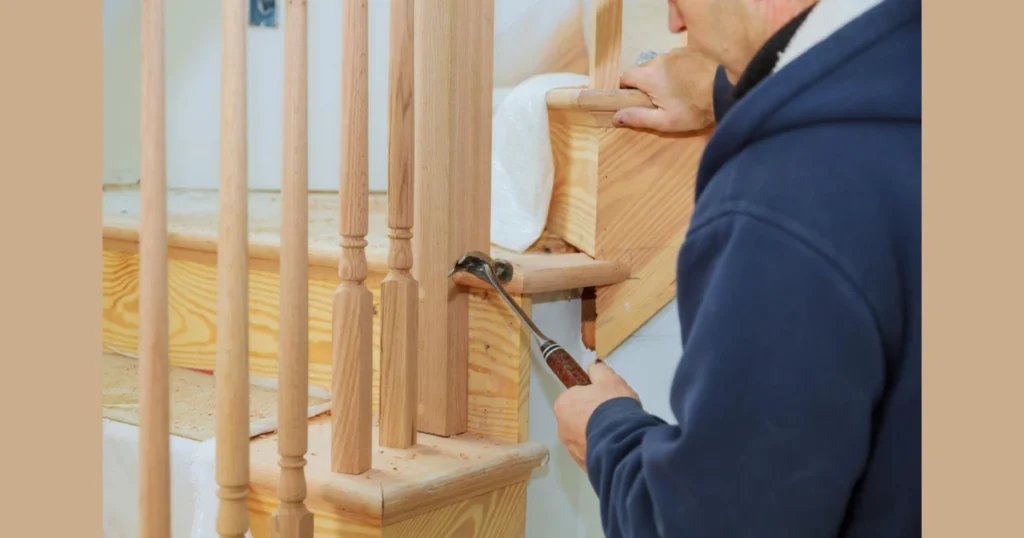
Installing a wood stair railing is one of the most common ways to add safety to indoor staircases. Wood railings match many home styles and feel comfortable to hold.
I start by measuring the slope of the stairs. After that, I cut the wooden railing to match the angle of the staircase so it fits properly.
Next, I attach metal brackets along the wall using screws and a drill. The brackets support the railing and prevent movement when someone holds it.
Finally, I place the wooden railing onto the brackets and tighten the screws. A quick sanding and polishing step improves the finish and prevents splinters.
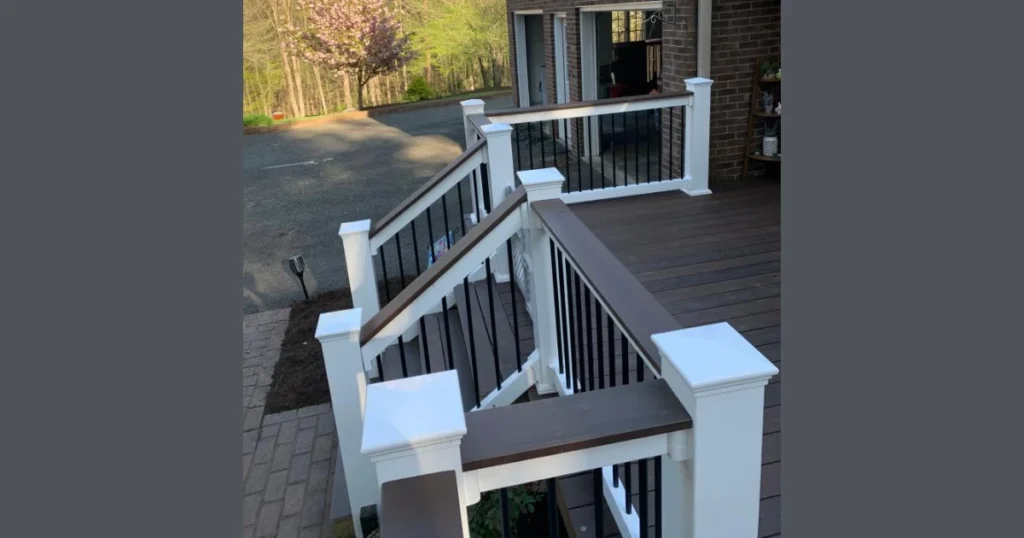
2. Install Deck Railing with Support Posts
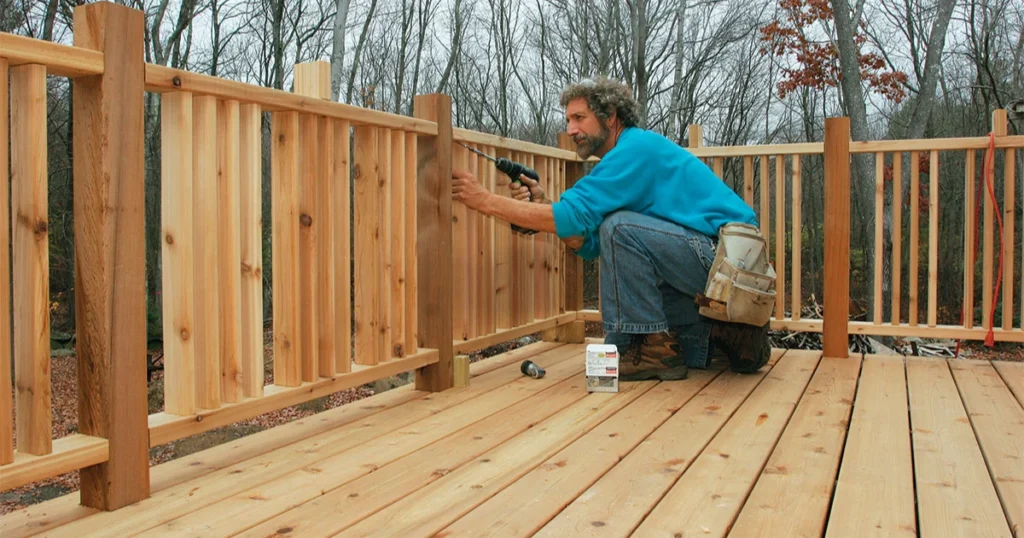
Deck railings protect the edges of outdoor platforms and patios. A strong deck railing also improves the appearance of a backyard deck.
I begin by attaching vertical posts to the deck frame using post anchors. These posts act as the main support structure for the railing.
Once the posts stay firmly in place, I connect horizontal rails between the posts. These rails form the top and bottom structure of the railing.
After that, I install evenly spaced balusters between the rails. Proper spacing keeps the railing secure and meets safety standards.
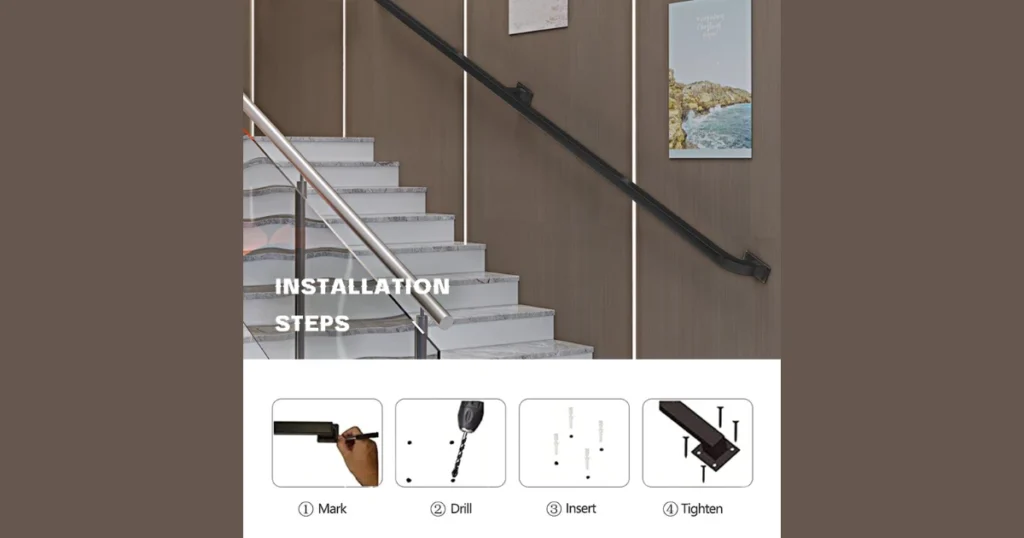
3. Install a Wall-Mounted Handrail
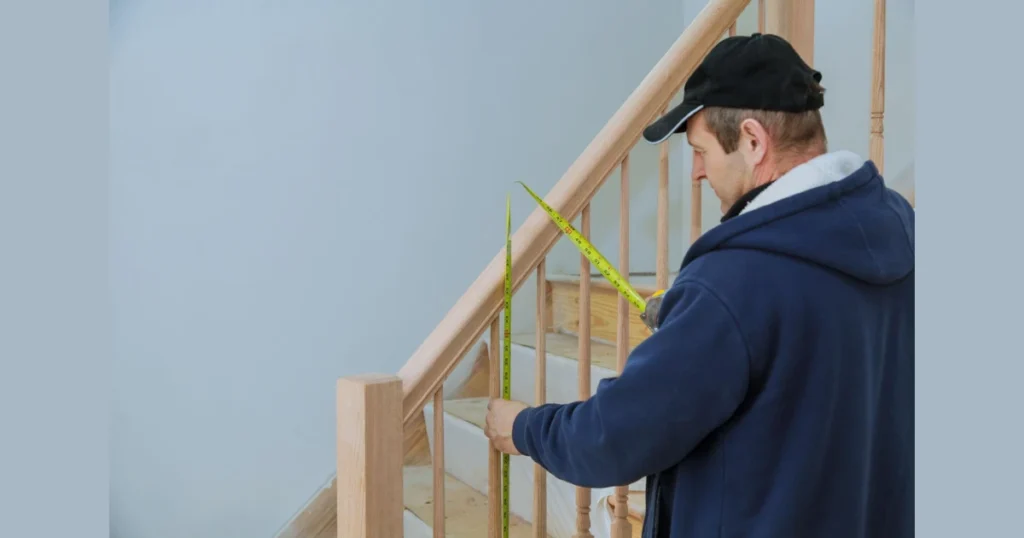
A wall-mounted handrail is one of the simplest railing systems for staircases. This type of railing attaches directly to the wall and provides strong support for people walking upstairs.
First, I mark the height of the handrail along the stair wall. Most stair handrails stay around 34 inches high for comfortable use.
Next, I install handrail brackets into the wall studs using screws. Securing the brackets into studs keeps the railing strong.
Finally, I place the handrail onto the brackets and tighten the screws. The finished handrail should feel firm and comfortable when someone grips it.
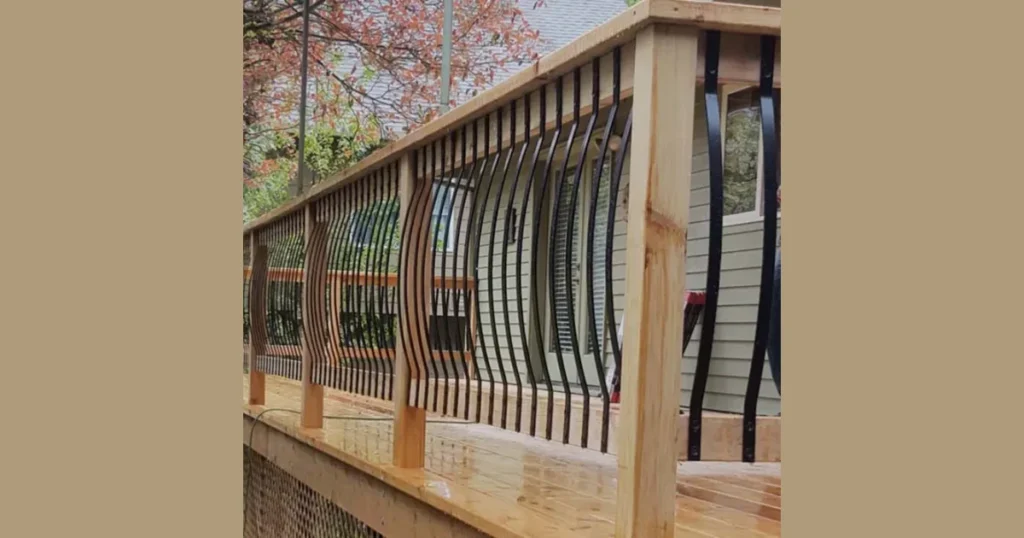
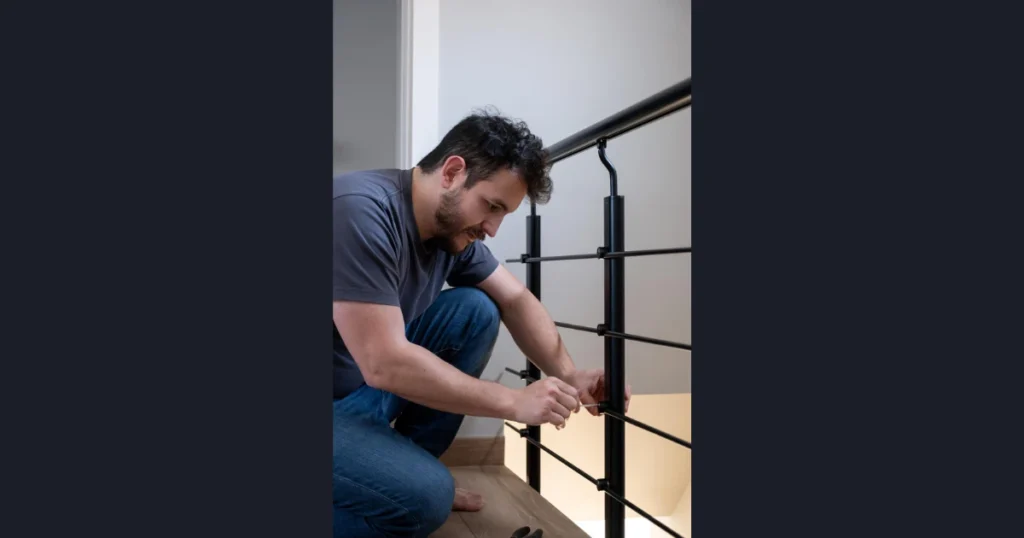
4. Install a Metal Stair Railing
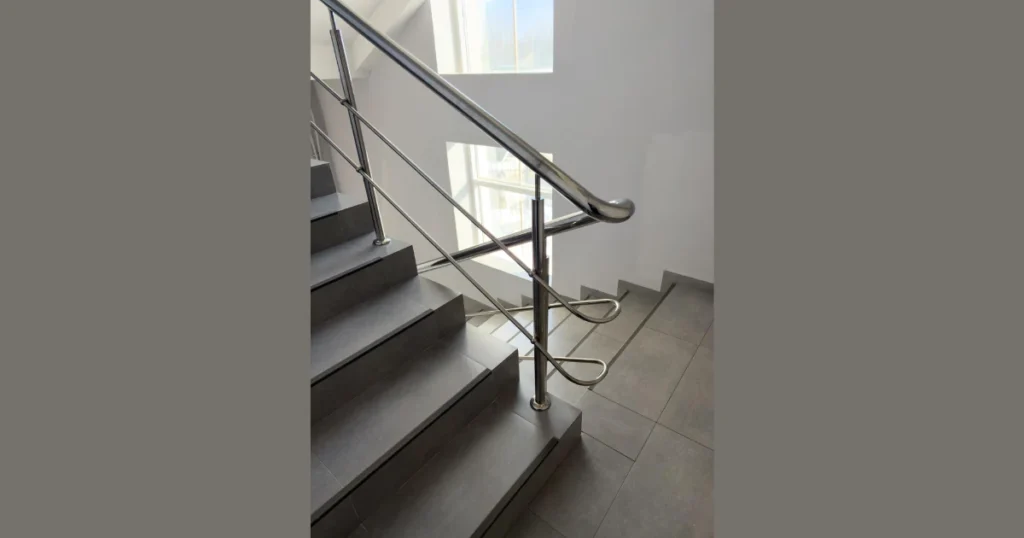
Metal railings provide a strong and durable option for staircases. Many modern homes use metal railings because they require little maintenance.
I start by installing metal support posts at the base and top of the staircase. These posts hold the railing system together.
Next, I attach the metal railing bar between the posts using bolts. Tight connections prevent the railing from shaking.
Finally, I secure the balusters or vertical rods between the rails. The completed railing provides strong support and a clean modern appearance.
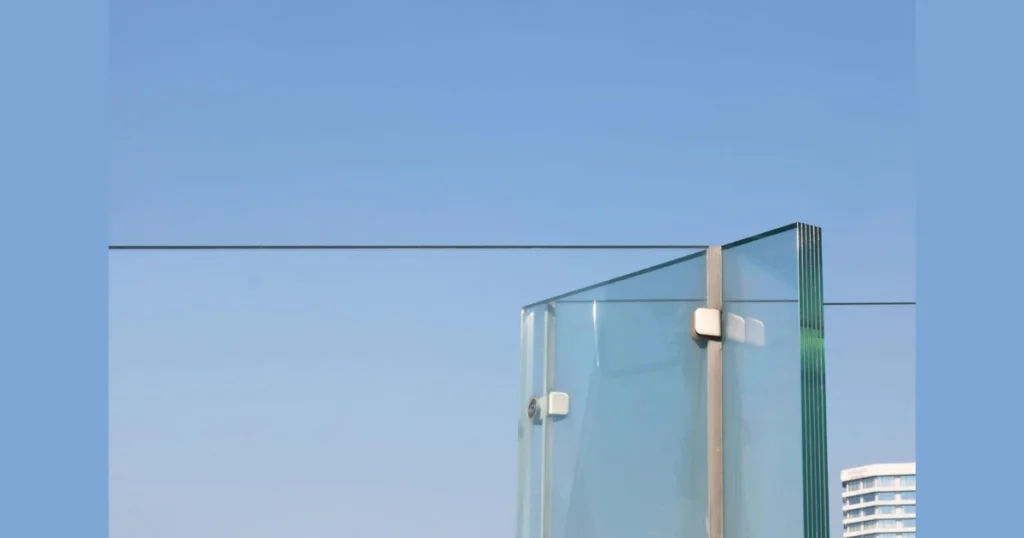
5. Install a Glass Railing System
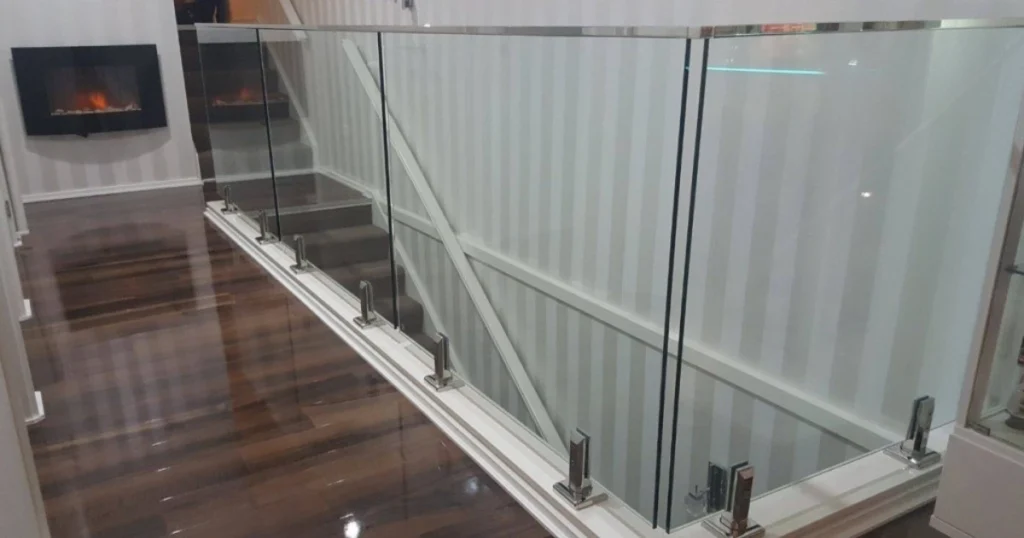
Installing a glass railing system creates an open and modern look for balconies, decks, and staircases. Many homeowners choose glass railings because they allow clear views while still providing safety.
I begin by installing the base channels or metal clamps along the edge of the deck or staircase. These supports hold the glass panels firmly in position.
Next, I carefully place tempered glass panels into the clamps or channels. Using rubber gaskets between the glass and metal helps protect the panels.
Finally, I tighten the clamps and check the alignment with a level tool. A properly installed glass railing feels stable and keeps the space looking bright and open.
6. Install Cable Railing for Modern Decks
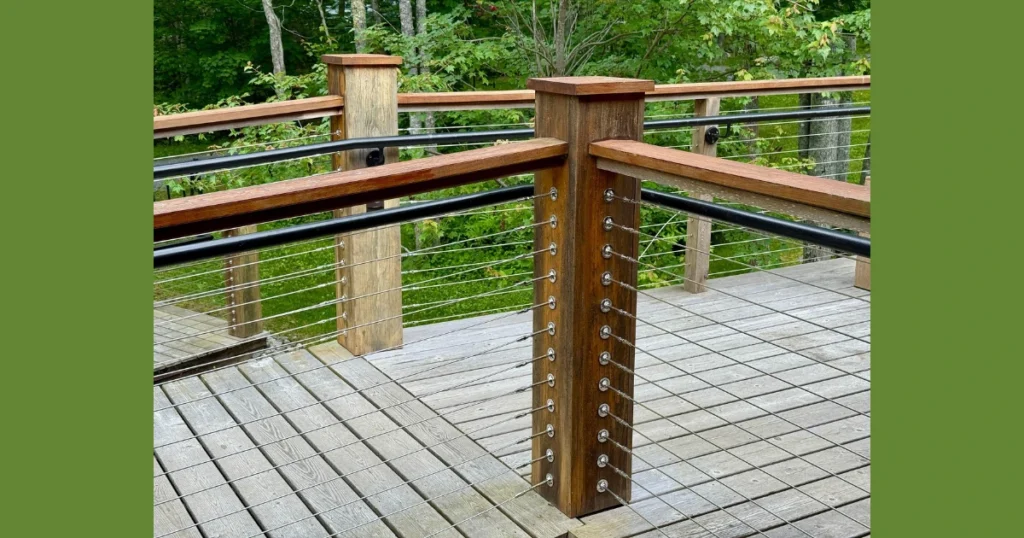
Cable railing systems work well for modern decks and outdoor spaces. The thin cables provide safety while maintaining a clean and minimal appearance.
I start by installing strong posts at both ends of the railing section. These posts must stay firm because they hold the cable tension.
Next, I drill horizontal holes through the posts and thread stainless steel cables through them. The cables run straight between each post.
Finally, I tighten the cable fittings using a tension tool. Proper tension keeps the cables straight and prevents sagging.
7. Install a Balcony Railing
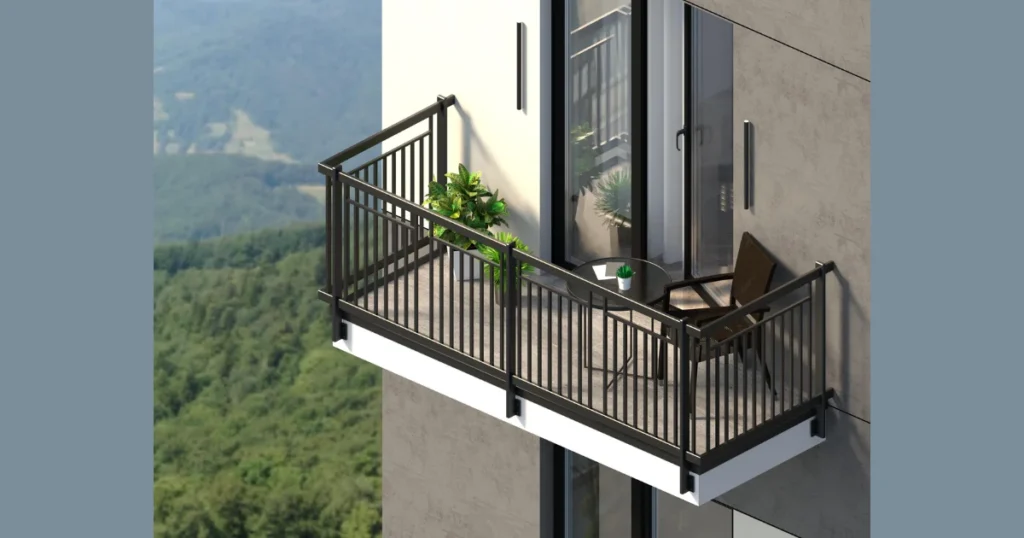
A balcony railing protects elevated outdoor spaces and prevents accidental falls. Proper installation ensures the railing stays secure during daily use.
I begin by fixing vertical posts into the balcony floor using anchor bolts. Strong anchors keep the railing stable in outdoor conditions.
Next, I attach horizontal rails between the posts to create the frame of the railing system.
Finally, I install vertical bars or panels between the rails. Balanced spacing improves safety and also gives the balcony a neat appearance.
8. Install a Porch Railing
Porch railings add both safety and style to the front entrance of a home. A properly installed porch railing creates a welcoming and secure entry space.
I start by attaching railing posts to the porch floor or support beams. These posts form the structure that holds the railing.
Next, I install the bottom rail between the posts. This rail supports the vertical balusters.
After that, I attach the top rail and secure the balusters between both rails. The finished railing helps define the porch area and improves the home’s appearance.
9. Install a Wall Side Stair Handrail
A side wall stair handrail gives extra support on narrow staircases. Many homes install this type of railing when space does not allow large railing systems.
I begin by marking the handrail height along the wall. Keeping the height consistent makes the railing comfortable to hold.
Next, I attach handrail brackets to the wall studs using strong screws. Anchoring into studs provides better strength.
Finally, I secure the handrail onto the brackets and check the alignment using a level tool. The finished handrail should feel solid when someone grips it while walking up or down stairs.
10. Install a Pipe Railing for Industrial Style
Installing a pipe railing works well for staircases that follow an industrial or modern style. Many homeowners prefer pipe railings because they are strong and easy to assemble.
I begin by measuring the stair length and cutting metal pipes to the required size. Correct measurements ensure the railing fits the staircase slope.
Next, I attach pipe flanges to the wall or stair posts using strong screws. These flanges hold the pipes firmly in place.
Finally, I connect the pipes to the fittings and tighten them securely. Once installed, the pipe railing provides solid support and a stylish industrial appearance.
11. Install a PVC Railing for Low Maintenance
PVC railings offer a simple option for outdoor areas like decks and porches. Many homeowners prefer vinyl or PVC railings because they resist moisture and require little maintenance.
I start by installing railing posts with metal inserts to keep them stable. These posts provide the main support for the railing system.
Next, I slide the bottom rail into the post brackets and place the balusters evenly across the rail.
Finally, I attach the top rail and secure all connections with screws. The finished railing stays durable and does not require frequent painting.
12. Install a Frameless Glass Railing
A frameless glass railing creates a clean and open look for balconies, terraces, and staircases. This railing style works well in modern homes where clear views matter.
I begin by installing a metal base channel along the edge of the floor or deck. The base channel holds the glass panels securely.
Next, I place tempered glass panels into the channel and adjust their alignment using leveling blocks.
Finally, I tighten the clamps and secure the glass panels with rubber gaskets. The railing remains strong while maintaining a transparent design.
Helpful Tips Before Installing a Railing
Installing a railing becomes easier when you plan the process carefully. These tips help prevent common mistakes and improve the final result.
Useful Installation Tips
- Always measure the railing height and stair angle before cutting materials.
- Use a level tool to keep the railing straight during installation.
- Install railing brackets into wall studs or strong framing for stability.
- Maintain even spacing between balusters for safety.
- Choose weather-resistant materials for outdoor railings.
Comparison of Popular Railing Materials
| Railing Type | Best Use | Maintenance Level |
|---|---|---|
| Wood railing | Indoor stairs and traditional homes | Medium |
| Metal railing | Modern stairs and balconies | Low |
| Glass railing | Balconies and decks with open views | Medium |
| Cable railing | Contemporary decks | Low |
| PVC railing | Outdoor decks and porches | Very low |
Conclusion
Installing a railing improves both safety and the appearance of a home. A properly installed railing supports people while walking on stairs, balconies, decks, and porches.
In this guide, I shared 12 practical ways to install railings, including wooden railings, deck railings, cable railings, glass railings, and pipe railings. Each method suits a different location and design style.
If you measure carefully, use the right tools, and follow simple installation steps, many railing projects become manageable DIY tasks. A strong railing not only protects your family but also adds value and structure to your living space.
FAQs
Most stair railings are installed between 34 and 38 inches high. Deck and balcony railings usually measure around 36 inches or more depending on building codes.
PVC and wooden railings are often the easiest options. These materials are lightweight and most railing kits include pre-cut parts.
Yes, installing brackets into wall studs provides strong support. Anchors may work, but studs provide better stability.
Yes, many homeowners install railings themselves using basic tools. Careful measurement and strong mounting hardware are important.
Common tools include a drill, measuring tape, level tool, screws, brackets, and anchors.
Tempered glass railings are strong and safe when installed correctly. Many modern homes use them for balconies and decks.
Balusters are usually spaced less than 4 inches apart to meet common safety standards.