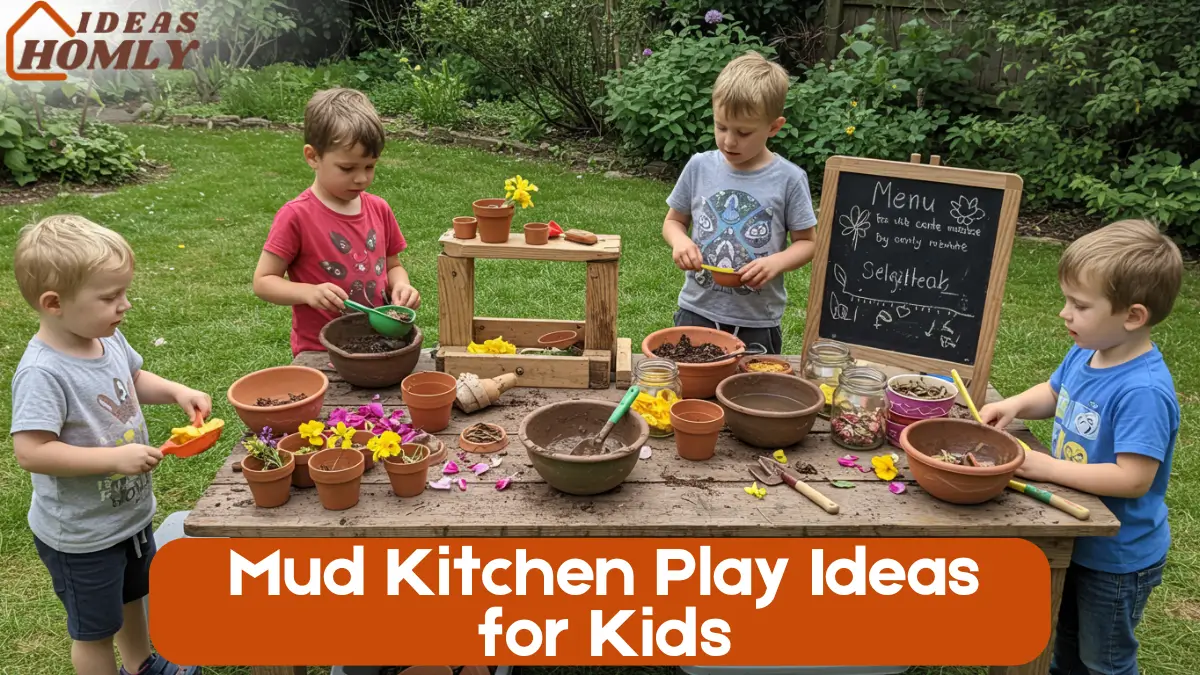
Mud kitchens are one of my favorite outdoor setups for kids not just because they’re affordable and easy to create, but because they open up a whole world of creativity.
A mud kitchen is essentially a pretend outdoor kitchen where kids mix soil, water, and nature’s treasures to “cook” and explore. But it’s far more than just mud play.
As someone deeply into kids’ learning through DIY and sensory-rich setups, I’ve seen firsthand how a mud kitchen sparks imagination, supports development, and gets kids outdoors. Whether you’re working with a small balcony or a full backyard, these setups can be adapted in endless ways.
In this guide, I’ll share my top 10 imaginative mud kitchen play ideas that kids absolutely love and return to again and again.
Benefits of Mud Kitchen Play
Before discussing ideas, let’s understand why mud kitchens are such a hit, both with parents and child development experts.
- Supports sensory development: Kids experience textures, smells, and sounds with natural materials.
- Boosts creativity and storytelling: Every flower soup or rock pie tells a story.
- Encourages outdoor time: It reduces screen time and fosters a love for nature.
- Builds social skills: Perfect for cooperative play among siblings or friends.
- Improves fine motor skills: Pouring, scooping, and stirring all aid hand-eye coordination.
I’ve personally noticed how children become more calm and focused after mud kitchen sessions. There’s something grounding about mixing earth with water under the sky.
1. Herb & Spice Shop
One of the most enchanting setups I’ve tried is creating a mini herb and spice shop in the mud kitchen. It adds scent, color, and imagination to the play zone.
I usually save dried herbs from the kitchen, things like rosemary, oregano, mint, or even cinnamon sticks. Kids use them as ingredients to cook “meals” or make potions. You can label jars or containers using old spice bottles to make it feel authentic.
For a more educational twist, I also add real herbs growing in small pots nearby. This teaches kids about plant names and how to care for them. You’d be surprised how quickly they start differentiating between thyme and basil!
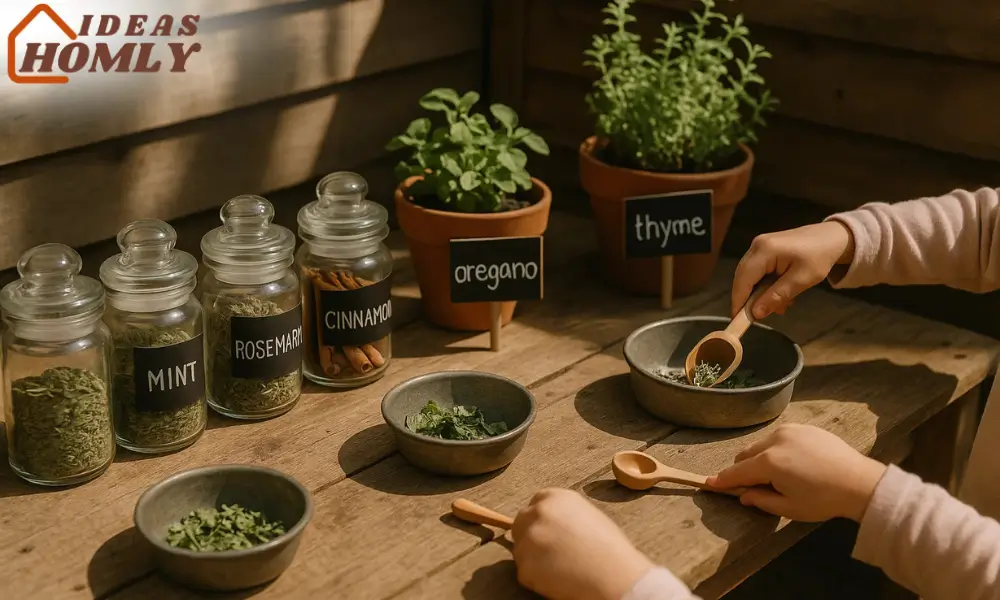
Tip: Add a chalkboard or mini label cards with herb names. It’s a subtle way to build early literacy.
2. Rock Pizza Parlor
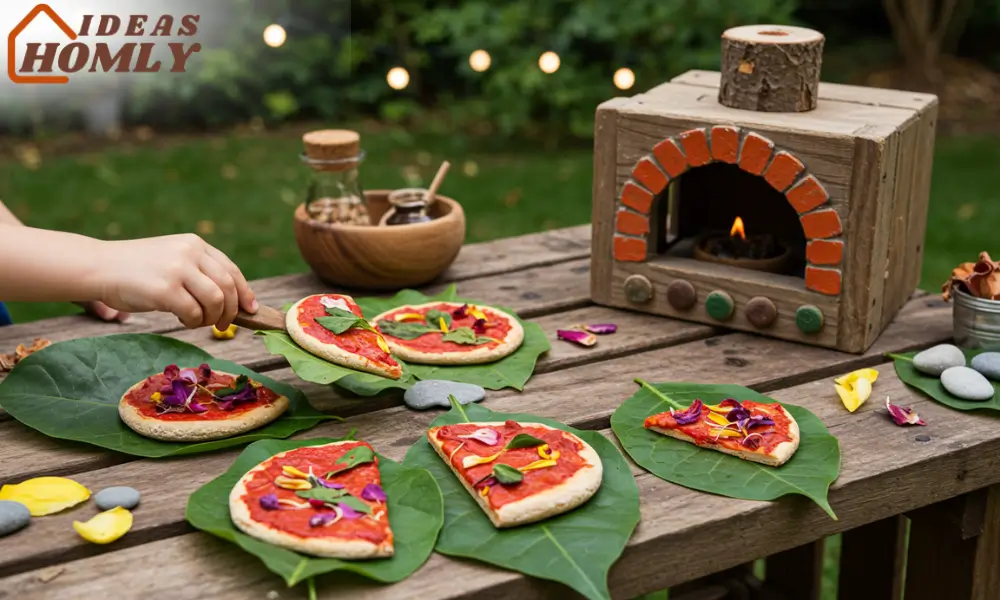
What child doesn’t love pizza? Creating a rock pizza parlor in your mud kitchen is not just fun, it’s ridiculously cute.
We collect flat stones and paint them to look like pizza crusts. Then we use natural “toppings” like leaves (spinach), red pebbles (tomatoes), pine needles (cheese), and flower petals (pepperoni). Kids layer the items and serve them from a pretend oven made from an old crate or cardboard box.
This play idea encourages sorting, counting, and color recognition. Plus, it makes group play even more interactive — one child takes the order, another cooks, and someone delivers the meal!
Write a simple “menu” board. Add prices using numbers for early math exposure.
3. Pine-Cone Potion Lab
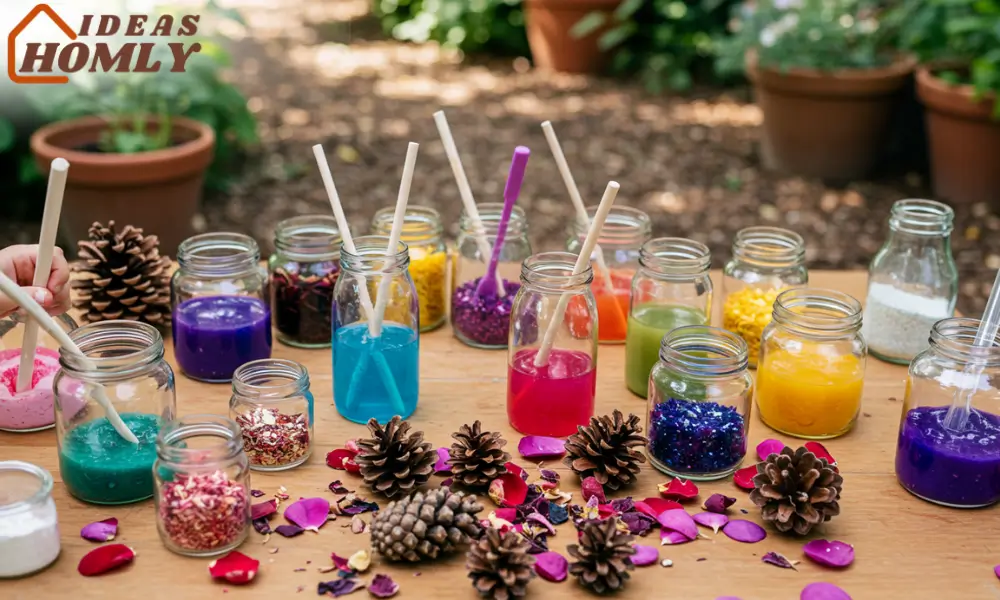
Mud kitchens aren’t just about food they can become science stations, too. My kids love transforming the space into a potion-making lab using pine cones, petals, colored water, and biodegradable glitter.
I usually provide glass jars, measuring cups, pipettes, and mixing spoons. They mix and stir and sometimes even pretend they’re making medicine or magical brews. The natural textures add to the sensory joy.
This kind of play lets them practice measuring, experimenting, and learning about textures and reactions. It’s messy, yes, but so worth it.
Safety tip: Always supervise if using glass jars or small items, especially with younger kids.
4. STEM Measurement Station
This one is perfect if you’re homeschooling or simply want to sneak in learning. A STEM measurement station within the mud kitchen adds a fun educational twist.
All you need are measuring spoons, cups, scales, funnels, and beakers. Kids can mix mud with different water levels and measure how much they use. You can also ask them to compare weights, for example, “Which weighs more: wet sand or dry soil?”
Adding a ruler or yardstick helps them measure depth or height of their mud cakes. Over time, they begin using terms like “half full,” “more than,” or “about 1 cup” without even realizing they’re learning math and science.
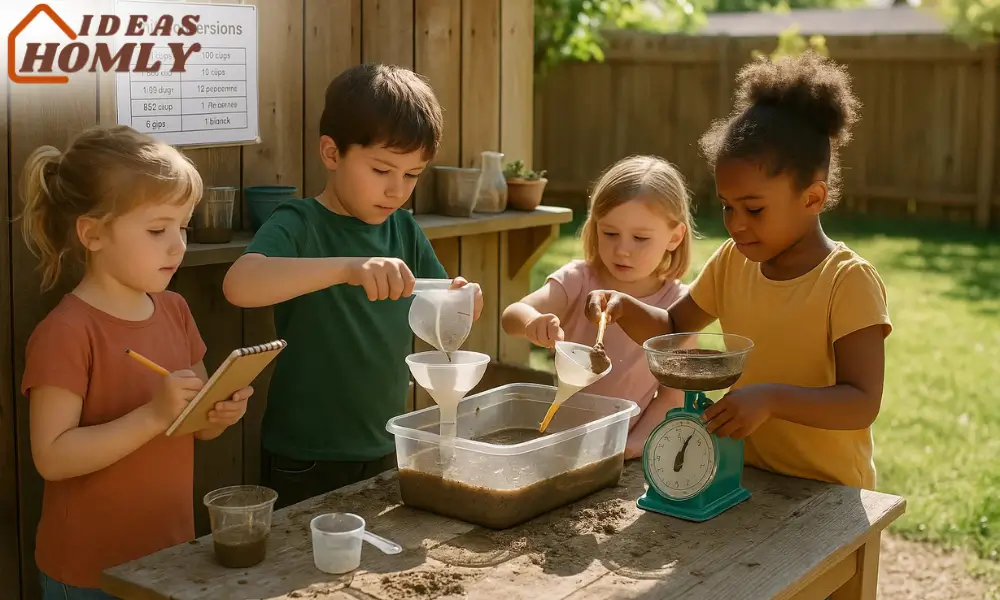
Keep a laminated chart with simple conversions (cups, teaspoons, etc.) to reinforce concepts visually.
5. Chalkboard Menu Wall
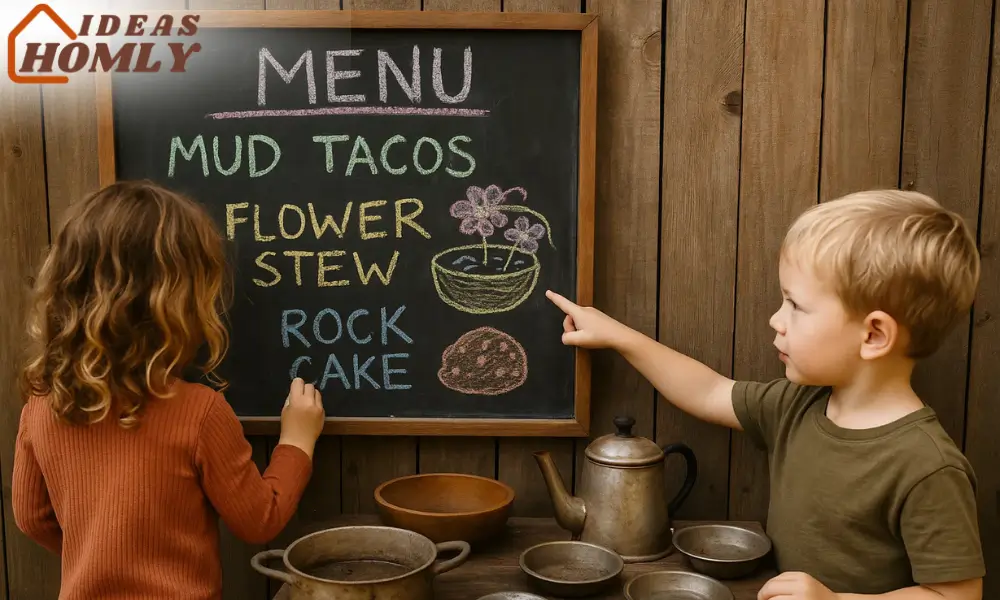
Every mud kitchen needs a chalkboard menu wall it transforms pretend play into a real shop experience.
I painted a piece of old wood with black chalkboard paint and nailed it near the mud kitchen counter. Each day, kids create their own menus. Sometimes it’s “mud tacos,” other days it’s “leaf lasagna” or “flower cupcakes.” The act of writing and drawing menus helps develop early literacy and fine motor skills.
Older kids get into pricing, specials, and even naming their restaurant. It adds a creative and playful business mindset to the kitchen setup.
6. Flower-Petal Ice Cream Cart
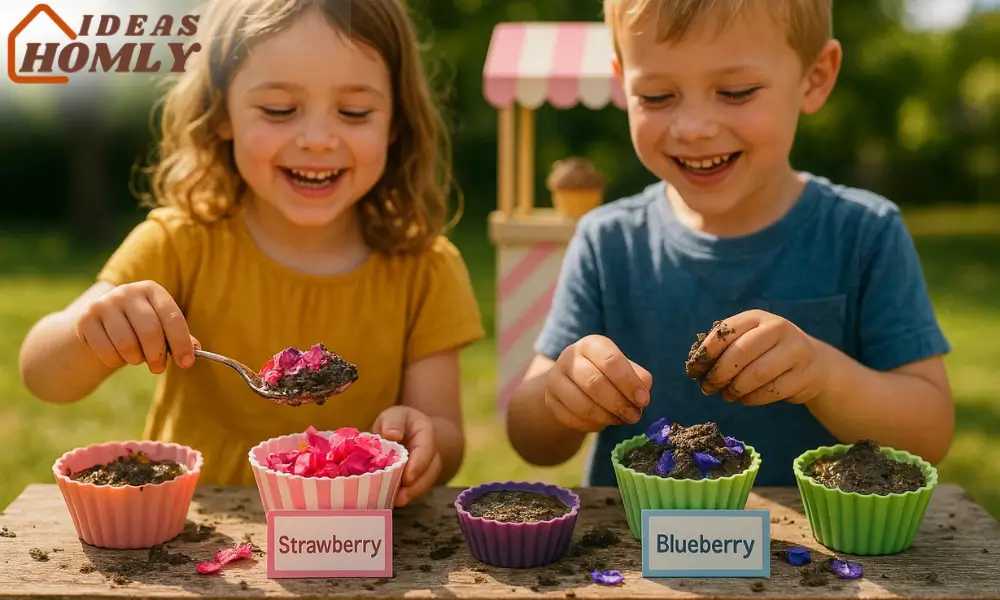
This one always brings out smiles! A flower-petal ice cream cart turns your mud kitchen into a botanical dessert stand.
We collect colorful petals, leaves, and even bits of grass, then mix them with mud or sand to make “ice cream.” Old scoops, cupcake liners, or silicone molds make perfect serving dishes. I like to keep crushed eggshells nearby too. They add “sprinkles” that feel surprisingly realistic.
Kids love scooping, shaping, and presenting their creations like little chefs. They often assign flavors to each petal color pink for strawberry, purple for blueberry. It’s a fun way to build language skills while also encouraging pretend food play.
7. Mud-Site Construction Zone
This idea is a favorite with kids who are into trucks, tools, and digging. Turning part of the mud kitchen into a mud-site construction zone can keep them busy for hours.
We bring out toy construction vehicles, diggers, bulldozers, dump trucks and create a digging pit nearby with real mud, gravel, sticks, and stones. I usually lay out large bowls for mixing “cement” (aka watery mud) and use empty bricks or wood pieces for “building.”
Kids love to haul, pour, and construct their own structures. They develop gross motor skills and engage in spatial reasoning while playing. It’s muddy, yes but that’s the point!
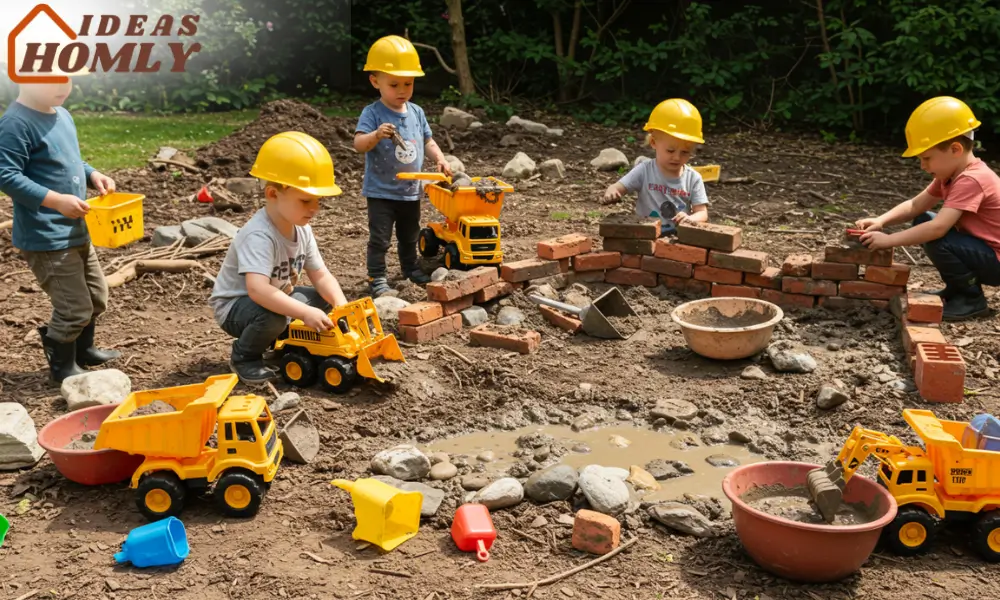
Parent tip: Use an old shower curtain or tarp underneath if you’re worried about cleanup.
8. Sound-Pan Percussion Wall
If your little ones enjoy music or making noise (and let’s face it, most kids do), then adding a sound-pan percussion wall is a brilliant addition.
I collect old pans, lids, muffin trays, and spoons from thrift stores. Hanging them on a wooden fence or a freestanding board creates an instant musical wall. I let the kids bang and tap away using wooden spoons or sticks.
The rhythmic clanging becomes part of their mud kitchen soundtrack. Sometimes they’ll sing while cooking or create beats while pretending to stir their latest leaf soup.
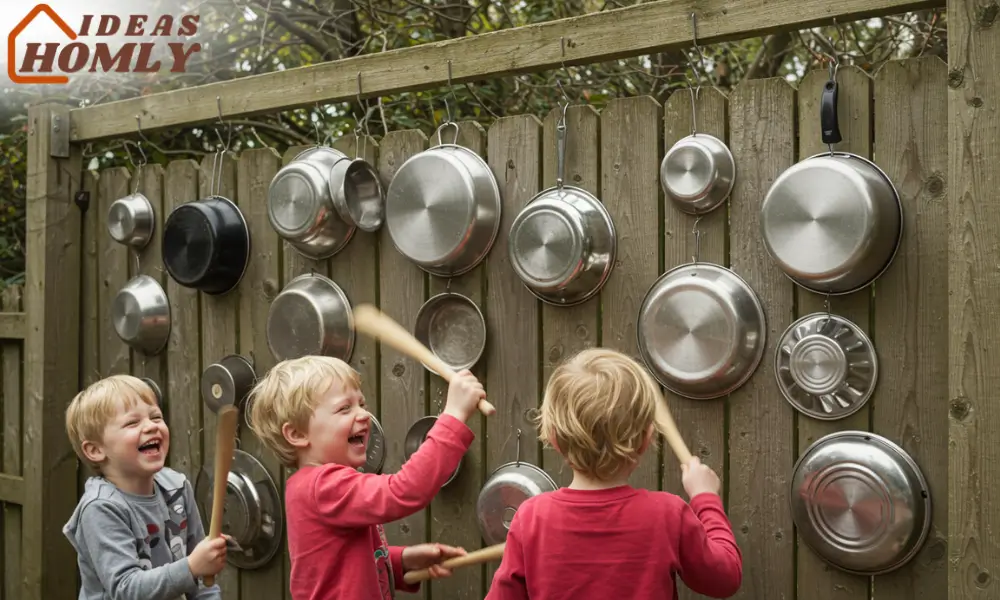
Extra idea: Arrange pans in order of size for a natural lesson on pitch and sound variations.
9. Color-Sorting Sink
This is one of the most visually satisfying ideas. A color-sorting sink gives children the chance to mix color-based play with sensory fun.
We use different bowls or bins labeled with color tags. Kids collect natural items like red leaves, yellow flowers, green grass, or blue-painted pebbles. Then they sort them into matching containers filled with water or mud.
I love watching how carefully they compare shades and organize their finds. It helps develop visual discrimination and early sorting skills. Plus, the play can easily turn into a nature scavenger hunt.
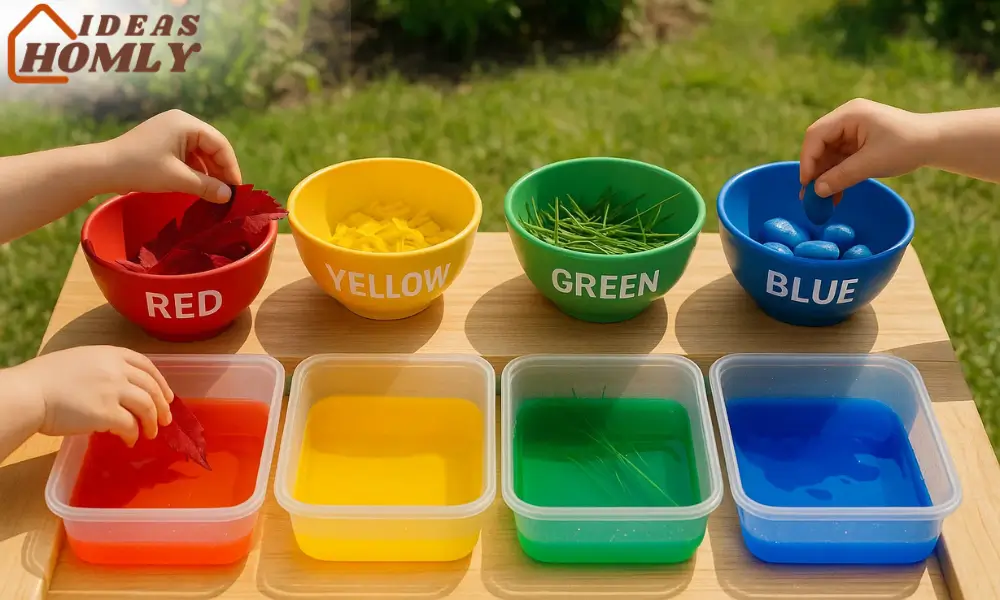
Add food coloring to water tubs to help younger kids connect items with colors more clearly.
10. Egg-Carton Farmers’ Market
Turn the mud kitchen into a small egg-carton farmers’ market and you’ll spark hours of rich pretend play.
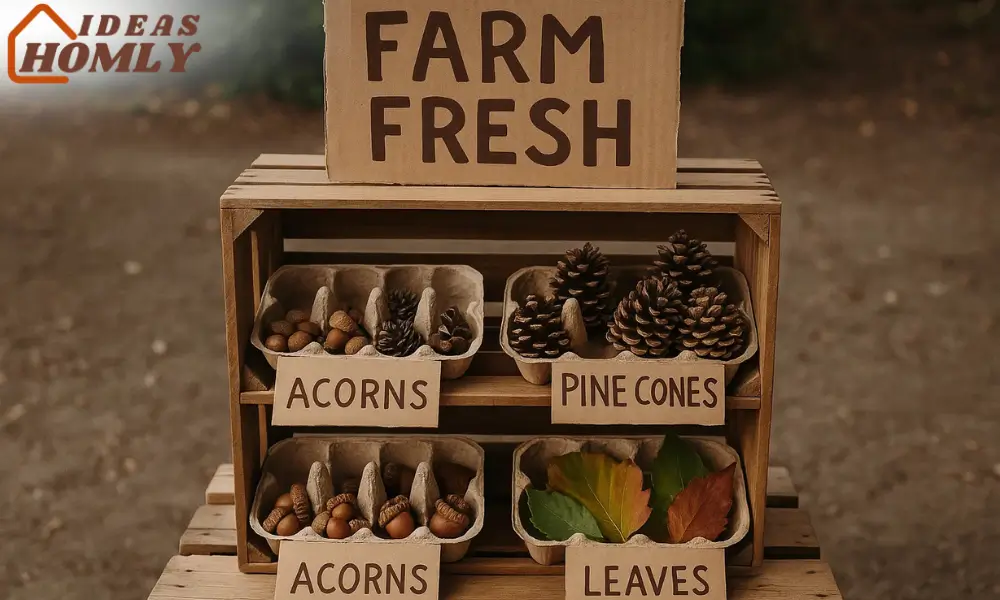
I save cardboard egg cartons and let kids fill them with miniature “produce” small pine cones, acorns, pebbles, or seed pods. They organize them by type or pretend to sell them like fruits and veggies. Add a small table or crate for the market stand.
Kids roleplay as farmers, sellers, and customers. It’s a great way to introduce the concept of local food and sustainability in a way that makes sense to them.
Tips for Setting Up a Budget Mud Kitchen
You don’t need fancy tools or a large yard to build a mud kitchen. I’ve helped many parents set up beautiful, functional kitchens with almost no spending.
Here’s how to keep it simple and affordable:
| Item | Budget-Friendly Alternatives |
|---|---|
| Sink/Basin | Old plastic tubs or mixing bowls |
| Countertop | Reclaimed wood, pallets, or crates |
| Tools | Reused kitchen spoons, spatulas, ladles |
| Stove burners | Painted jar lids or coasters |
| Play food | Rocks, leaves, sticks, flower petals |
| Storage | Shoe racks, baskets, or plastic drawers |
- Use recycled materials: Check local thrift shops, garage sales, or Facebook marketplace for free or cheap supplies.
- Keep it safe: Smooth out sharp edges and avoid breakable items, especially with toddlers.
- Designate zones: Have a washing area, a cooking counter, and a “serving” space to keep the play structured.
- Let the kids help: Involve them in the setup. They’ll feel more attached and creative when they help build their own kitchen.
The best part about building a mud kitchen on a budget is how customizable it becomes. You’re not locked into a design just build as you go!
Conclusion
After years of setting up different mud kitchens for kids, I can confidently say it’s one of the best creative outdoor activities you can offer. It doesn’t require screens, batteries, or expensive toys. Just dirt, water, and a little imagination.
Through these ten imaginative ideas, I’ve watched children develop focus, independence, and storytelling skills while simply “cooking” outdoors. From mixing flower-petal sundaes to digging muddy construction sites, the possibilities are endless and honestly, no two mud kitchen sessions are ever the same.
If you’re aiming for a more engaged, happy, and hands-on kind of childhood experience, this is where it begins. With a few budget-friendly tweaks and natural materials, you can create a magical space that keeps giving, season after season.
So roll up those sleeves, grab a scoop, and get started. Let the mud magic begin; your kids will thank you for it.
If you’ve read this so far, you’re probably as passionate as I am about helping kids create, explore, and connect with nature. Mud kitchens might seem simple, but they hold powerful potential to shape creativity, curiosity, and confidence.
I hope these ideas help you build a space where fun meets learning, and mess becomes magic. If you try out any of these play setups, let me know how it goes. I love seeing how families bring their mud kitchens to life.
FAQs
Mud kitchens are usually best for children aged 2 to 8 years, but it depends on your setup. Toddlers enjoy simple scooping and pouring, while older kids engage in complex pretend cooking, menu writing, and structured play. I’ve even seen 10-year-olds get excited when new features are added, like a chalkboard or play market.
Yes, with a few precautions. Always ensure the area is free of sharp objects and use non-toxic, child-safe materials. If you’re using plants or herbs, double-check that they’re not harmful when touched or accidentally tasted. Always supervise younger kids to prevent slips or mess getting out of hand.
I clean the mud kitchen once a week using a garden hose and mild soap. For daily use, I encourage kids to help rinse the tools and store items back in labeled baskets. It’s also helpful to have a “mud tray” or drying zone for dirty items. This turns cleanup into a game rather than a chore.
Absolutely! A balcony or even a tiled indoor corner can work. Use shallow trays for mud or sand, water bins with lids, and small folding tables or crates for the surface. The key is to protect the area below with a mat or tarp and limit water use.
Some kids need time to warm up to messy play. Start small, use dry ingredients like sand, pebbles, or dry leaves before adding mud or water. Let them watch siblings or friends play first. You might be surprised once they see how fun it looks, they often join in voluntarily.
Every mud kitchen activity can be linked to learning. You can focus on early math (measuring, sorting), science (mixing, experimenting), language development (menu writing, storytelling), or even emotional growth through roleplay. I often add laminated cards or charts to subtly reinforce learning during play.
Start with the basics: bowls, spoons, cups, pans, and strainers. Add interesting elements like funnels, spray bottles, muffin trays, cookie cutters, and mixing jars. I also recommend a chalkboard or dry-erase board, old spatulas, and a small watering can. The more open-ended the tools, the more imaginative the play becomes.

