
I often notice that an old fireplace can make a whole room feel dated and stuck in the past regardless of your other furniture. You do not need to spend thousands of dollars on a full renovation to change the appearance of your hearth and mantel.
Why Planning A Fireplace Makeover Increases Your Home Value
The fireplace is the main focal point of your living space and sets the tone for your entire interior design style. I prefer to start with a clear plan so the new materials match your existing flooring and wall colors for a cohesive look.
Refreshing your outdated brick or stone surface provides an immediate boost to your home’s aesthetic appeal and overall market worth for future buyers. It is a smart way to modernize your house while creating a cozy atmosphere that your family will enjoy every single day.
You should consider the heat resistance of your chosen materials to ensure the new design stays safe and durable for many years of use. I suggest using professional grade paints and adhesives that can handle the high temperatures without peeling or emitting any bad smells.
Updating the mantel and the surround allows you to fix any structural issues or cosmetic flaws that have been bothering you for a long time. It is a rewarding project that transforms a boring architectural feature into a stunning centerpiece that reflects your personal taste and style.
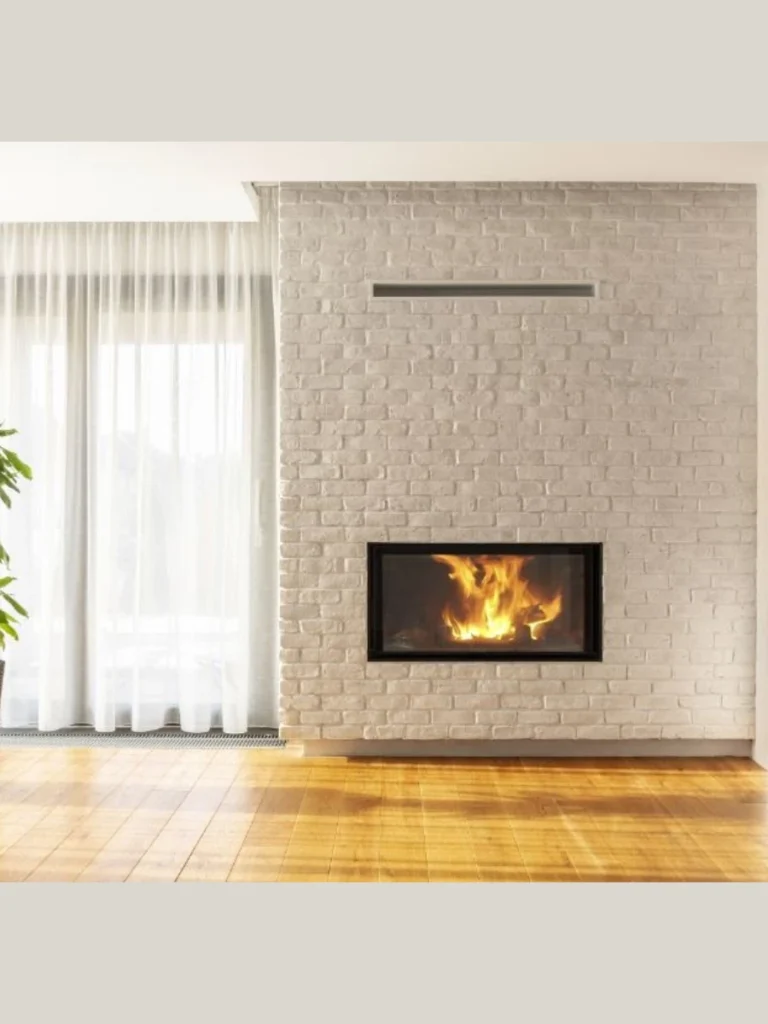
1. Whitewashing Outdated Red Brick
I find that whitewashing is the fastest way to brighten up a dark and heavy red brick fireplace without losing the natural texture. You just need to mix white latex paint with water to create a thin wash that allows the brick character to show through.
The result is a soft and vintage look that fits perfectly in a modern farmhouse or a cottage style home where light colors matter. I like how this method softens the harsh orange tones of older masonry while keeping the fireplace feeling original and very authentic to the house.
You can easily adjust the opacity by adding more paint or more water to the mixture until you achieve the exact look you want. I recommend testing a small hidden area first to see how the porous brick absorbs the liquid before you cover the whole surface.
This is an incredibly affordable project that you can finish in a single afternoon with just a brush and a bucket of diluted paint. It creates a professional finish that hides stains and dust while making your living room feel much larger and more open than before.
2. Applying A German Smear Finish
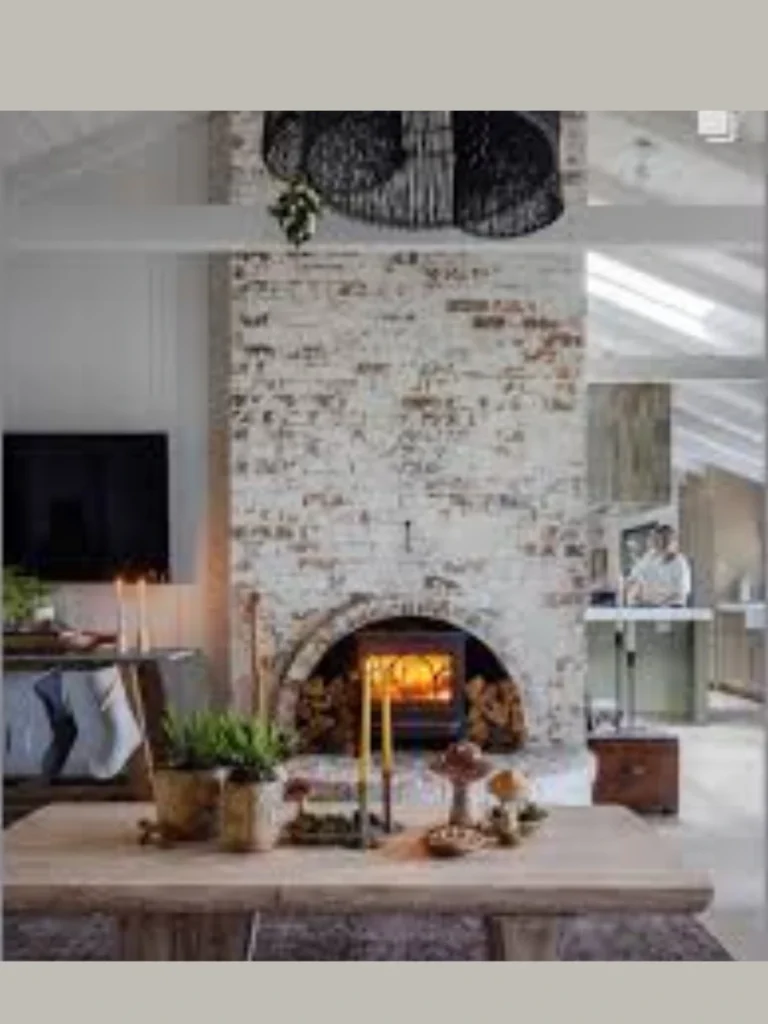
A German smear involves applying a thick layer of white mortar over the brick to create a rugged and rustic Old World appearance. I enjoy how this technique fills in the deep grout lines and leaves some of the brick faces exposed for a textured look.
This method provides a more permanent and heavy duty change compared to simple painting and adds a real sense of history to your room. I find that the uneven and hand applied finish makes the fireplace look like it has been part of a castle for centuries.
You should use a sponge or a trowel to smear the wet mortar across the surface while it is still pliable and easy to move. I like the way the white mortar dries to a hard stone-like finish that is very durable and resistant to heat or smoke damage.
It is a great way to hide uneven bricks or poorly done repair work that might be visible on an older and worn out fireplace. I suggest wearing gloves and taking your time to ensure the mortar is spread evenly across the entire structure for a professional result.
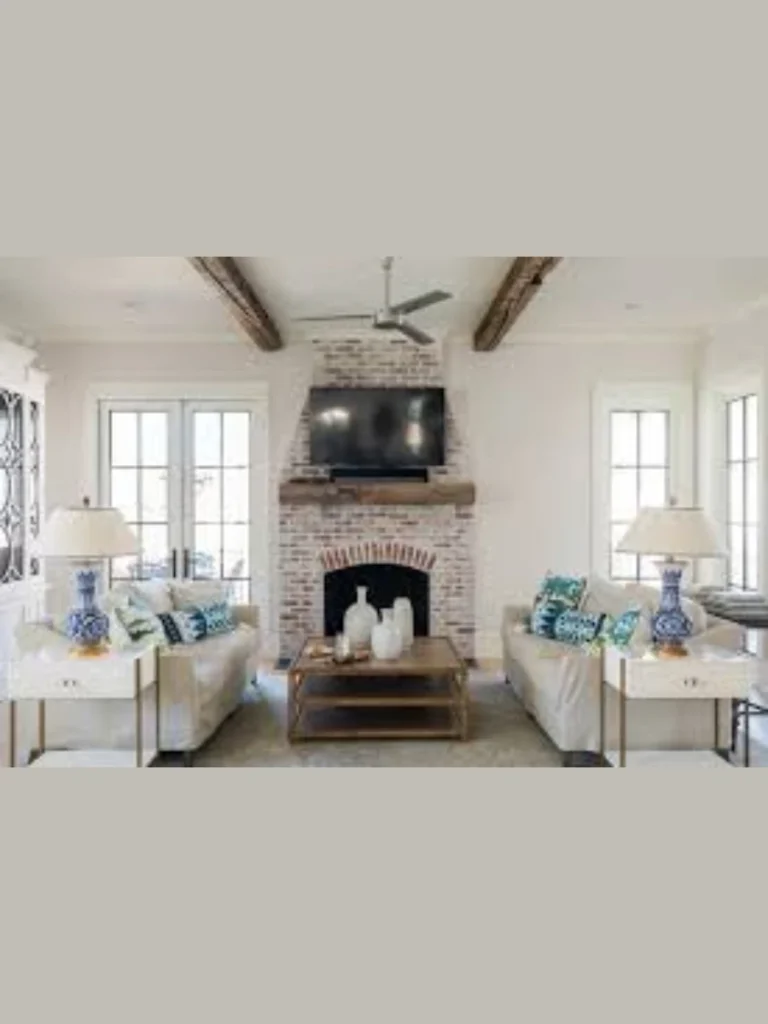
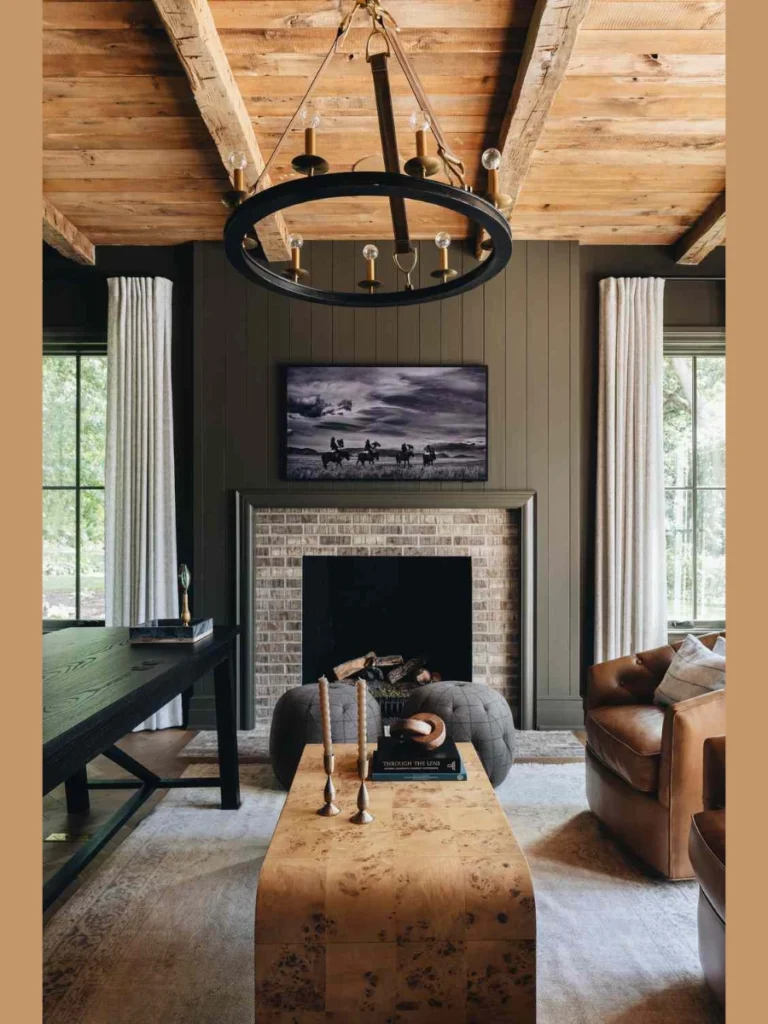
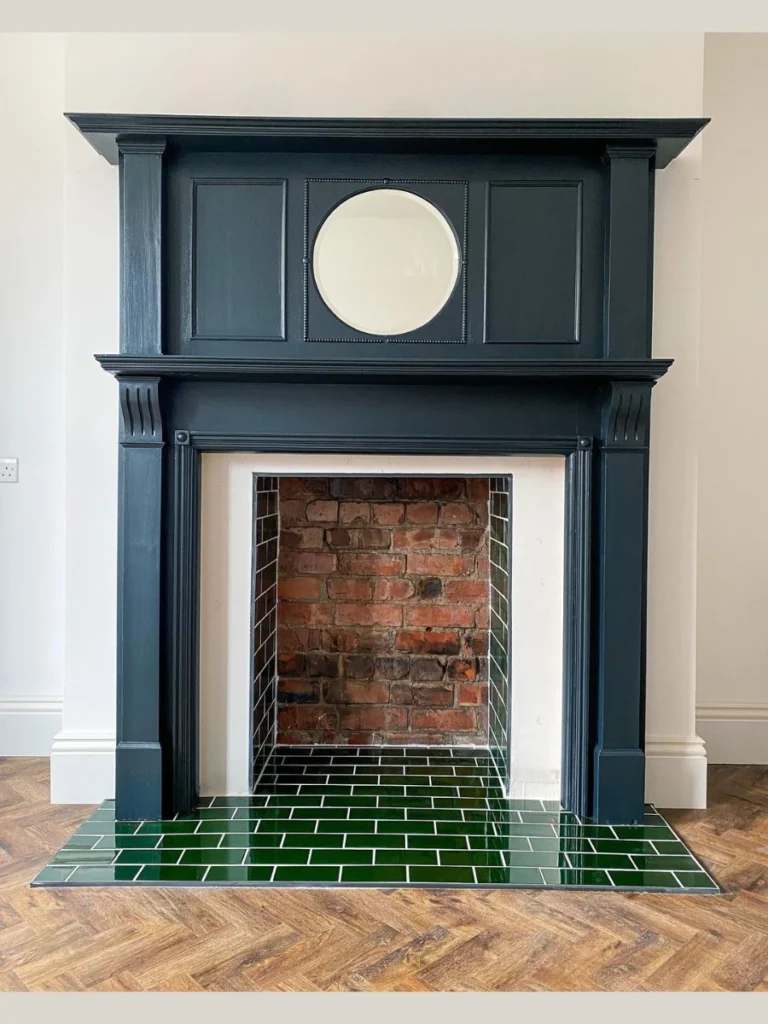
3. Painting The Surround Solid Black
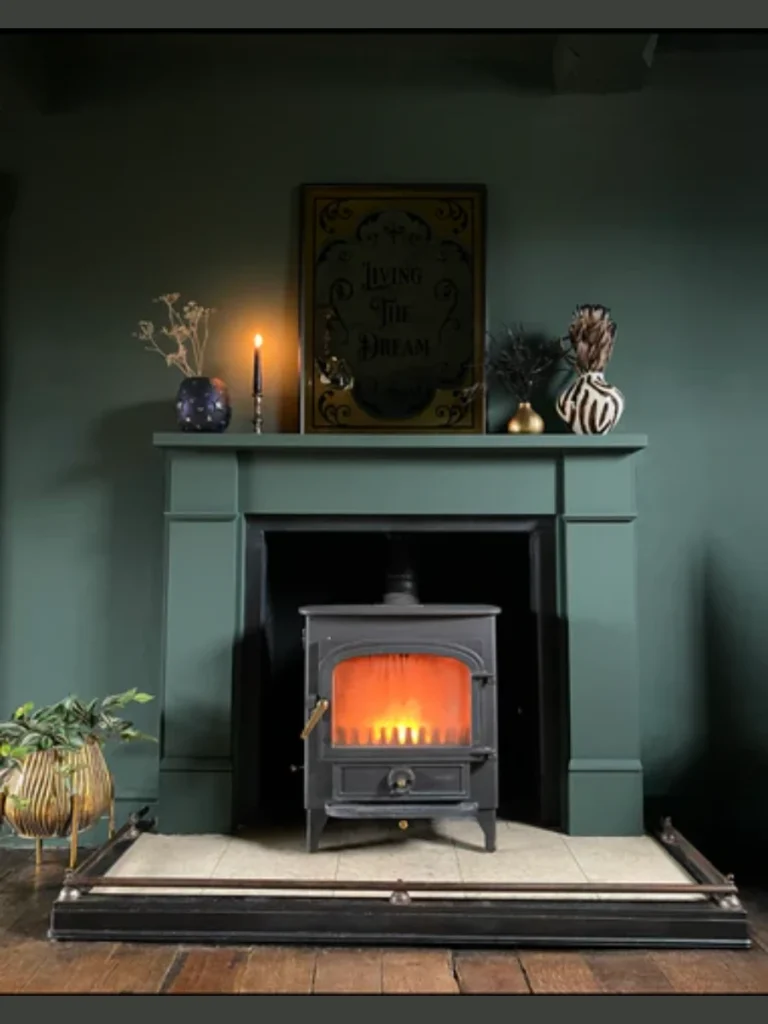
I love the bold and dramatic look of a solid matte black fireplace surround because it creates a sharp and modern contrast in the room. Dark colors tend to hide soot and ash marks much better than lighter shades while making the bright flames look more vibrant.
You must use a high heat spray paint or a specialized masonry paint to ensure the finish does not bubble or peel near the fire. I find that the dark surface helps to anchor a large television if it is mounted directly above the mantel on the wall.
This sleek look works beautifully in contemporary homes where you want to make a strong statement with a single and very powerful color choice. I usually pair a black surround with a natural wood mantel to add a bit of warmth and organic texture to the design.
Cleaning a painted surface is much easier than scrubbing raw brick since you can just use a damp cloth to wipe away any dust. It is an affordable way to hide a dated color scheme and give your fireplace a professional and very high end urban feel.
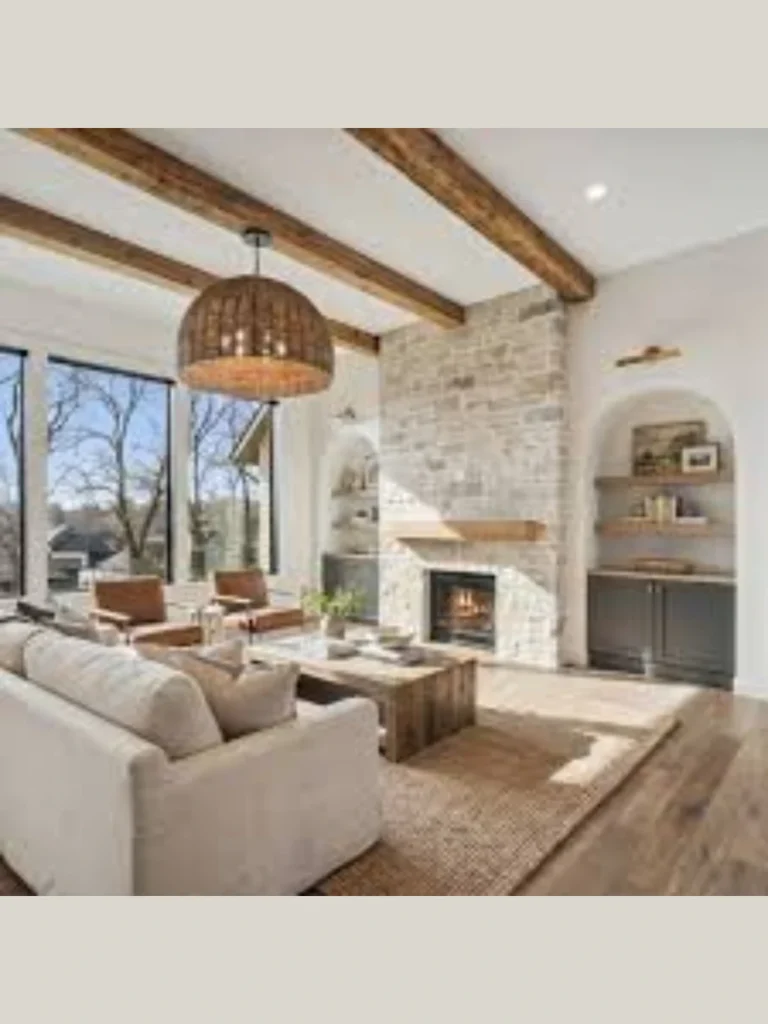
4. Installing Stacked Stone Veneer
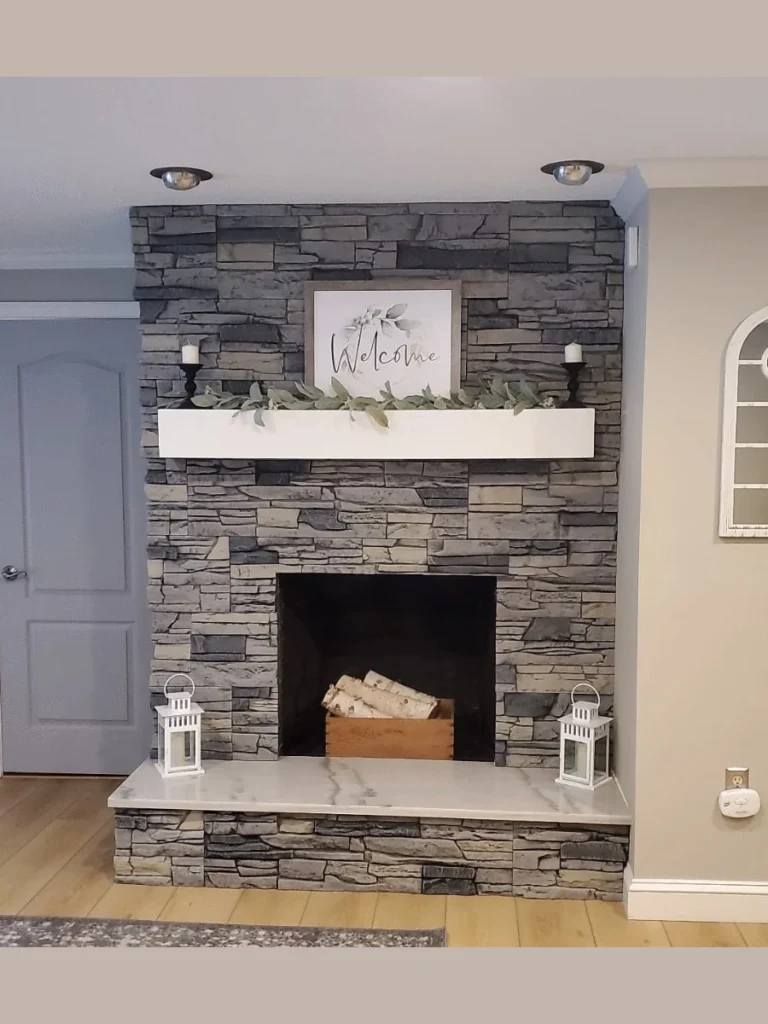
Using stone veneer allows you to get the look of a heavy and expensive fieldstone fireplace without the need for a professional mason. I find that these thin stone pieces are easy to glue directly over your existing brick using a strong and heat resistant adhesive.
The stacked stone adds a massive amount of texture and depth to your living room that feels very solid and high quality to the touch. I love how the natural variations in the stone colors provide a rich backdrop for your mantel decor and seasonal holiday displays.
You can choose from a variety of styles like grey slate or warm tan ledge stone to match the specific vibe of your indoor space. I find that this makeover makes the fireplace look like a custom built feature that was part of the original luxury home design.
Make sure to start from the bottom and work your way up to ensure the rows stay level and the weight is properly supported. It is a slightly more involved project but the professional results are well worth the extra effort and the small investment in quality materials.
5. Adding A Modern Shiplap Overmantel
I find that installing white shiplap boards above the mantel creates a clean and vertical look that draws the eye upward toward the ceiling. It is a fantastic way to hide an ugly drywall chimney breast and add some classic farmhouse character to your main living room.
The horizontal lines of the boards provide a nice rhythm that balances out the solid weight of the lower fireplace surround and the hearth. I usually paint the shiplap a crisp white to make the room feel bright and airy while providing a neutral backdrop for art.
You should use moisture resistant boards if you live in a humid climate to prevent the wood from warping or pulling away from the wall. I like how this project allows you to integrate a television or a large mirror into the design without any visible wires or gaps.
This makeover is relatively easy for any DIY enthusiast and only requires a few basic tools like a level and a nail gun for installation. It creates a professional and polished look that makes your fireplace feel like it belongs in a high end interior design magazine.
6. Swapping To A Reclaimed Wood Mantel
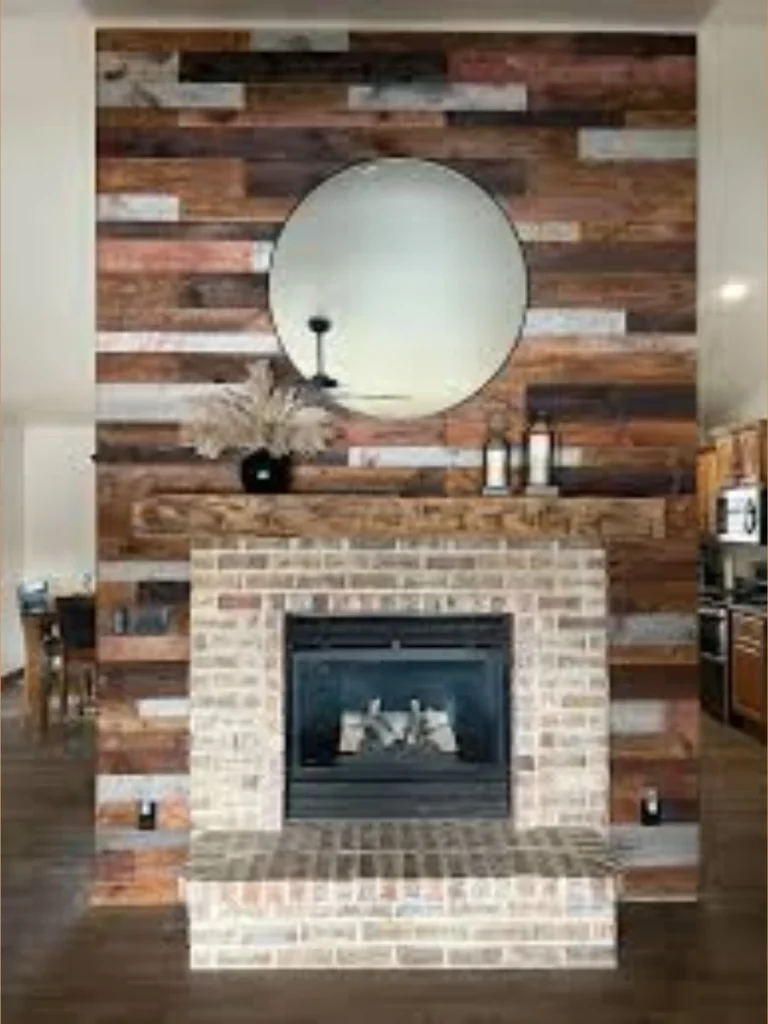
Replacing a thin or ornate mantel with a thick beam of reclaimed timber adds an instant sense of warmth and history to your fireplace. I love the natural cracks and nail holes found in old wood because they tell a story and add a rugged charm.
A heavy wood beam provides a sturdy shelf for your favorite books and decor while grounding the entire visual design of the fireplace makeover. I find that the contrast between the rough wood and a smooth painted surround creates a very sophisticated and modern look for home.
You should ensure the new mantel is properly anchored into the wall studs so it can safely support the weight of the heavy timber beam. I usually apply a light coat of clear wax to protect the wood from drying out while keeping the natural grain very visible.
This is a simple change that makes a huge impact on the overall feel of the room without requiring you to touch the actual masonry. I suggest looking for wood with a bit of character and a rich color that complements your existing hardwood floors or wood furniture.
7. Tiling Over The Existing Hearth
I often see that a stained or cracked hearth can ruin the look of an otherwise beautiful fireplace makeover project in your home. You can easily lay new porcelain or cement tiles directly over the old surface to create a fresh and very decorative landing zone.
Patterned tiles add a pop of personality and a touch of color that can act as a bridge between your flooring and the fireplace itself. I find that a smooth tiled surface is much easier to sweep and keep clean from stray wood ash or dust during the winter.
You should use a thin set mortar designed for high heat areas to ensure the tiles stay firmly attached and do not crack under pressure. I like to choose a grout color that matches the darker tones in the tile to hide any future soot or dirt marks.
This small detail finishes off the look of your makeover and makes the entire fireplace unit feel brand new and professionally installed from top to bottom. It is an affordable way to add a bit of luxury and custom design to a part of the room people often ignore.
8. Installing A Floor To Ceiling Tile Surround
I find that taking your tile choice all the way to the ceiling creates a dramatic and very professional look in any living room. Large format porcelain tiles can mimic the appearance of solid marble or slate slabs without the extreme weight or the high price tag.
This vertical design draws the eye upward and makes even a standard height ceiling feel much taller and more impressive than it actually is. I like how a seamless tiled wall provides a smooth and modern backdrop that highlights the flickering movement of the fire below.
You should use a high-quality thin-set mortar that can handle the weight of large tiles on a vertical surface to prevent any dangerous slipping. I often suggest choosing a subtle textured tile to add a bit of a tactile element that catches the light from your windows.
The finished result looks incredibly high end and turns a basic fireplace into a piece of architectural art that defines the whole home. It is a smart way to modernize a room while using a durable material that stays looking brand new for many decades to come.
9. Creating A Faux Concrete Finish
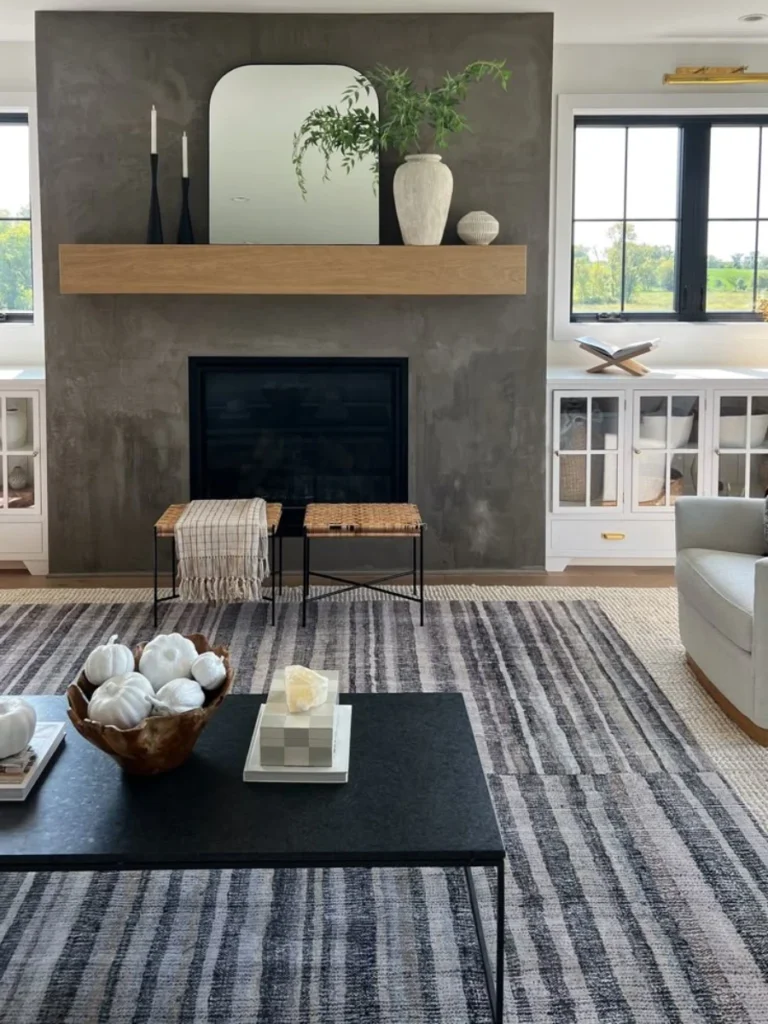
Applying a thin layer of feather-finish concrete over an existing brick fireplace provides a rugged and industrial look that is very popular right now. I enjoy how the grey stone texture creates a neutral and very minimalist vibe that fits perfectly in a modern urban apartment.
You can apply the concrete in thin layers using a flat trowel to achieve a smooth or a slightly distressed and hand-worked appearance. I find that this method is much more affordable than pouring solid concrete while giving you the exact same visual weight and style.
The matte grey finish provides a stunning contrast against dark wood floors or bright white walls in a contemporary living space or a master bedroom. I usually seal the final layer with a heat resistant clear coat to protect the surface from dust and occasional water splashes.
This makeover is perfect for hiding uneven bricks or hiding a dated 1980s style without having to tear anything down or do heavy construction. It gives your home a custom and professional feel that looks like it was designed by a high-end architect for a luxury project.
10. Building A Custom Floor To Ceiling Built In
I love the idea of surrounding your fireplace with custom shelving and cabinets to create a massive wall of functional and beautiful storage. It integrates the hearth into the room’s architecture so it no longer looks like a separate and lonely block sitting against the wall.
You can use the cabinets to hide messy electronics or gaming consoles while using the open shelves to display your favorite books and decor. I find that this makeover makes the fireplace feel like the heart of a very organized and professionally styled living area.
Painting the entire built-in unit the same color as your fireplace surround creates a unified and very expansive look that feels solid and intentional. I suggest adding some integrated LED lighting to the shelves to highlight your items and add a soft glow during the evening hours.
This project requires a bit more planning and woodworking skill but it offers the biggest return on your investment in terms of home function. It transforms a simple fireplace into a complete entertainment center and library that adds significant value and style to your daily life.
Comparison of Advanced Makeover Materials
| Material | Style | Heat Resistance | Surface Preparation |
| Large Tile | Modern / Luxe | Excellent | Needs Flat Substrate |
| Faux Concrete | Industrial / Urban | High | Must Be Clean and Dry |
| Built-in Wood | Traditional / Classic | Low (Keep Clearance) | Requires Wall Studs |
| Marble Slab | High-End / Formal | Highest | Professional Install |
How To Prepare Your Fireplace For A Makeover
- Scrub the entire surface with a heavy-duty degreaser or TSP to remove years of built-up soot and oily residue from the fire.
- Repair any loose mortar joints or cracked bricks before you apply new tile or stone to ensure the structure is stable.
- Vacuum the interior of the firebox and the surrounding area to keep dust from settling into your fresh paint or wet mortar.
- Tape off the floor and nearby walls with heavy-duty plastic to protect your expensive flooring from drips and falling debris.
Conclusion
I hope these suggestions help you realize that your old fireplace does not have to stay stuck in the past forever. You can choose a quick paint job for a fast update or go for a full stone veneer for a deeper change.
Your home should be a place where you feel proud of the design and the fireplace is the perfect place to start. I find that once you update the hearth the rest of the room naturally begins to feel much more modern and clean.
Do not be afraid to tackle these projects yourself if you want to save some money while learning a new and useful skill. I personally love how a bit of white paint or a new wooden beam can turn a dark corner into a bright heart.
Take some time to look at your current living room and decide which material will best match your long-term goals for the space. I think you will be delighted by how much a professional fireplace makeover improves your daily mood and your home’s comfort.
FAQs
I suggest using a high-quality masonry paint or a specialized high-heat paint to ensure the finish stays durable and does not peel. Regular paint might not breathe well on porous brick which can lead to bubbling or a very messy looking finish over time.
You can definitely do this yourself if you have some basic tools and a bit of patience for leveling each row of stone. I find that as long as your brick is clean and sturdy the adhesive will hold the thin stone veneer perfectly for years.
Most local building codes require a specific distance between the top of the firebox and any flammable wood materials like a mantel beam. I always recommend checking your local safety regulations before you anchor a new heavy wood beam to the wall above the fire.
Whitewashing actually highlights the natural bumps and lines of the masonry while only changing the color from dark red to a soft white. I love this method because it provides a bright and fresh look without making the fireplace look like a flat and boring wall.
I find that a mixture of warm water and a heavy-duty degreaser like TSP is the most effective way to remove oily black stains. You should scrub the area with a stiff brush and rinse it thoroughly before you try to apply any new tile or paint.