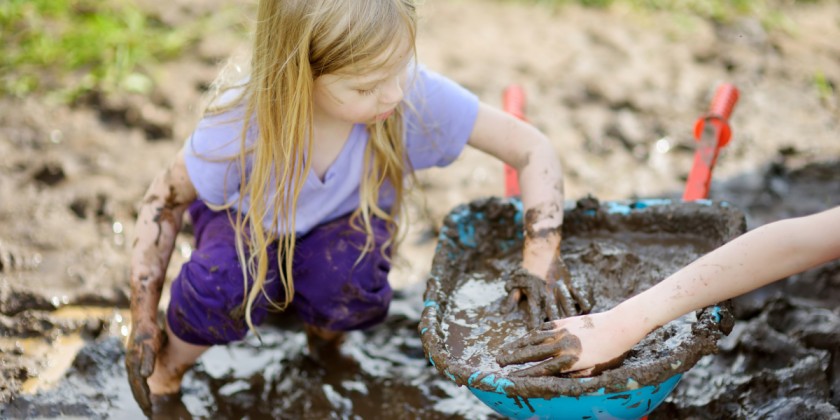
If there’s one thing I’ve learned as a parent and someone who’s passionate about outdoor play, I’ve learned that kids don’t need much to spark their imagination, just a bit of dirt, water, and freedom.
That’s where mud kitchens come in. These simple yet magical outdoor setups can turn any backyard into a world of creativity, messy fun, and sensory learning.
Whether you’re a DIY lover or just looking for budget-friendly ways to get your kids outside, a mud kitchen is a fantastic place to start.
In this Guide, I’ll share some truly creative outdoor mud kitchen ideas that are not only fun but also educational and easy to set up.
You’ll also love this article: Why Mud Kitchens Are Great for Kids?
10 Creative Outdoor Mud Kitchen Ideas
Now that we understand the benefits, let’s explore some exciting mud kitchen ideas that you can create right in your backyard. Whether you have a large space or just a small corner, these setups are adaptable, affordable, and incredibly fun.
1. Upcycled Pallet Mud Kitchen
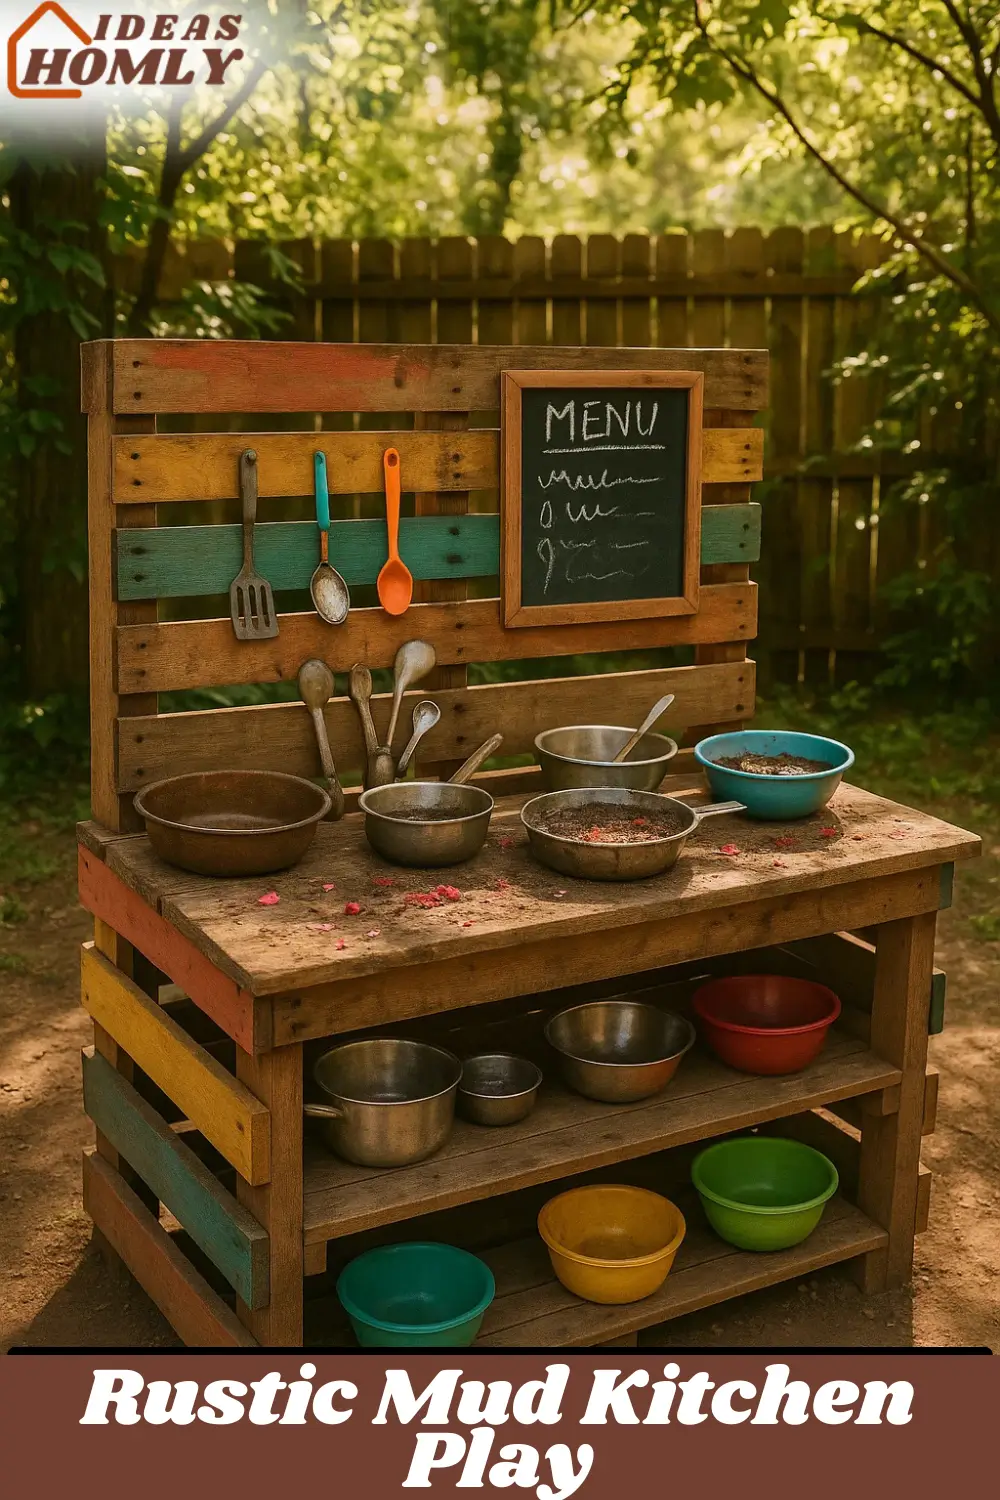
If you’re someone who enjoys a bit of DIY, this idea is a great place to start. Pallets are sturdy, widely available, and perfect for repurposing into a rustic-looking mud kitchen.
You can stack them to form a countertop, add a few hooks for utensils, and even create open shelves for storing bowls and pans.
What I love about pallet kitchens is how customizable they are, you can paint them bright colors, add chalkboard paint for menus, or even attach an old faucet for that “real kitchen” feel.
2. Mud Kitchen with Real Sink
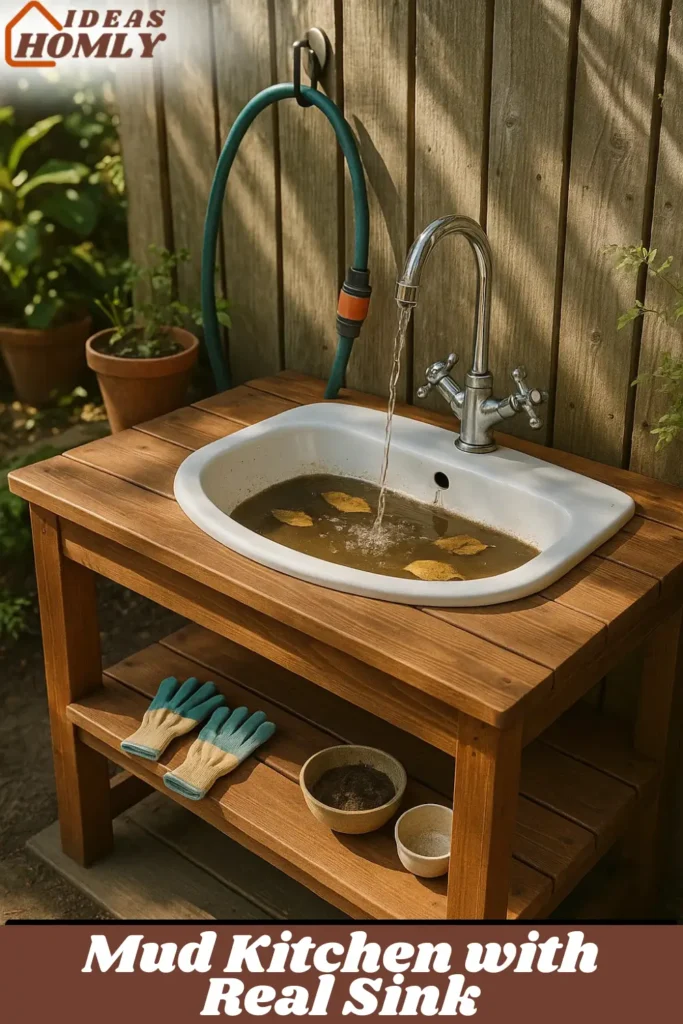
Want to take things up a notch? Try adding a working or pretend sink. An old camping sink, a discarded bathroom basin, or even a plastic tub fitted with a hose can turn an ordinary mud kitchen into a more interactive experience.
Kids will love filling the sink, draining water, and feeling like they’re really “doing the dishes.” It’s also a great way to introduce basic water flow concepts and hand-washing habits in a fun, no-pressure environment.
Also Read This: How to Build a Mud Kitchen in 3 Easy Steps?
3. Portable Mud Kitchen Cart
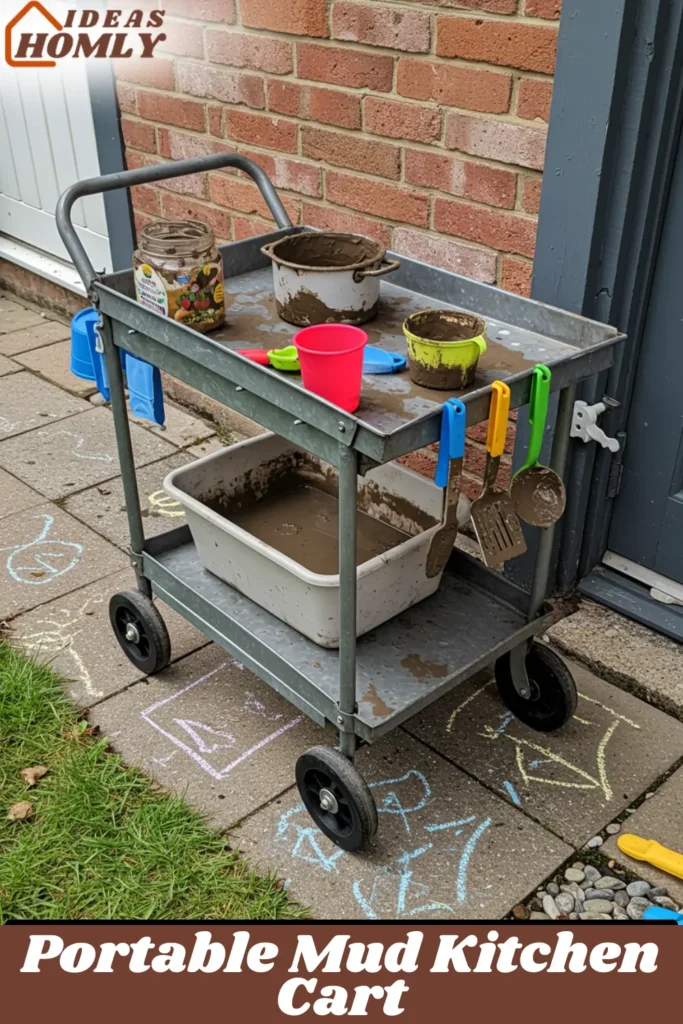
Short on space? No problem. A portable mud kitchen cart might be the perfect solution for smaller yards or patios.
Think of it as a mini rolling station with wheels that can be moved around depending on the weather, or simply tucked away when not in use.
Use a repurposed bar cart or utility trolley and fit it with small tubs, hanging hooks, and a removable countertop. It’s compact, practical, and perfect for urban families or renters.
4. Miniature Mud Café (with Menu Boards)
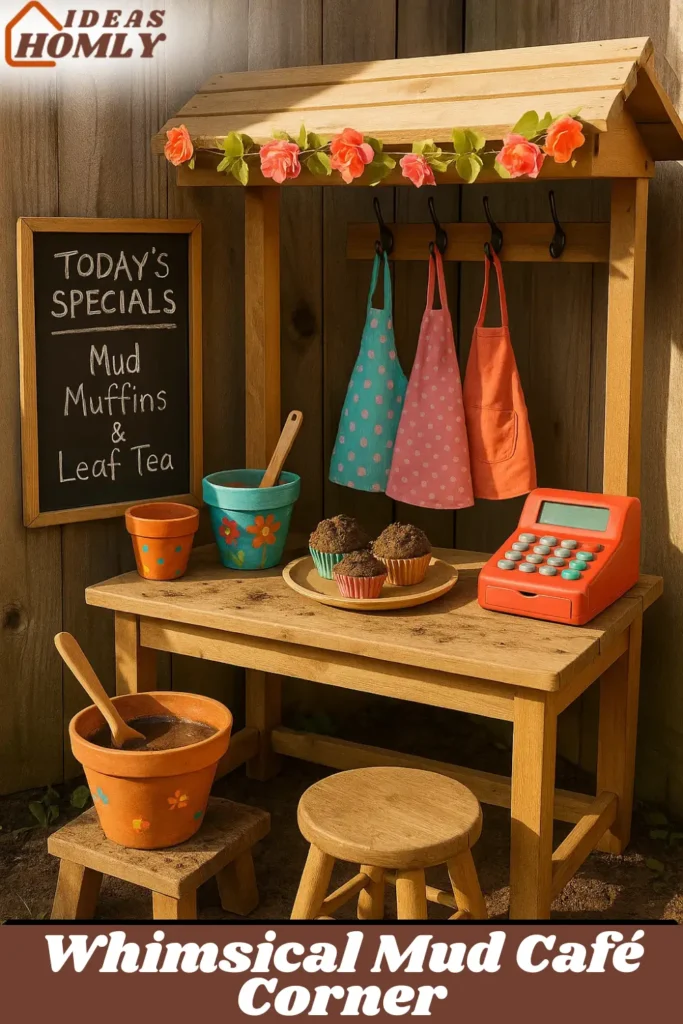
Here’s where you can really spark some role-play magic. Transform your mud kitchen into a full-on mud café! Add a chalkboard or whiteboard for the “menu,” let kids take orders, serve muddy muffins, and ring up imaginary customers.
You can use simple materials like wood planks for counters and decorate the space with play food, aprons, or even a toy cash register. It’s a brilliant way to mix pretend play with early literacy and communication skills.
5. Nature-Inspired Mud Kitchen (Using Stones, Leaves, and Twigs)
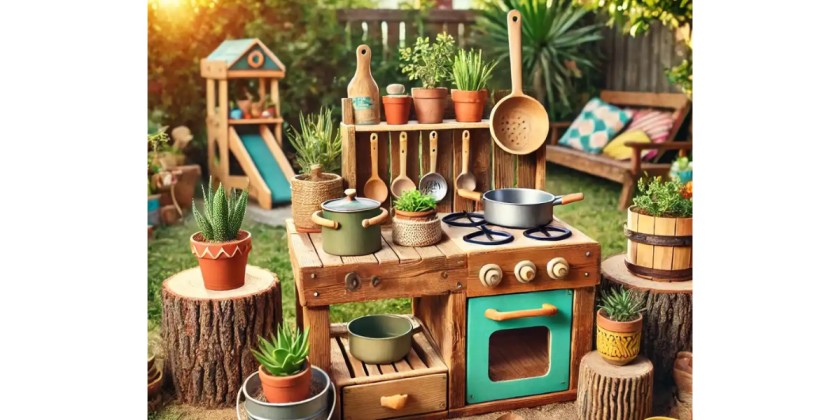
Sometimes, the best materials come straight from nature. This type of mud kitchen focuses less on structure and more on natural elements, perfect for forest-school-style learning.
Set up a low bench or table outside, then let the kids gather twigs, bark, pebbles, pinecones, and flowers to create their own recipes.
It’s an eco-friendly and budget-conscious idea that not only encourages creativity but also helps children appreciate the textures and colors of the natural world around them.
Don’t miss this: Mud Kitchen Setup Ideas for Outdoor Fun
6. Two-Level Mud Kitchen (for Multiple Kids)
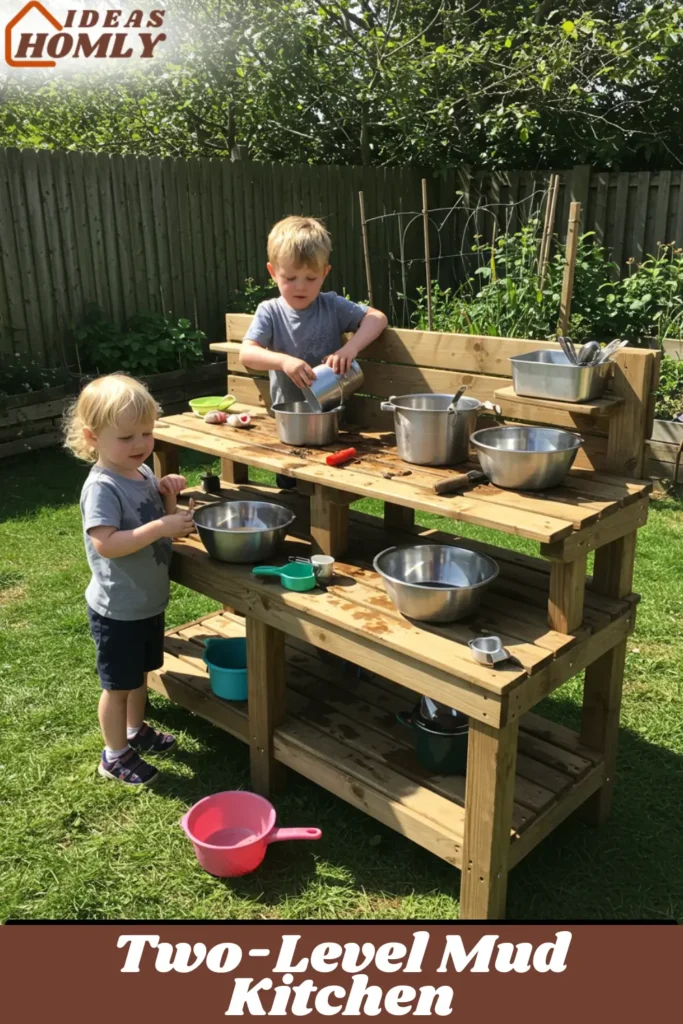
If you have more than one little chef at home, or if your backyard is a hotspot for playdates, a two-level mud kitchen is a brilliant solution.
Design it with a taller counter for older kids and a lower section for toddlers, allowing children of different ages to play side by side comfortably.
It encourages cooperative play without the classic “who gets the counter space” squabble. Add extra bowls, pans, and utensils to keep everyone busy. Plus, it’s a subtle way to teach sharing and teamwork through fun.
7. Enclosed Mud Kitchen (with Roof or Shade)
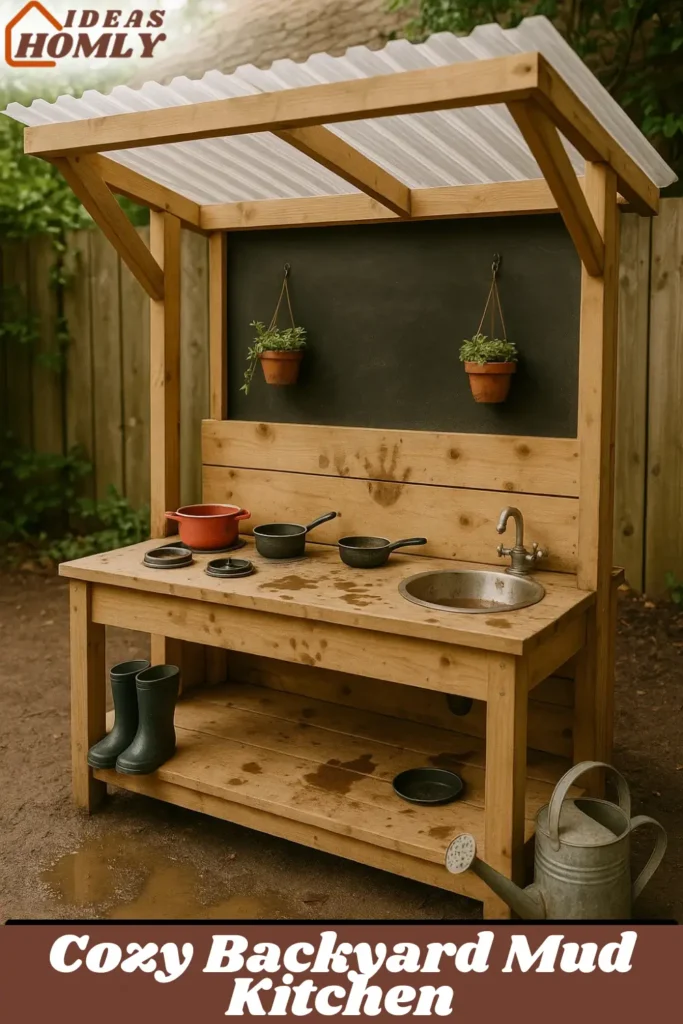
A shaded or semi-enclosed mud kitchen makes outdoor play possible even during warmer days or light rain.
You can build a simple wooden frame over the kitchen area and cover it with a tarp, corrugated plastic, or even bamboo roofing for a rustic look.
Some parents even use an old garden shed or repurpose a playhouse. Besides protecting from the elements, it gives the kitchen a cozy, secret-clubhouse vibe that kids absolutely love.
You might find this helpful: Mud Kitchen Play Ideas for Kids
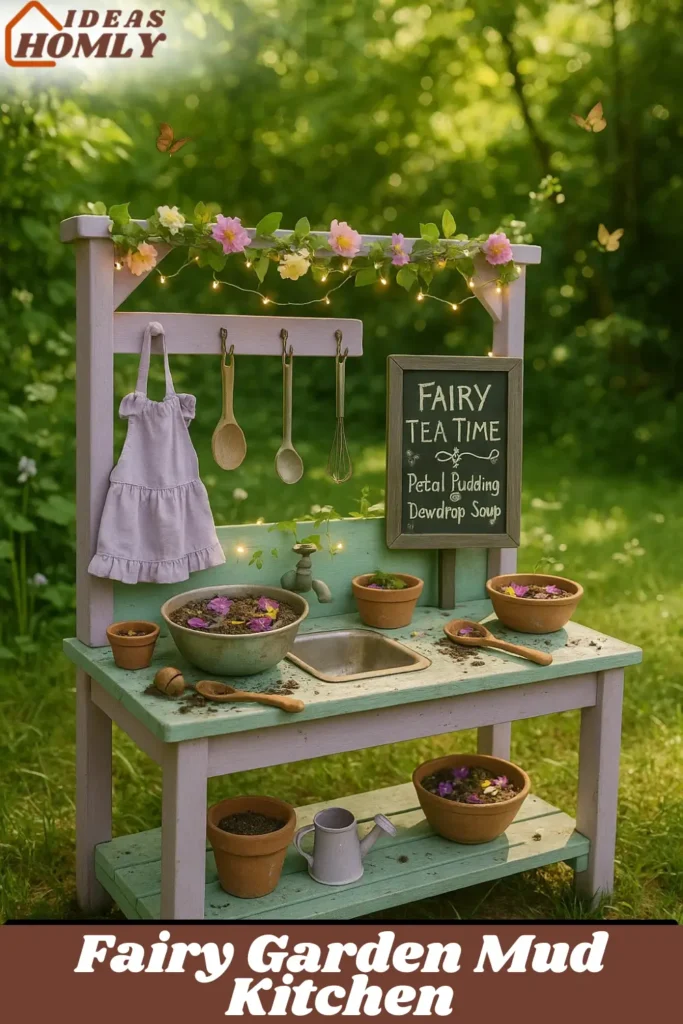
8. Colorful Themed Mud Kitchen (Pirate Ship, Fairy Garden, etc.)
Take imaginative play to a whole new level with a themed mud kitchen. Whether it’s a pirate galley with a cardboard steering wheel or a fairy kitchen with flower garlands and twinkling lights, themes make the space more magical. Use props, paint, or decorations to bring it to life.
For example, a pirate kitchen could have “seaweed stew” and “mud grog” on the menu, while a fairy-themed kitchen might feature glittery mud pies and flower petal tea. The possibilities are endless, and so is the creative storytelling.
9. Mud Lab for Science Experiments
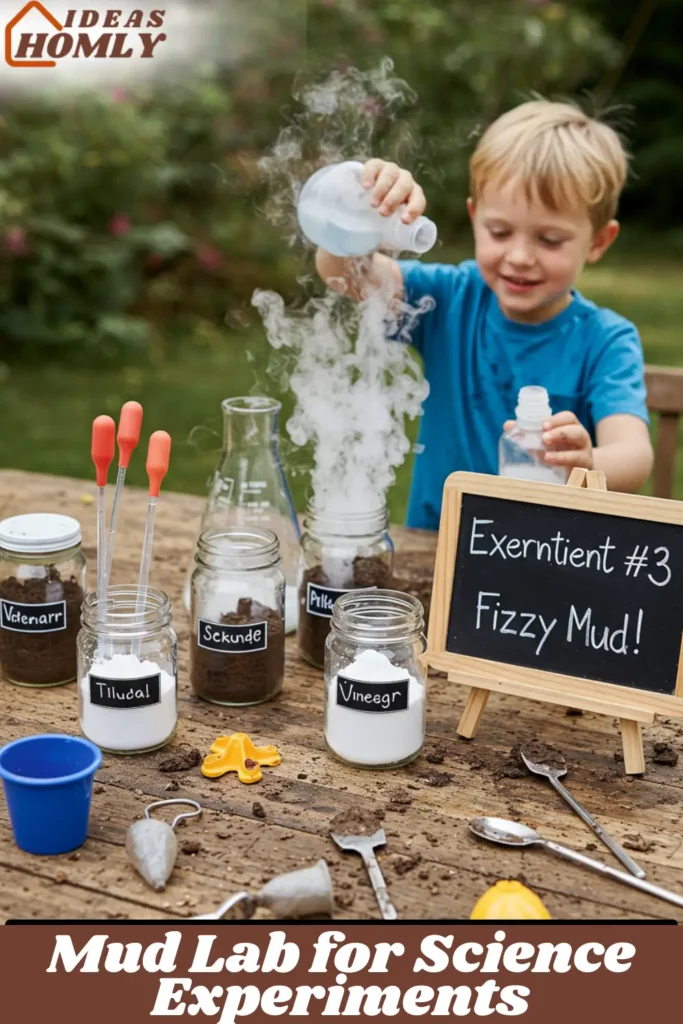
Who says mud kitchens are only for cooking? You can flip the concept and turn it into a mini mud laboratory where kids become messy little scientists.
Set up measuring cups, beakers, droppers, and test tubes (plastic ones, of course), then encourage children to mix mud with baking soda, vinegar, sand, or even natural dyes.
It’s a super engaging way to sneak in basic science concepts like reactions, measurements, and hypothesis testing—without needing a textbook.
10. Seasonal Mud Kitchen (Spring Garden, Autumn Harvest)
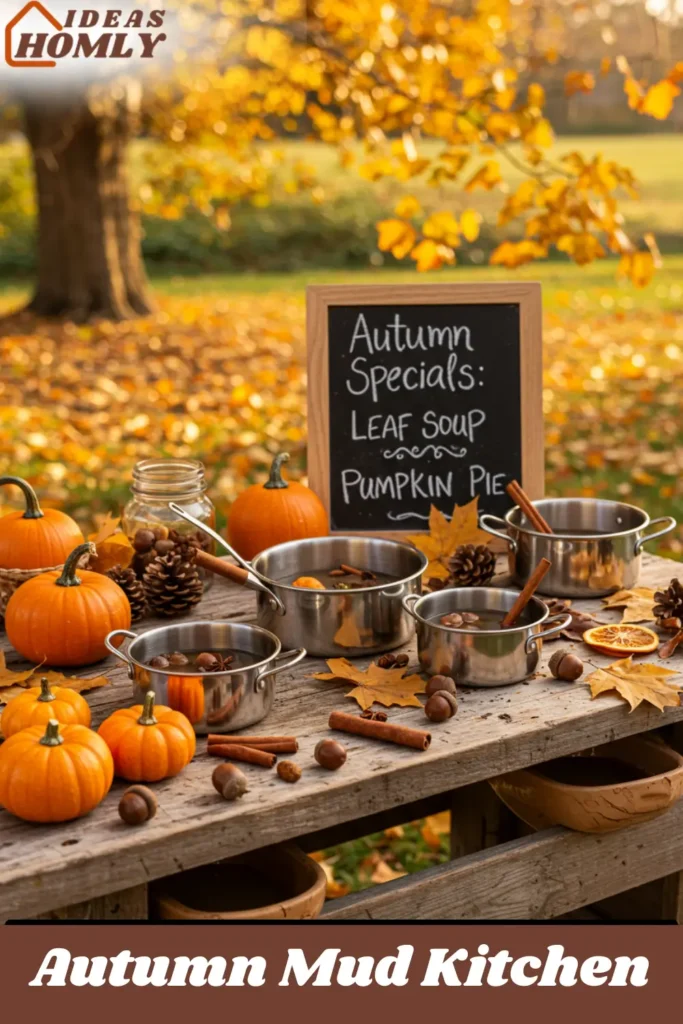
Celebrate the changing seasons by rotating themes and materials in your mud kitchen throughout the year. In spring, add flower petals, herbs, and colorful water for garden-inspired dishes.
In autumn, bring in acorns, dried leaves, mini pumpkins, and cinnamon sticks for a cozy, harvest-style menu.
This idea keeps the kitchen fresh and relevant all year long, helping kids connect with nature’s cycles while still enjoying the core joys of messy play.
You’ll also love this article: Summer Mud Kitchen Ideas
DIY Tips for Building a Mud Kitchen
Building a mud kitchen doesn’t have to be complicated or expensive. In fact, one of the things I love most about mud kitchens is how flexible they are.
Whether you’re a seasoned DIYer or just someone who owns a basic toolkit, you can pull this off with a bit of creativity and some repurposed materials.
Start with the Right Materials
Look around your home or local community for things you can reuse. Old wooden pallets, discarded furniture like bookshelves or cabinets, or even crates can form the base of your mud kitchen. You’ll want something sturdy enough to hold bowls, pans, and a bit of splashing.
If you’re worried about moisture, go for treated or weather-resistant wood, or seal your kitchen with a child-safe, outdoor-grade varnish.
Don’t Overthink the Design
Some of the best mud kitchens I’ve seen were super simple. A flat surface for mixing, a few hooks for utensils, and a couple of shelves are really all you need.
If you want to go fancier, you can add sink holes, a pretend stovetop, or even oven knobs made from old bottle caps. Just make sure it’s at the right height for your child to play comfortably.
Add Functional Details
Think beyond just structure, functionality adds a whole layer of fun. Drill holes to insert mixing bowls or fit in removable plastic tubs as “sinks.”
Attach a hose to create running water or simply keep a water jug nearby for filling up pots. A chalkboard or painted menu area adds a fun role-playing element and doubles as an ever-changing to-do list for your little chefs.
Safety First
This is a kid’s space, after all, so double-check for any sharp edges, splinters, or wobbly parts. Sand down all the wood thoroughly and secure every joint or screw tightly.
If you’re using old materials like painted wood, make sure there’s no lead paint or chemical residue. And of course, always supervise younger kids during playtime, especially when water is involved.
Location Matters
Set up your mud kitchen in a shaded spot, near a garden or sandpit if possible. You’ll want access to dirt (obviously), some water, and ideally, a nearby hose or bucket-cleaning station.
Make sure the area drains well, you don’t want puddles forming or your lawn turning into a swamp (unless the kids are into that too!).
Accessories and Tools to Use in a Mud Kitchen
Here’s a quick list of must-have mud kitchen tools to spark creativity and keep playtime engaging:
- Old pots, pans, and mixing bowls
- Wooden spoons, ladles, and whisks
- Measuring cups and plastic jugs
- Muffin trays, baking tins, and silicone molds
- Recycled plastic containers and jars
- Natural items: stones, leaves, twigs, pinecones, flower petals
- Mini buckets and watering cans
- Toy plates and cups
- Chalkboard or small whiteboard (for menus or recipes)
- Toy cash register or pretend money
Tip: Measuring cups are great for introducing basic math through play, and muffin trays let kids shape their mud creations in fun, familiar forms.
Maintenance and Safety Tips
Keeping your mud kitchen safe, clean, and in good shape doesn’t have to be a chore, it just takes a bit of regular attention. First, give everything a quick rinse after playtime.
You don’t need to deep clean daily, but washing off excess mud from tools and surfaces helps prevent mold, bugs, and wear.
Every couple of weeks, do a quick inspection for loose screws, splinters, or cracked materials, especially if your kitchen is made of wood.
If you’re using real kitchen items, make sure there’s nothing sharp or rusted. It’s also a good idea to store metal tools indoors when not in use, especially during rainy seasons.
Most importantly, always supervise young kids, water, slippery mud, and uneven ground can create small hazards. With just a little care, your mud kitchen will stay fun and safe all year round.
Conclusion
At the end of the day, a mud kitchen is so much more than just a messy corner of the backyard, it’s a space where creativity, curiosity, and childhood magic come alive.
Whether you build a simple setup with recycled items or go all-in with themes and working sinks, what truly matters is the experience it gives your kids.
I’ve seen firsthand how something as basic as mud and water can spark hours of imaginative play and learning.
So don’t stress about making it perfect, just make it playful. With the right ideas, a few tools, and a little effort, you can create a mud kitchen that becomes your child’s favorite outdoor hangout for years to come.
FAQs
Yes, mud kitchens can be used year-round with a few adjustments. In winter, kids can still enjoy sensory play using snow, ice, or even warm water in tubs. For rainy days, a covered or enclosed setup helps. Just ensure tools are dried afterward to prevent damage or mold.
Start by offering dry materials first, like sand, pebbles, or dry dirt. Provide gloves if needed and create a quiet, shaded space to play. Allow children to engage at their comfort level, gradually introducing water or wetter textures over time.
A mud kitchen can be stocked with old pots, pans, spoons, mixing bowls, measuring cups, and baking trays. Add natural items like leaves, stones, twigs, and flower petals for creative “ingredients.” Water jugs, mud molds, and chalkboards for menus are also great additions to encourage imaginative play.

