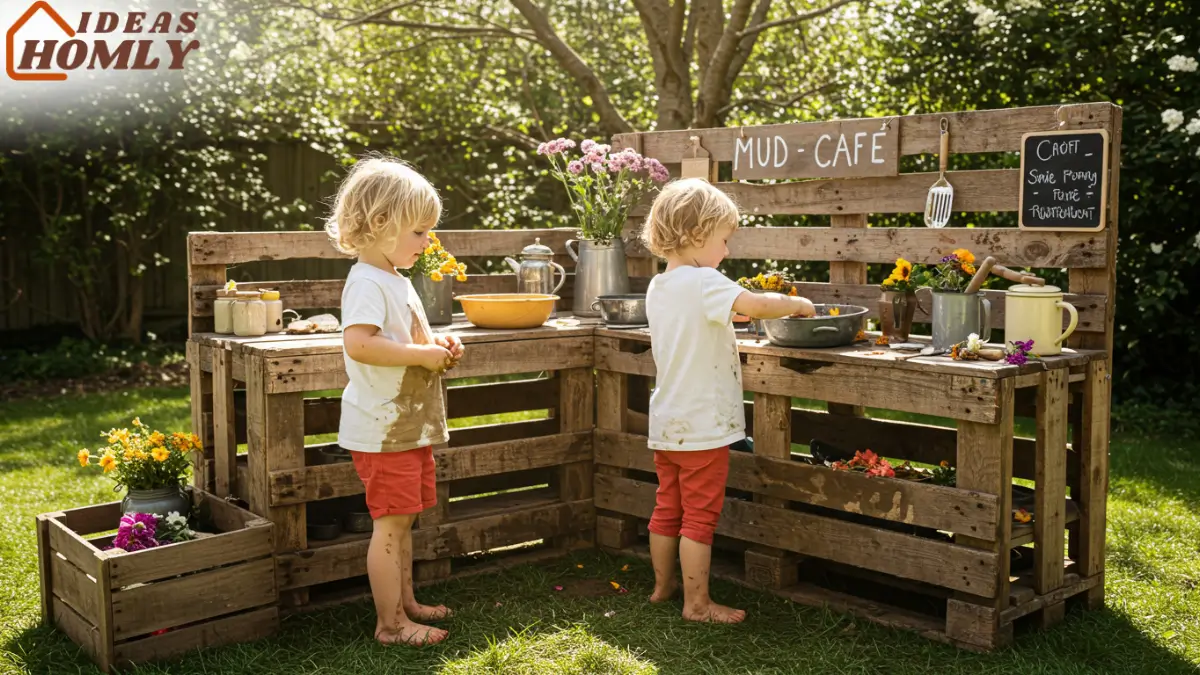
It was one of those bright summer afternoons. My kids had already cycled through their toys, snacked twice, and begged for more screen time. But what they really needed wasn’t indoors, it was fresh air, sensory exploration, and something that felt like real play. Like many parents, I wanted to get them outside, but I wasn’t exactly thrilled about dirt being tracked through the house.
That’s when I remembered the humble mud kitchen. No batteries, no instructions, just dirt, water, and endless creativity. I gave it a shot, and let me tell you it was a total game-changer.
In this guide, I’ll show you everything you need to know to bring your own mud kitchen to life, from simple setup tips to playful pretend recipes and creative backyard crafts. Whether you have toddlers or tweens, you’re about to discover how a patch of dirt can turn into the ultimate summer playground.
What Is a Mud Kitchen (and Why Every Kid Needs One)
A mud kitchen is exactly what it sounds like: an outdoor play kitchen where children mix up pretend recipes using mud, sand, water, leaves, pebbles, flowers, and more. You don’t need to buy anything fancy. A few basic tools and a little imagination can turn a shady backyard corner into a magical cooking space.
At first, I wasn’t sure if my kids would be into it. But as soon as they got their hands dirty stirring thick mud into bowls, patting it into shapes, adding “garnishes” from the garden, their creativity exploded.
They weren’t just playing; they were inventing, exploring textures, learning about nature, and making up wild stories while they cooked.
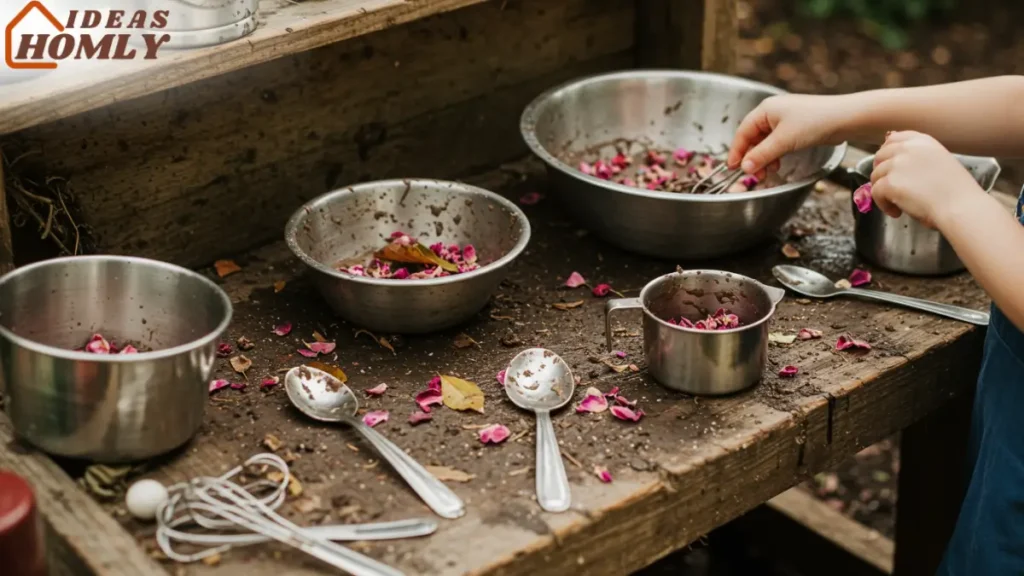
And the best part? It’s good for them. Seriously. Mud kitchen play is:
- A sensory-rich experience, helping kids develop touch, smell, and sound awareness.
- Great for fine motor skills, think pouring water, digging with spoons, layering ingredients.
- Fantastic for imaginative storytelling and role play, which boosts cognitive and language development.
- A way to relieve stress, especially for high-energy or sensory-seeking kids.
Whether your child wants to be a café chef, a nature witch brewing potions, or just a mud pie master, this kind of play supports all the big childhood milestones, without a screen in sight.
How to Set Up a Mud Kitchen (Using What You Already Have)
One of the best things about mud kitchens is how simple and budget-friendly they are. You can build one in an hour using materials you already have in your garage, kitchen, or recycling bin. Here’s how I set mine up and how you can, too.
1. Choose a Mess-Friendly Spot
Find a patch of your backyard or garden where a little dirt won’t be a problem. We picked a shaded corner near the hose. If you’re tight on outdoor space, even a patio will do, just lay down an old shower curtain or tarp to contain the mess.
2. Create a Work Surface
You don’t need a pre-made kitchen set. I started with a wooden pallet stacked on bricks. You can use a plastic storage bin flipped upside down, an old bench, or even a stump or crate. The goal is to give kids a “countertop” for mixing and plating their muddy masterpieces.
3. Gather Your Tools
You’d be amazed what your kids will use. Old metal spoons, measuring cups, ladles, muffin tins, strainers, and plastic bowls all become treasured kitchen tools. I gave them a retired mixing bowl and a big wooden spoon that quickly became their “mud whisk.”
Add a big bucket of dirt or sand, and keep a water source nearby—a watering can, old kettle, or jug works perfectly.
4. Stock the “Pantry” with Nature
Encourage the kids to collect leaves, twigs, flowers, pebbles, grass, and seed pods. These become toppings, mix-ins, and decorations for their mud creations. I sometimes add dried lavender, herbs from our garden, or even colored chalk dust for extra flair.
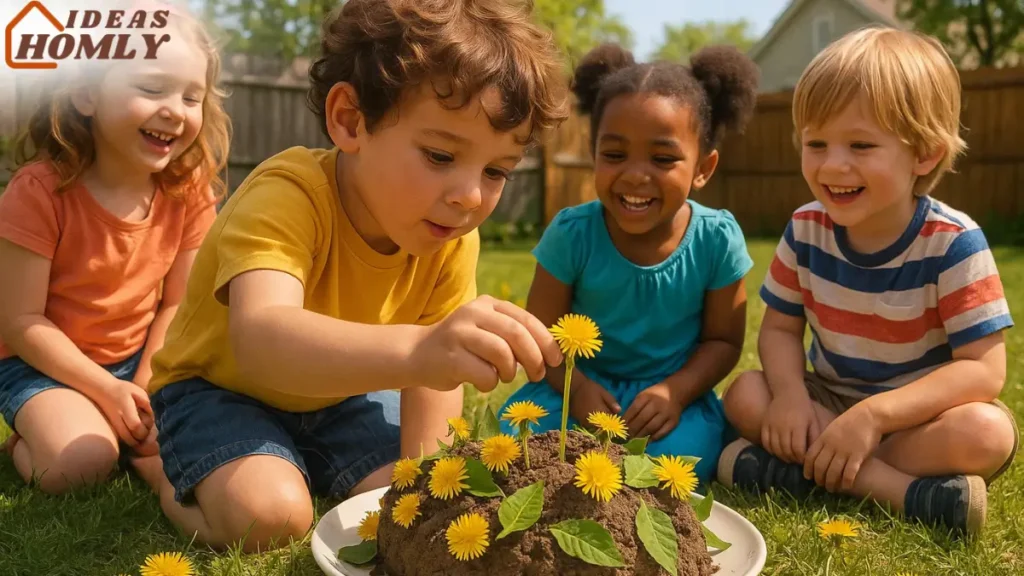
This mini scavenger hunt before play begins sets the stage for more engaged, open-ended fun. I’ve seen dandelion cupcakes, leafy lasagnas, and even fairy stews come out of our mud kitchen!
5. Add Personal Touches
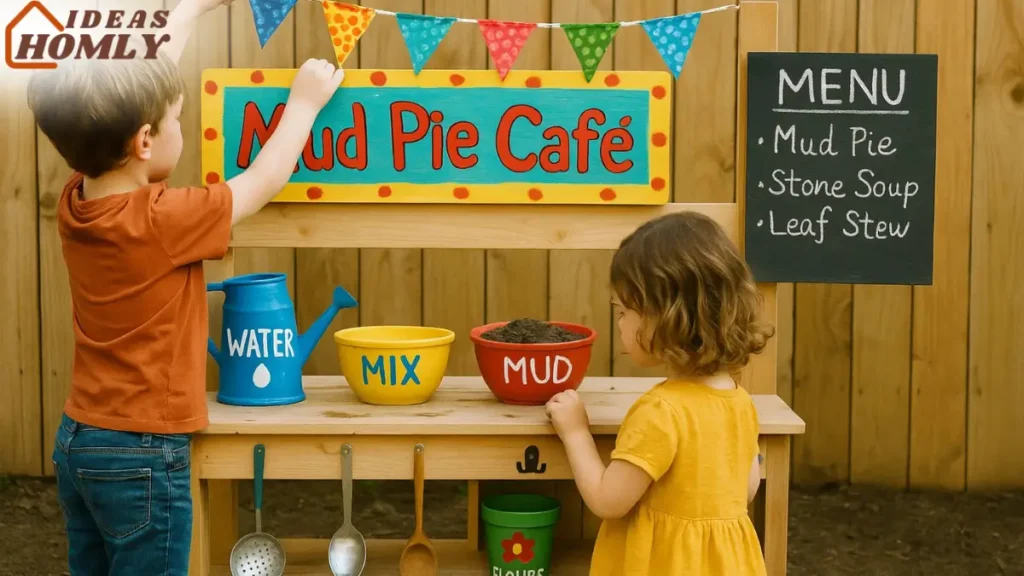
If you’re feeling crafty, let the kids decorate the mud kitchen with signs (“Mud Pie Café” is a favorite at our house), paint a chalkboard menu, or make flags and labels for their stations. This turns the space into their world, a place they’ll come back to again and again.
Safety, Comfort, and Smart Cleanup
Let’s be honest mud play is messy. But it doesn’t have to be stressful. With a little prep, you’ll keep the chaos contained and the kids happily messy outside:
- Dress kids in play clothes or old swimsuits. I keep a bin of “mud clothes” just for these kinds of days.
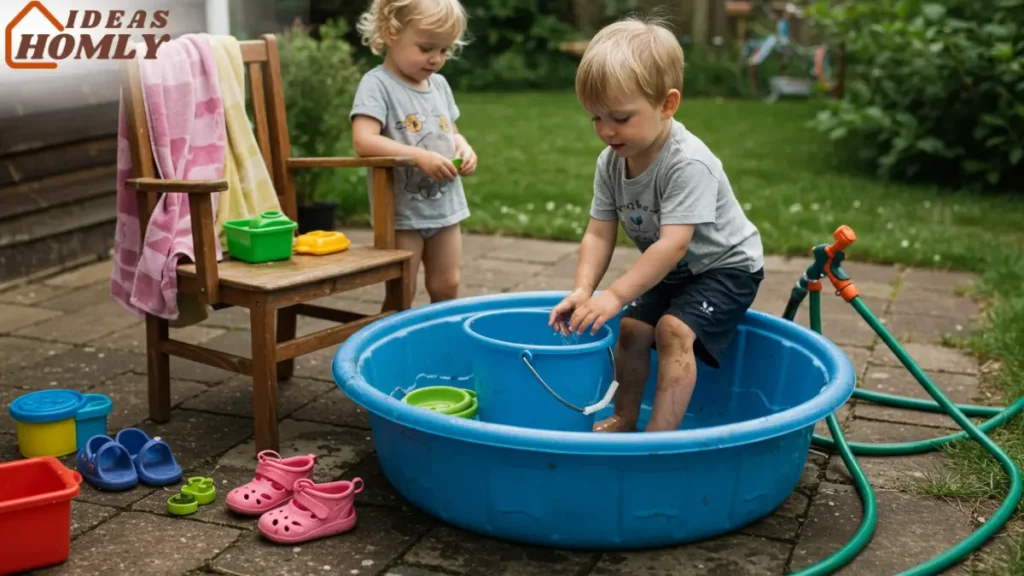
- Set up a rinse station, a hose, bucket, or baby pool to wash hands and feet before they come in.
- Keep towels and wipes near the back door.
- Establish friendly ground rules like “No throwing mud” and “Mud stays in the kitchen area.”
These little habits have saved me so many cleaning headaches. Plus, they teach kids responsibility while still letting them have fun.
5 Imaginative Mud Kitchen Recipes to Inspire Creative Play
Once your mud kitchen is set up, it’s time for the real fun cooking! The beauty of a mud kitchen is that there are no instructions, no measurements, and no wrong answers. Still, a little inspiration can go a long way in jumpstarting your kids’ creativity.
Here are some of my favorite pretend-play recipes that have led to giggles, teamwork, and muddy masterpieces in our backyard.
1. Classic Mud Pies
Ah, the quintessential dish of any mud kitchen, the humble mud pie. I remember the pride on my daughter’s face when she patted down her first lumpy “chocolate pie” into a tin and topped it with flower petals.
To make this one special, encourage your kids to collect decorative toppings like acorns, twigs, daisies, or pebbles. Set the pies in the sun to “bake,” and suddenly the whole activity becomes a backyard bakery.
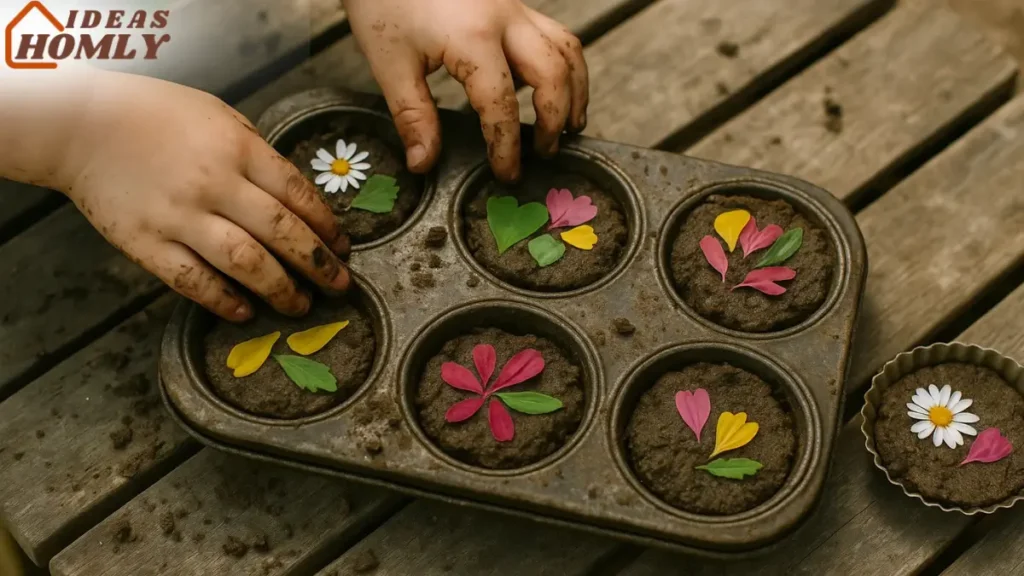
These pies are perfect for solo play or for delivering to guests (a.k.a. you) on a mud kitchen platter. Every time I get served a slice, it comes with a detailed description of the “recipe,” which makes for wonderful storytelling practice.
2. Leafy Stone Soup
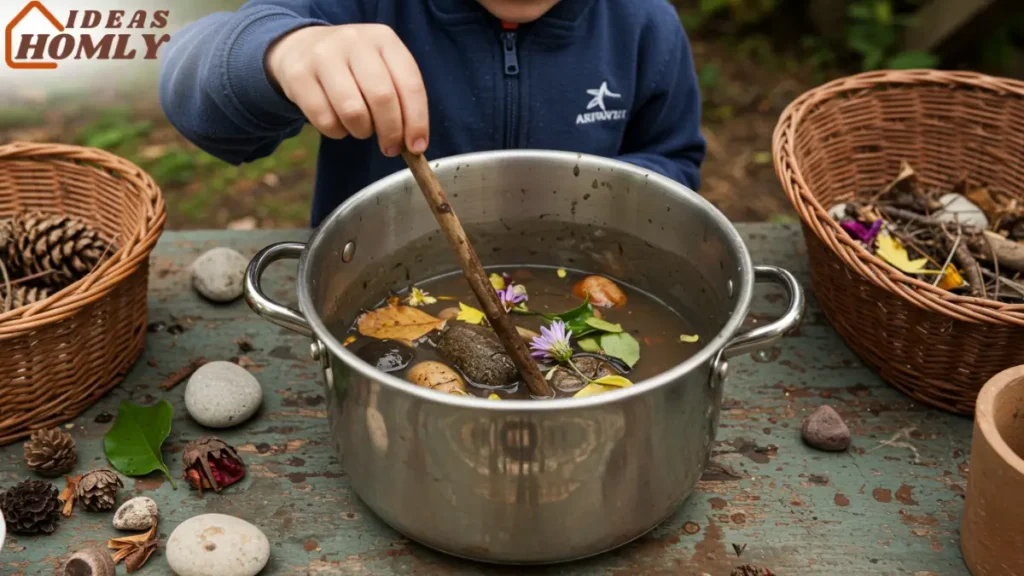
This idea is based on the old folktale Stone Soup, and it’s perfect for collaborative play. Hand your child a large pot and some smooth rocks to get started.
Then send them off on a scavenger hunt to find “ingredients”: leaves, dandelions, pine needles, flower petals, bits of bark, whatever’s in your yard. Add a bit of water and hand them a stick for stirring.
They’ll quickly create a bubbling stew with all sorts of magical properties. I once overheard my son say, “This potion gives you superhero jumping!” while stirring his leafy concoction. That’s when I knew we were winning at this whole imaginative play thing.
3. Mud Cupcakes and Birthday Cakes
If your kids love baking shows (or just birthdays!), try making mud cupcakes in a muffin tin. Pack in the mud like batter, then add “toppings” like grass sprinkles or a berry “cherry” on top. For a birthday cake twist, kids can build layers of mud in a larger bowl or mold and decorate it with leafy garlands or flower “candles.”
We once threw a “backyard birthday” for a stuffed bunny and served everyone double-layer mud cake with pinecone frosting. It was one of those moments where pretend play and outdoor fun melted into one perfect summer memory.
4. Herbal Tea Party
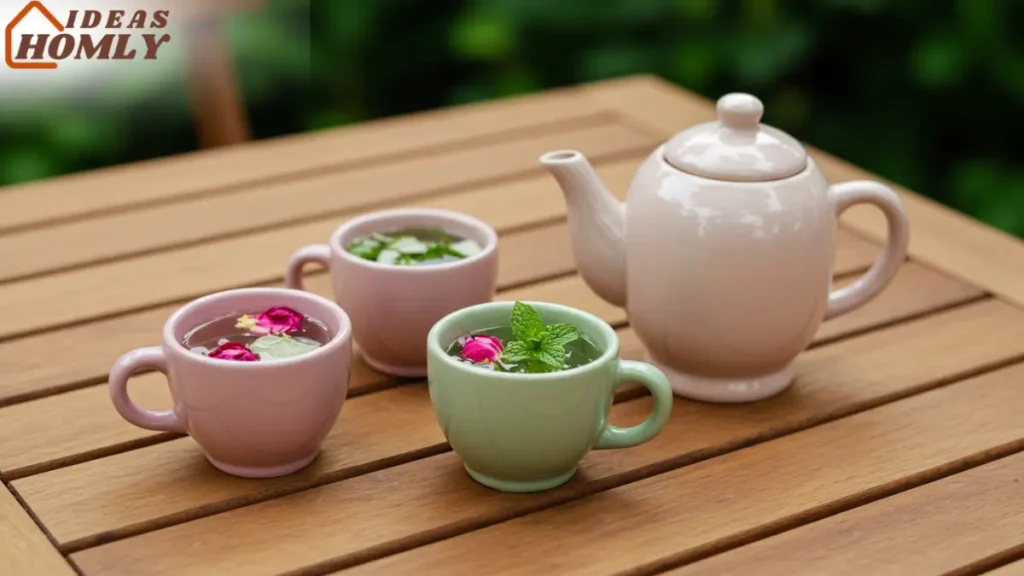
This is a favorite for calmer, creative play, and it smells amazing too! Set out some cups or a teapot filled with clean water, and encourage kids to gather herbs and flowers to steep.
Think mint leaves, chamomile flowers, grass clippings, or rose petals. The water turns fragrant and colorful, and before you know it, you’ve got a full tea party happening on your patio.
Sometimes we add a bit of food coloring or even freeze flowers in ice cubes to drop in. Just be sure to remind the kiddos that this tea is for pretend only, not for sipping!

5. Layered Mud Casseroles or Nature Parfaits
Got older kids or sensory-seekers who love detailed tasks? Have them create layered mud dishes in clear containers. They can alternate between mud, sand, pebbles, leaves, or petals to create a lasagna-style casserole or a layered parfait.
It’s an awesome tactile activity that teaches them about patterns, layering, and texture, while also giving them major creative freedom.
We’ve had kids in our backyard “kitchen” cook up everything from triple-decker dirt lasagnas to parfaits topped with crushed grass and a daisy swirl. The layering process keeps them focused, and the results are often photo-worthy (even if they’re, well, made of mud).
Painted Rock Crafts: Make Your Own Mud Kitchen Accessories
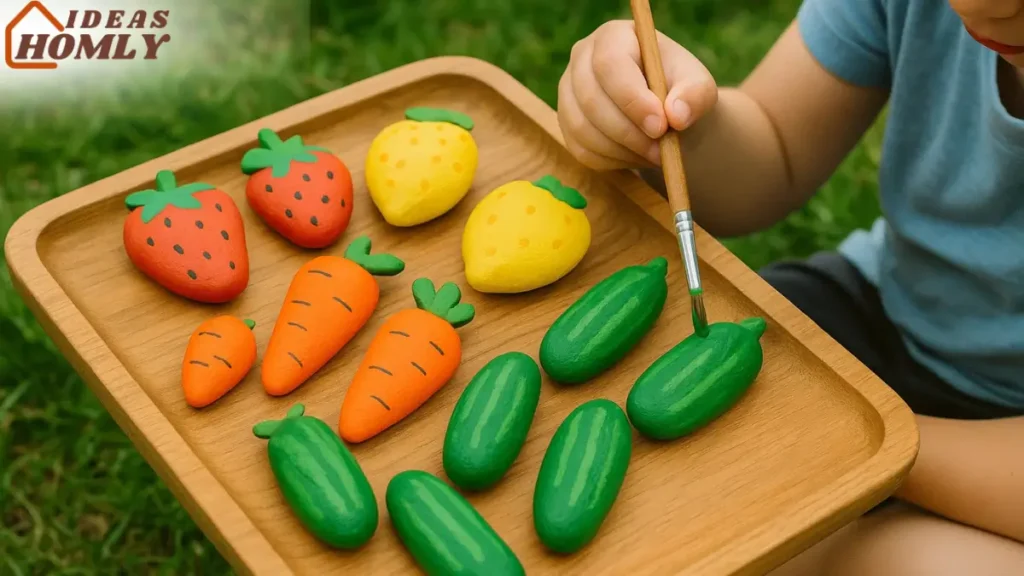
Want to keep the fun going even after the mud dries? Try this surprisingly addictive mud kitchen add-on: painted rocks as play food. This was one of our favorite backyard craft projects, and now our painted “blueberries,” “carrots,” and “chocolate cookies” live permanently in our mud café pantry.
Rock Veggies & Fruits
Gather smooth, flat rocks during a nature walk. Then, paint them to look like fruits and veggies, red rocks for strawberries, green ovals for cucumbers, yellow circles for lemon slices. Don’t worry about perfection. My “banana” rock was once mistaken for a canoe, and the kids still fought over who got to serve it.
Seal your rocks with clear craft sealant or even clear nail polish so they hold up during wet, muddy play. Once dry, these painted pebbles become reusable, washable food props that kids absolutely adore.
DIY Plates, Toppings & Tools
Flat rocks can be pretend plates or griddles, while tiny pebbles become toppings, sprinkles, or pretend chocolate chips. We even used one large flat stone as a “cutting board” for mud pancakes. Let your kids decide how they want to use them; they’ll probably come up with uses you never imagined.
Nature Paintbrushes & Mud Art
Feeling crafty? Make nature paintbrushes by tying leaves or pine needles to the ends of sticks. Dip them in muddy water and let your kids paint cardboard, rocks, or even tree trunks. It’s creative, eco-friendly, and washes off easily.
One rainy day, we gave our kids old cardboard boxes to “paint” with mud and natural brushes, and it turned into a spontaneous, muddy art gallery in the backyard.
Make the Most of Summer: Extra Fun Ideas for Mud Kitchen Play
There’s something magical about summer and mud play; they’re both messy, carefree, and absolutely unforgettable. Once your mud kitchen is in full swing, here are some warm-weather twists and hacks that’ll elevate the experience into a full-blown backyard adventure.
Water Stations & Bubbly Bliss
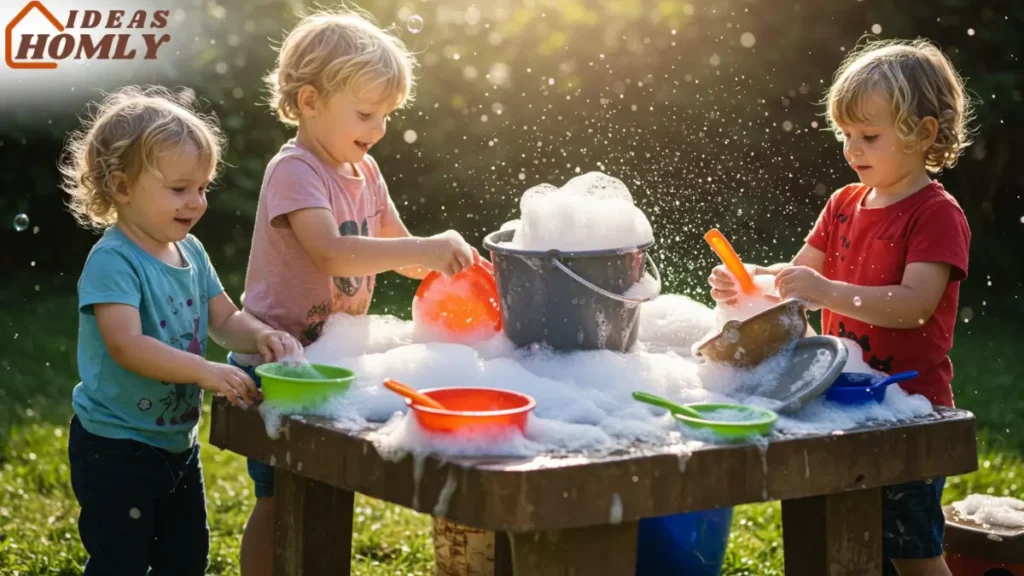
On hot days, adding a water station is a game-changer. Whether it’s a bucket, a bin, or a small basin filled with clean water, this turns your kitchen into a sensory splash zone. Kids can wash their “dishes,” cool down their mud stew, or pretend they’re doing real café prep.
One of my favorite add-ons is a splash of dish soap in the water for foamy bubbles. Watching my kids clean their muddy teacups in sudsy water makes me laugh every time, and it’s secretly helping them learn responsibility and process steps.
Ice “Ingredients” for Cool Cooking
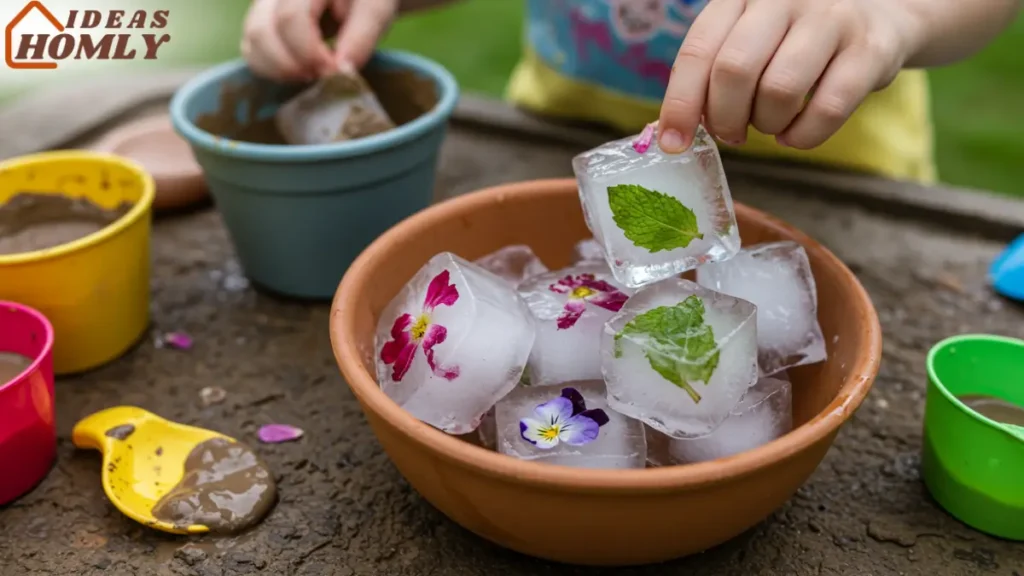
Freeze colored water in ice cube trays or silicone molds with flower petals, herbs, or even leaves inside. These become chilly “magic ingredients” that melt into mud potions, slushies, or smoothies.
My kids once made “chocolate chip ice cream” out of a muddy cup, a frozen mint cube, and a rock cherry. It was deliciously… imaginative!
Ice adds a new sensory texture and turns the usual mud kitchen into a refreshing play zone.
Sun-Baked Creations
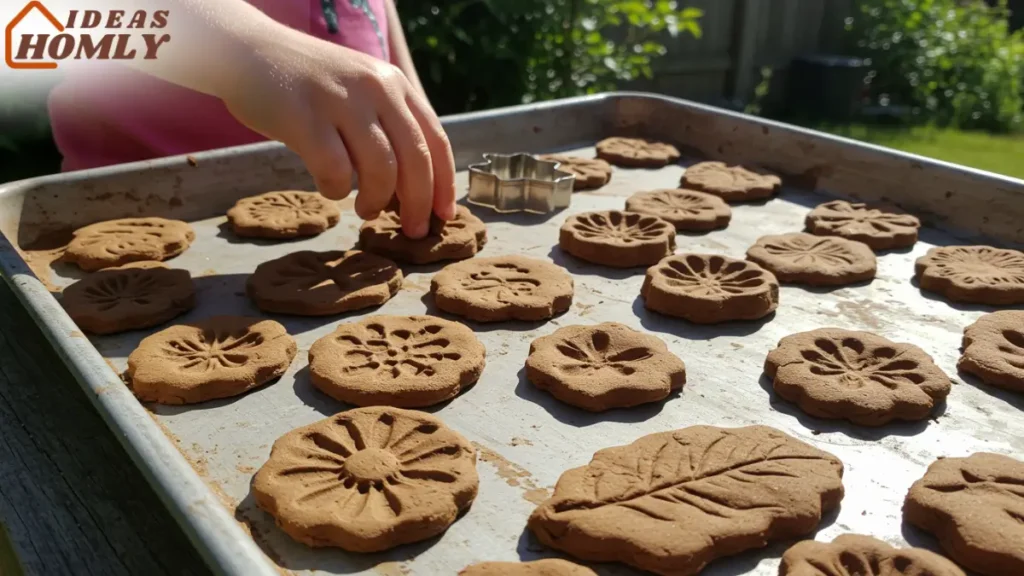
Take advantage of the summer heat by making mud bricks, ornaments, or even “cookies.” Set out a tray with shaped mud blobs or cookie-cutter cutouts and let the sun naturally dry and harden them.
It’s like backyard pottery and makes for great show-and-tell if your child wants to show off their “baked goods.” They can even paint the hardened pieces for extra flair.
Garden-to-Kitchen Play
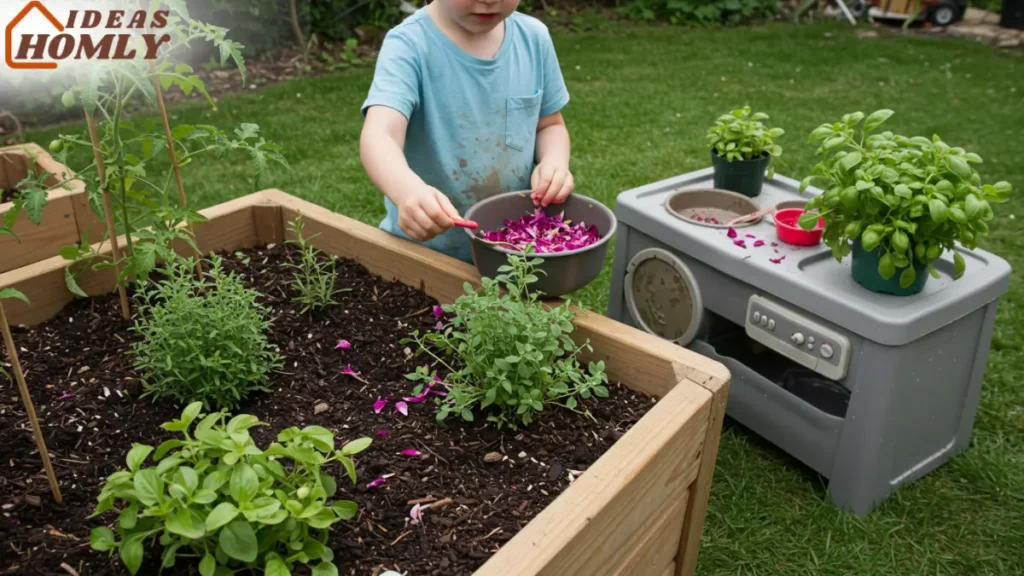
If you have a little garden, let your child gather real herbs, petals, or veggie scraps for their kitchen. A few mint leaves or overripe cherry tomatoes can inspire whole new pretend dishes. One afternoon, my son “cooked” a mud-and-lettuce risotto garnished with a rose petal and named it “Garden Delight.”
Always supervise real food additions and remind them: mud food stays pretend-only.
Backyard Café Game: Roleplay Meets Reality
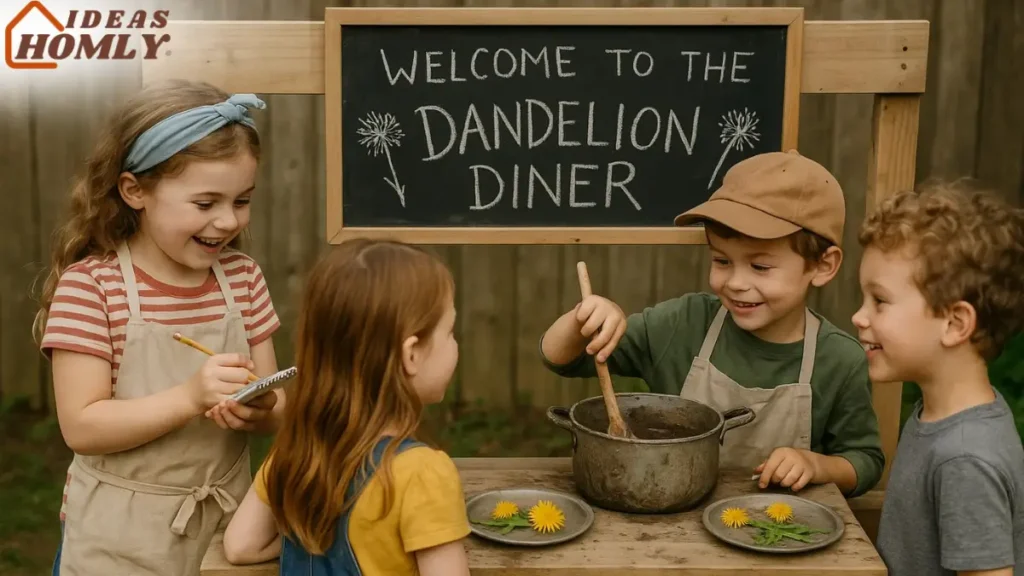
When cousins or neighbors come over, we often turn our mud kitchen into a full-on restaurant. I print a little menu template, let the kids write down “dishes,” and play customer while they prep and serve. Sometimes they even name their café, our last one was called “The Dandelion Diner.”
This kind of roleplay teaches so much: communication, teamwork, even early writing and math. (I’ve been charged five pebbles for a flower pie worth every stone.)
Pro Tips to Keep Mud Play Fun (and Manageable)
Let’s be honest, mud is messy. But with a few smart systems, the mess becomes part of the fun and not a stressor:
- Dress the part: Always have a set of “mud clothes” or play clothes ready, or just let them wear swimsuits for easy cleanup.
- Set rules early: Simple ground rules like “mud stays outside” or “no throwing mud at faces” help keep things safe and manageable.
- Create a cleanup station: Keep a hose, bucket of water, or even a kiddie pool nearby for rinsing feet and hands before going inside.
- Old towels are your friend: Keep a stack near the door for a quick dry-off. I also recommend placing a shower curtain or tarp under the kitchen if you’re on a patio.
- Storage tip: Use a large plastic tub to toss in all the kitchen tools after play. That way, cleanup takes minutes.
Over time, your mud kitchen will evolve with the seasons and your child’s imagination. Just go with it, and you’ll be amazed at how much joy (and learning!) comes from a little dirt and water.
Conclusion
Looking back, some of my kids’ happiest, messiest moments have been in our humble backyard mud kitchen. It didn’t require fancy toys or a Pinterest-perfect setup. All it took was a patch of dirt, some old spoons, and permission to play freely.
Whether they’re brewing magical teas, painting with mud, or hosting a rock-food bake-off, children thrive when they’re allowed to get messy and explore. And honestly, as parents, we get to watch those muddy hands turn into confident, creative little chefs, scientists, and storytellers.
So go ahead, build that kitchen, stock it with old bowls and a few garden treasures, and let the mud magic begin. You’ll create more than just mud pies, you’ll be baking up confidence, connection, and core childhood memories.
FAQs
Just dirt, water, and a few utensils! A bucket of soil, a water jug, and old kitchen tools are enough to spark hours of outdoor play. No need for anything fancy.
Repurpose items! Use a crate, a wooden pallet, or even an old bench for the counter. Add spoons, tins, or plastic cups you already have at home. Your backyard and garage probably hold everything you need.
Mud pies, flower soups, rock casseroles, leafy stews, fairy potions, you name it. Encourage creativity and you’ll be amazed at their pretend menus.
Yes, with basic precautions. Use clean soil (free from pet waste or chemicals), teach them not to eat anything, and wash hands well after play.
Kids ages 2 to 8 usually love mud kitchen play, but older siblings and even adults get into it too. Toddlers enjoy sensory play, while older kids lean into pretend scenarios.
Hose down kids or use a water bucket for rinsing. Keep towels handy, and involve kids in washing the tools, it’s part of the fun. Let clothes dry and shake off mud before washing.
It encourages sensory exploration, creativity, storytelling, and social play. It also builds motor skills and boosts problem-solving as kids “cook” and experiment outdoors. Plus, it’s a huge confidence booster!

