
Halloween feels incomplete without pumpkins glowing on the porch. The problem is, not everyone has hours to spend carving complicated designs.
That’s why I always keep a list of easy and cool pumpkin carving ideas that look impressive but don’t take forever.
You don’t need to be a professional artist or spend all weekend hunched over your pumpkin. With a few simple tricks, you can create designs that neighbors will admire and kids will love.
When I started carving pumpkins, I thought simple meant boring. I was wrong. Sometimes, the fastest designs are the ones that turn out the most stylish.
These ideas work for families with kids, busy professionals, or anyone who just wants a cool-looking jack-o’-lantern without too much effort.
1. Big-Eye, Tiny-Mouth Pumpkin
The first idea is as playful as it is simple. Carving a pumpkin with oversized eyes and a tiny mouth gives it a cartoonish, funny look.
The large circular eyes can be made with a kitchen glass or a cookie cutter, while the small slit of a mouth takes seconds to carve.
I’ve used this style when hosting family get-togethers because it’s kid-friendly and easy for beginners.
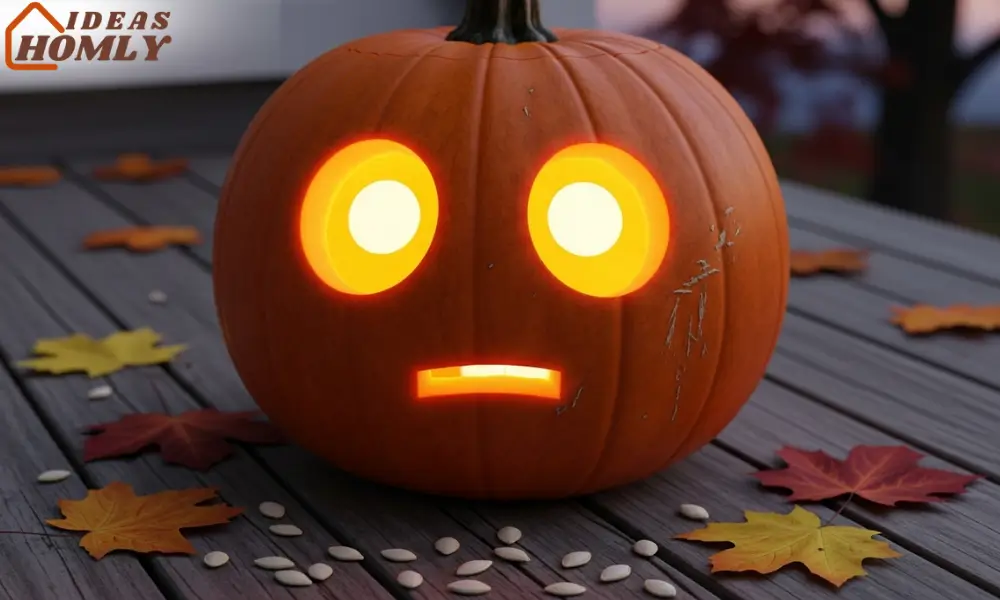
You can even vary the expression, make the eyes slightly lopsided or give the pumpkin a squiggly mouth for added humor. What I like most is that it’s impossible to mess up. The bigger the eyes, the funnier it looks.
If you want to give it a glow, place a candle or LED light inside and let the oversized eyes shine brightly in the dark. This design also works well for families who want their kids to participate, since the cuts are simple and safe with a carving kit.
2. Moon & Bats Band Pumpkin
This design looks far more detailed than it really is. You simply carve out a crescent moon on one side of the pumpkin, then add small bat silhouettes circling it.
I usually sketch the moon with a pencil before carving, then use a small serrated knife for the bats.
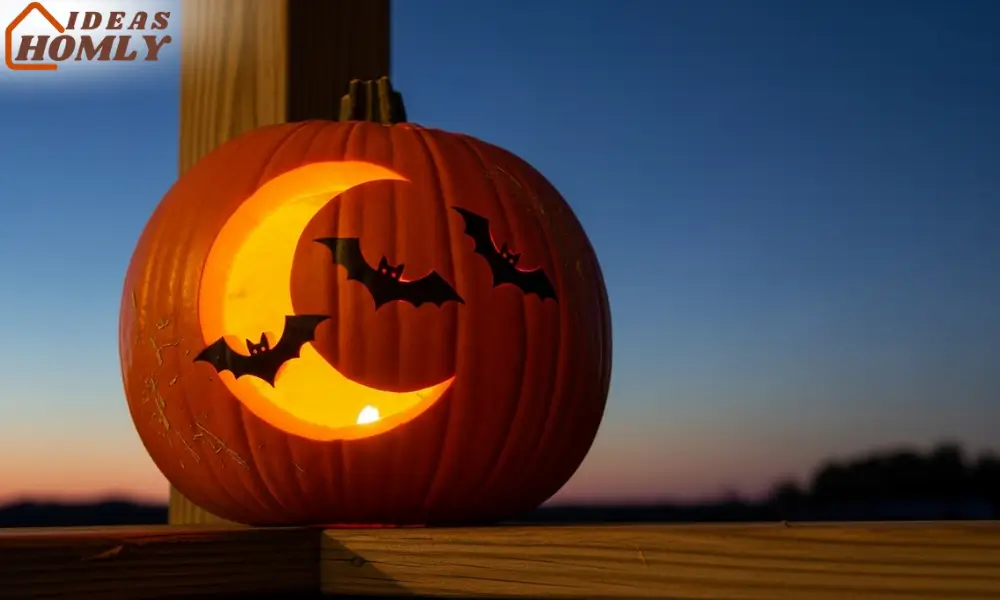
The effect at night is incredible. The moon glows warmly, and the bats give it that spooky touch without much extra work. This one is perfect for front yards because it looks like a mini Halloween scene inside a pumpkin.
For a twist, you can add more than three bats or even carve them at different heights to create a flying band of bats. It doesn’t take long, but it makes people think you spent hours on it. That’s the kind of shortcut I love.
3. Starry Drill Burst Pumpkin
Instead of carving a face, this idea uses a drill to create a starburst pattern. I take a hand drill and make holes in different sizes all around the pumpkin.
The result looks like a glowing night sky. It’s by far one of the easiest pumpkin carving ideas I’ve ever tried, yet people always ask how I did it.
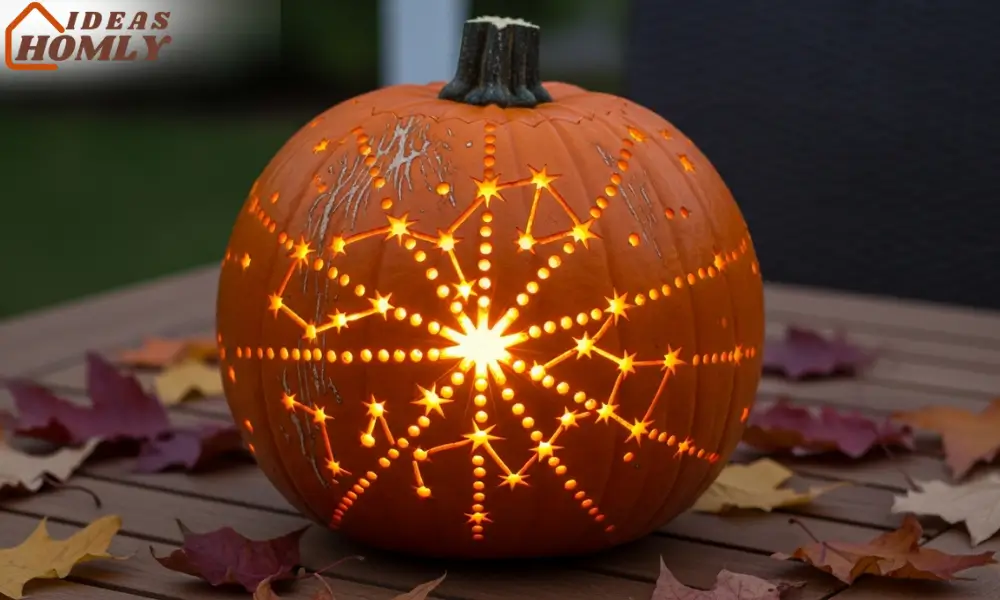
What I like about this method is how customizable it is. You can make a simple row of stars, or cover the entire pumpkin with dotted constellations. I once made a pumpkin galaxy, and it became the centerpiece of my porch.
The best part? The drill does the hard work for you. No need to stress over fine details. Just be sure to clean out the pumpkin well so the light shines through the holes without being blocked by seeds.
4. Keyhole Window Pumpkin
This idea turns your pumpkin into something straight out of a spooky storybook. Instead of a face, you carve a large keyhole shape on the front. When lit from the inside, it looks like someone is peeking into a hidden world.
I remember trying this one last year, and it instantly became my favorite. The design is simple enough for beginners but still dramatic. All you need is to sketch the outline of a keyhole and carve it carefully with a small knife.
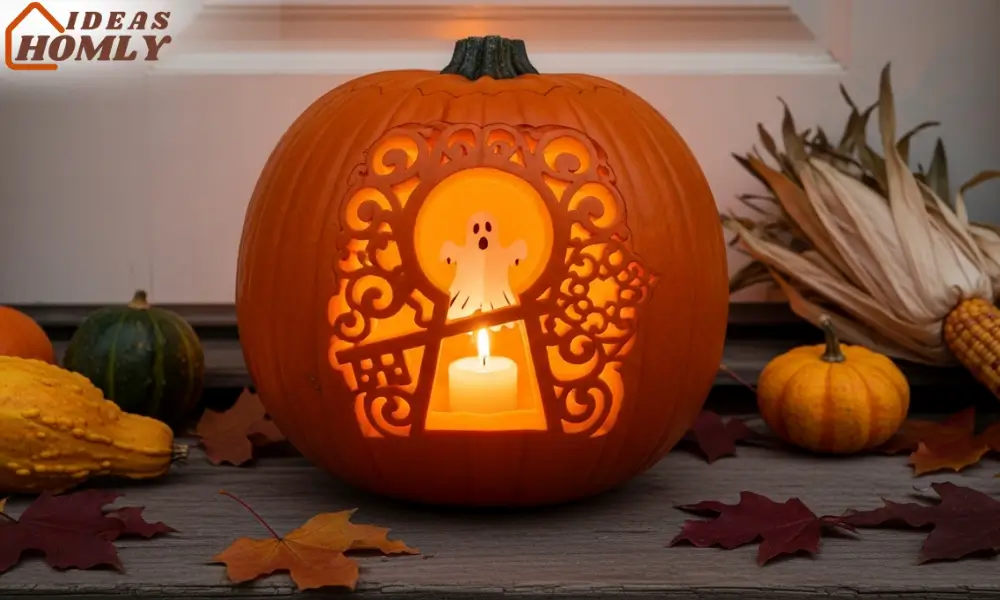
To make it more fun, I sometimes place a small cutout like a paper ghost or mini figurine inside the pumpkin.
When the light glows, it creates a shadow as if something mysterious is lurking beyond the keyhole. It’s an easy way to make your pumpkin stand out from the usual jack-o’-lanterns.
5. Lightning Bolt Pumpkin
If you want something bold, carve a zigzag lightning bolt right across the pumpkin. It takes less time than carving a face, and the sharp edges make it look fierce. I usually draw the bolt with a marker first, then cut along the lines with a fine saw.
The beauty of this design is its versatility. You can make one big lightning bolt that goes top to bottom, or several smaller bolts around the pumpkin. The glowing effect at night is striking, especially if you place a bright LED candle inside.
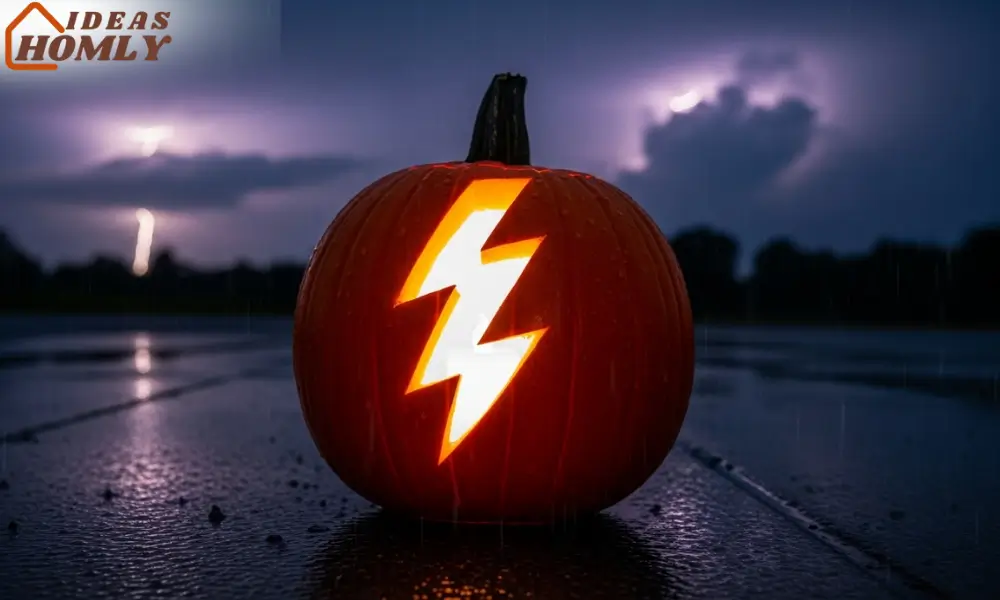
Kids love this one because it reminds them of superheroes and cartoons. Adults appreciate it because it’s quick, sharp, and unique. If you don’t want the same old smiley pumpkin, this is a fun upgrade.
6. Smiley Cat Pumpkin
Nothing says Halloween like a spooky cat, and this idea brings it to life on a pumpkin. You carve two almond-shaped eyes, a triangular nose, and a wide grin with little fangs. With a steady hand, you can even add whisker lines.
I once made this design for a neighbor’s Halloween party, and it got more attention than the bigger decorations. The glowing eyes and smile make it look mischievous but not too scary, so it works well for kids.
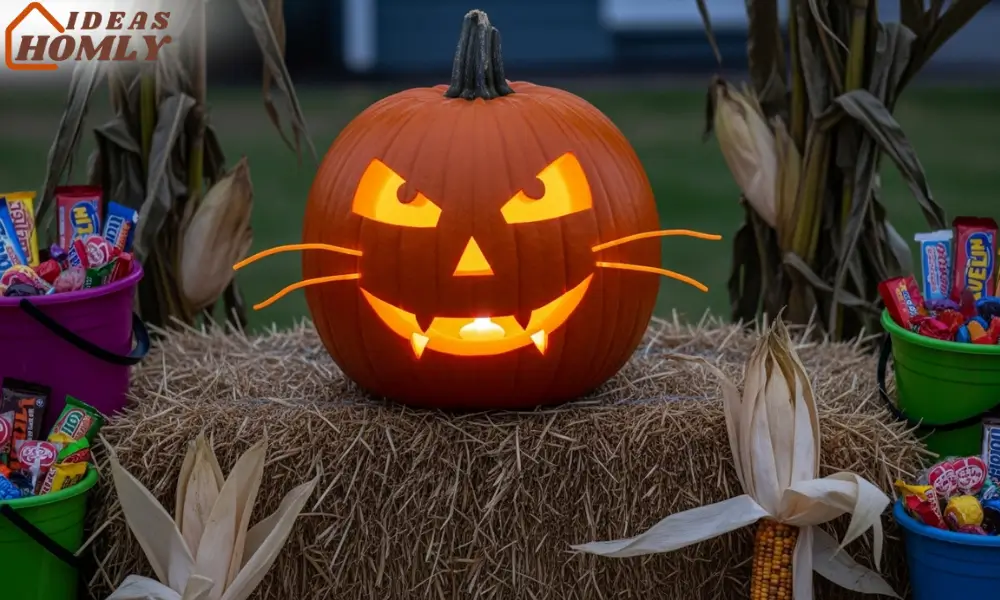
If you’re in a rush, you don’t even need to carve whiskers; just the eyes, nose, and mouth are enough to get the playful cat effect. But if you add the whiskers, the whole thing looks more polished.
It’s easy, fun, and guaranteed to get a few “aww” reactions from trick-or-treaters.
7. Haunted House Silhouette Pumpkin
This design takes a little more patience, but the result is worth it. You carve the outline of a haunted house with windows and a pointed roof. To make it more detailed, you can add small tree shapes or a crooked fence beside it.
I recommend starting with a simple sketch before cutting, so you don’t lose track of where the windows and rooflines go. The key here is contrast: the big open windows glow brightly, while the thin walls of the house create a dark silhouette.
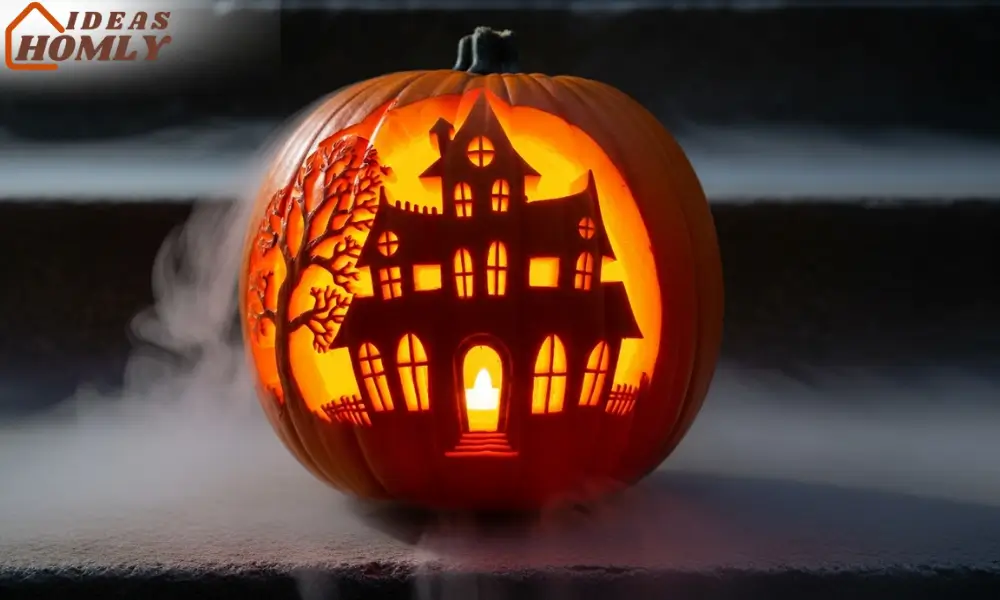
When lit at night, it looks like a spooky miniature haunted house glowing from inside your pumpkin. I’ve seen kids stop to stare at this one because it feels like a little Halloween scene all by itself.
For anyone who loves a slightly more artistic approach, this is one of the best pumpkin carving ideas you can try.
8. Spider Web Pumpkin
A spider web design might sound tricky, but it’s easier than you think. I usually start by carving a large circle, then add intersecting lines like a wheel. After that, I connect the lines with small curved cuts to mimic the strands of a web.
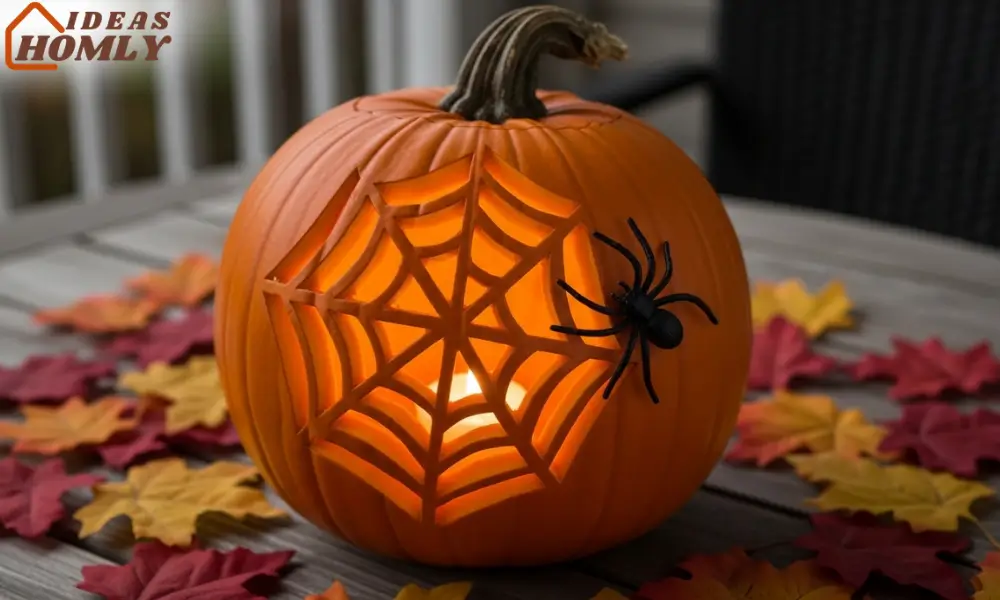
When lit, the pumpkin glows through the gaps, and it looks like a giant web ready for a Halloween spider. To step it up, I sometimes stick a small plastic spider on the outside to complete the look. It takes very little effort but always gets a big reaction.
The best thing about this design is its flexibility. You can carve one big web across the front, or several smaller webs around the pumpkin. Either way, it looks creepy, classic, and festive.
9. Crescent Grin Pumpkin
This design gives a playful twist to the classic jack-o’-lantern smile. Instead of a full mouth, carve a wide crescent-shaped grin that stretches to one side. Add two small eyes above it, and you’ve got a pumpkin with a cheeky personality.

I’ve carved this one when I wanted something funny yet simple. The grin looks like the pumpkin knows a secret. At night, with a candle inside, the sideways smile makes it feel alive.
The great part about this idea is that you don’t need symmetry. The more crooked the smile, the more expressive it looks. It’s one of those “easy but cool” designs that never fails to get attention.
10. Peekaboo Cut Pumpkin
This design is perfect if you want a pumpkin that feels playful rather than scary. You carve a small round hole on one side and then make it look like another pumpkin or object is peeking out.
I once carved a smaller pumpkin face inside and placed it so it looked like it was peeking through the hole.
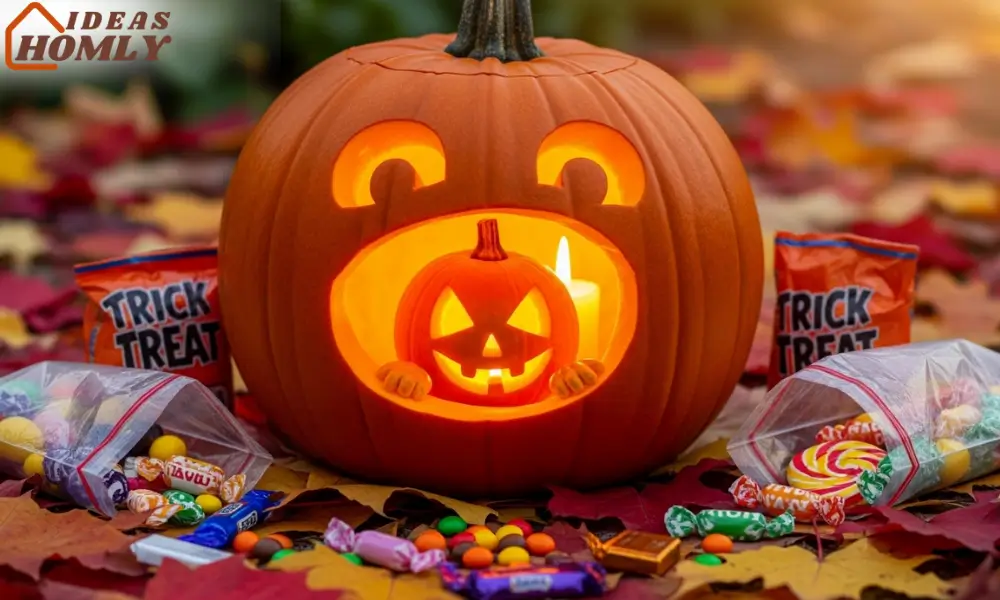
The peekaboo cut is fun because you can improvise. Some people put a toy skeleton hand, a ghost figurine, or even candy inside the cut-out hole. When the candle glows, it looks like something is hiding inside.
This idea is especially popular with kids because it’s interactive. Trick-or-treaters love spotting what’s hiding inside, and it makes your pumpkin stand out from the rest.
Best Carving Tools for Beginners
When I started carving pumpkins, I used regular kitchen knives. It worked, but it wasn’t the safest or cleanest method. Over time, I learned that having the right tools makes all the difference.
Here’s a quick table of tools I recommend for anyone new to pumpkin carving:
| Tool | Why It Helps |
|---|---|
| Pumpkin Carving Kit | Includes small saws, scrapers, and scoops for safer, precise carving. |
| Serrated Knife | Cuts through thick pumpkin skin without slipping. |
| Scoop or Scraper | Removes seeds and pulp quickly, leaving smooth walls. |
| Hand Drill | Perfect for designs like starbursts or dotted patterns. |
| Pumpkin Stencils | Guides beginners through shapes like bats, cats, or webs. |
Investing in a basic pumpkin carving set isn’t expensive, and it saves you from frustration. Plus, it keeps the designs looking sharp instead of messy.
Conclusion
Carving pumpkins doesn’t have to feel like a chore. With these 10 easy and cool pumpkin carving ideas, you can decorate your porch in less than an hour while still making it look festive.
From bold designs like the lightning bolt to playful ones like the peekaboo cut, each idea brings its own charm.
I’ve learned that Halloween isn’t about having the most complicated pumpkin, it’s about having fun and creating something that lights up the night.
With a few simple tools and these ideas, you’ll have a display that neighbors, kids, and even passersby will admire.
FAQs
The big-eye, tiny-mouth pumpkin is one of the easiest designs. The cuts are simple, and kids can help scoop seeds or trace the circles. It’s quick, safe with the right tools, and always ends up looking funny and cute.
After carving, I usually coat the cut edges with petroleum jelly. This keeps the pumpkin from drying out too quickly. Keeping it in a cool, shaded spot also helps it stay fresh longer, especially if Halloween night is still a few days away.
You don’t need them, but they make a huge difference. A pumpkin carving kit is inexpensive and much safer than using kitchen knives. Tools like scrapers, drills, and stencils allow you to try more creative designs without the frustration.
Yes, I prefer LED lights or battery-operated tea candles. They’re safer, especially if kids or pets are around, and they often shine brighter. Some even change colors, which gives your pumpkin a more dramatic glow.
The key is to avoid cutting too thin. Leave at least half an inch of pumpkin wall, so it holds its shape. Also, scrape out the inside thoroughly so the walls are even. A well-cleaned pumpkin lasts longer and stays sturdy.