
A worn dining table does not always need replacing. I have seen simple updates completely revive a space without the cost of buying new furniture. Sometimes the structure remains solid, but the finish or style feels outdated.
That is where smart dining table makeover ideas can make a real difference. By adjusting color, surface texture, or structural details, you can refresh the entire dining area.
With the right approach, even an ordinary table can become a refined focal point that feels intentional, modern, and aligned with your current interior style.
Why a Dining Table Makeover Can Completely Refresh Your Space
A dining table often carries years of daily use, and over time, it can lose its visual appeal. I always look at the table as the centerpiece of the room, so even small updates can shift the entire atmosphere.
Instead of replacing a sturdy piece, I prefer transforming it with thoughtful upgrades. A strategic makeover improves style, enhances durability, and aligns the table with your current interior design vision.
Below are ten impactful dining table makeover ideas that combine creativity with practicality.
1. Refinish with a Natural Wood Stain
Sanding and refinishing the surface can completely revive a tired dining table. I begin by stripping away the old finish to reveal the raw wood beneath. This process restores the original character of the material.
A high quality natural stain enhances the grain and deepens warmth. I test stain samples first to ensure the tone complements the room.
This makeover works especially well on solid wood tables. It maintains authenticity while delivering a clean and refreshed appearance.
2. Paint for a Bold Contemporary Look
Painting a dining table instantly changes its personality. I often select neutral tones like matte black or soft white for modern appeal, but bold colors can also create striking impact.
Preparation remains essential. I sand lightly, apply primer, and finish with a durable topcoat to protect the surface.
This update suits outdated finishes that no longer match the interior. It provides dramatic transformation without replacing the entire piece.
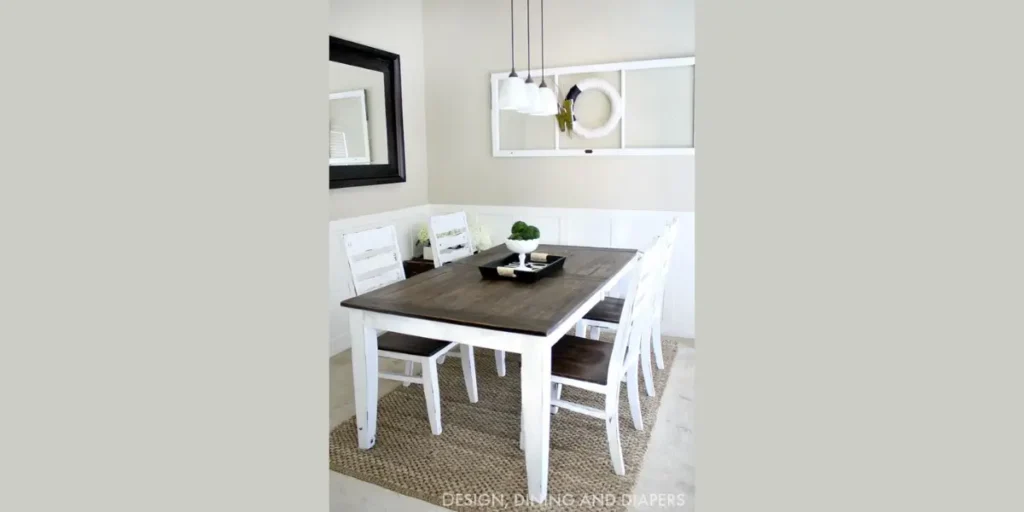
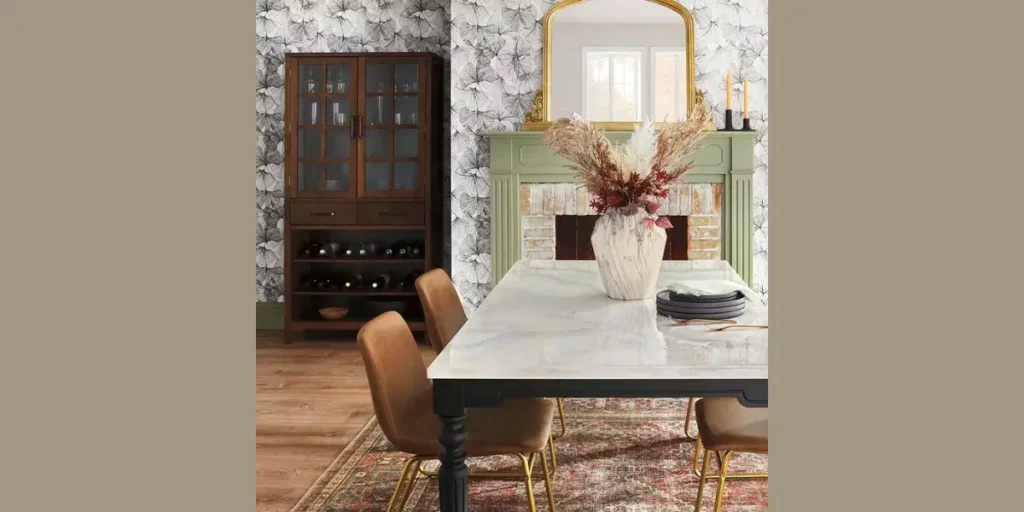
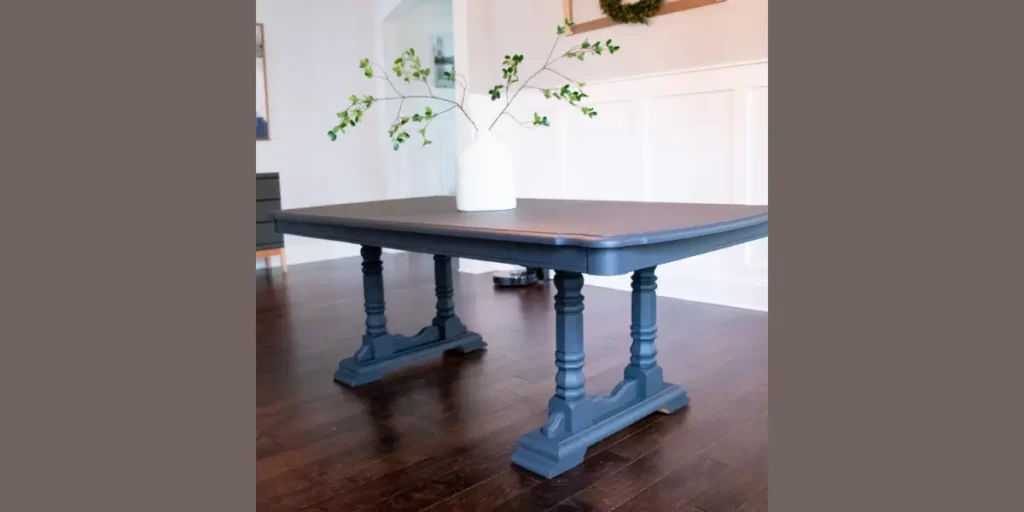
3. Create a Two Tone Finish
A two tone finish introduces contrast and depth. I typically keep the tabletop in natural wood while painting the base in a complementary shade.
This technique highlights structure and adds visual interest. I ensure color harmony with surrounding décor.
Two tone makeovers work beautifully in farmhouse or transitional spaces. They feel balanced, fresh, and thoughtfully styled.
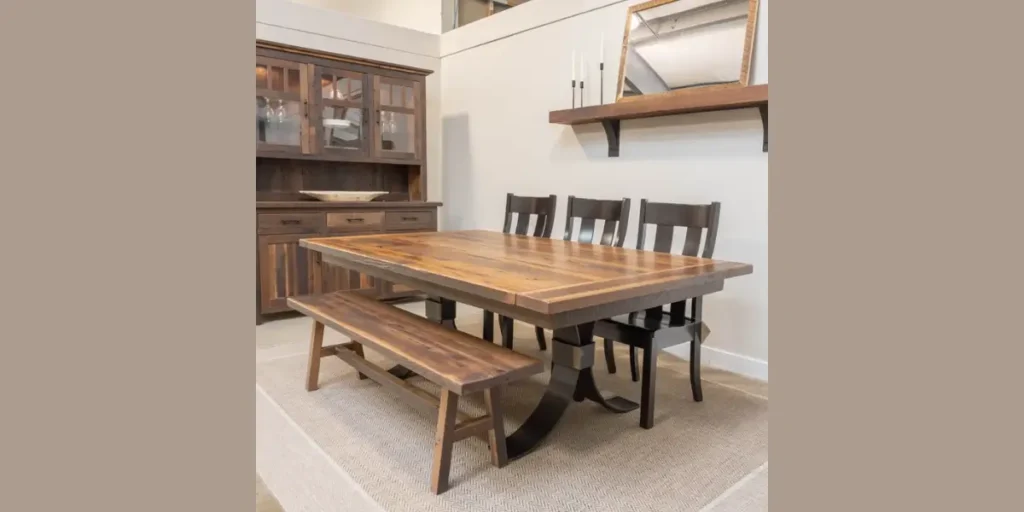
4. Replace the Table Legs for a Modern Silhouette
Changing the legs can alter the entire table profile. I often swap bulky bases for sleek metal or tapered wooden legs to modernize the design.
This upgrade requires careful measurement and secure installation. Stability remains a priority.
Replacing legs provides a cost effective transformation. It shifts the style dramatically without modifying the tabletop itself.
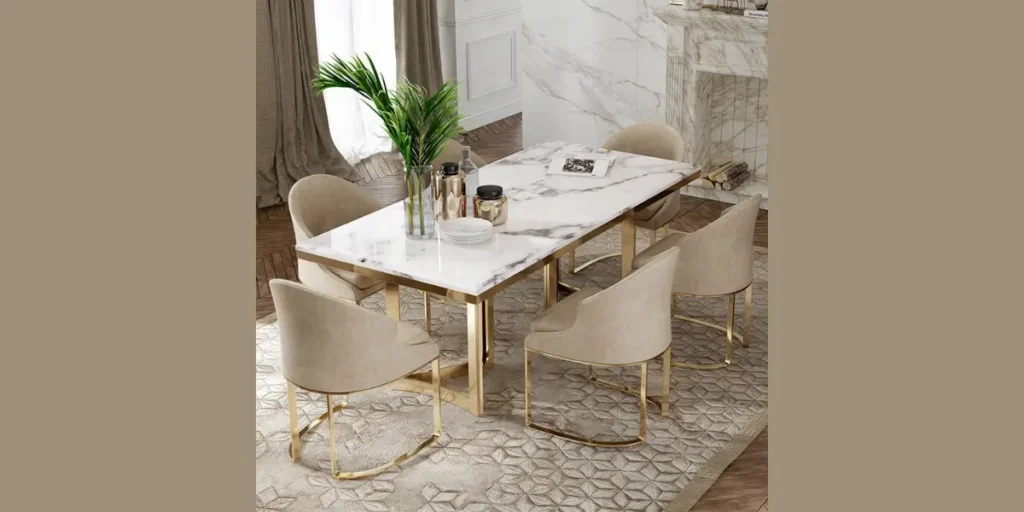
5. Install a Marble Effect Overlay
Adding a marble effect overlay gives the table a refined appearance. I use high quality laminate or faux marble finishes for a polished look.
This method works well when the original surface shows heavy wear. Proper alignment ensures seamless edges.
The result feels elegant and contemporary. It elevates the dining space while remaining budget conscious.
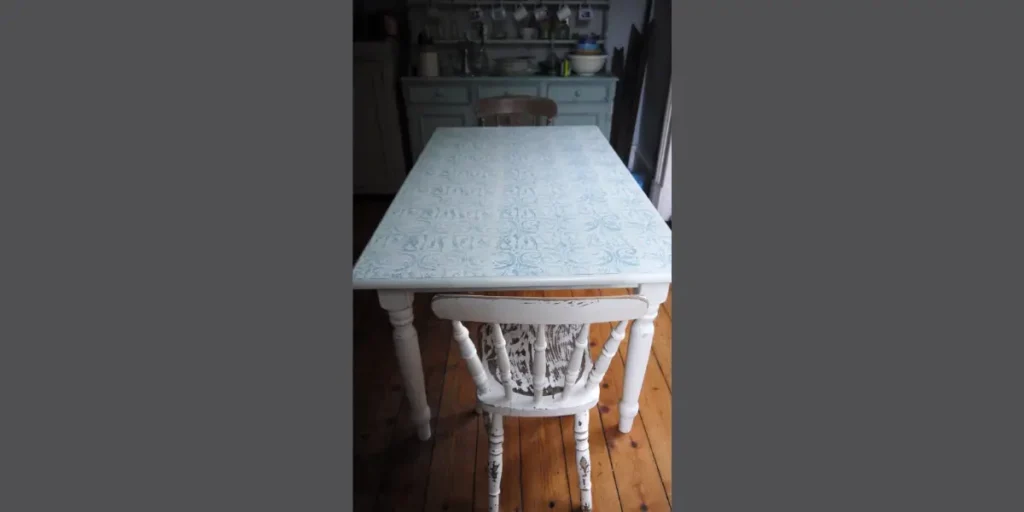
6. Apply a Distressed Rustic Finish
A distressed finish introduces texture and charm. I layer paint lightly and sand edges to reveal subtle variations beneath.
This technique adds character without excessive aging. I control the level of distressing to avoid overpowering the design.
It suits farmhouse and cozy interiors beautifully. The finish feels authentic and warm while masking minor imperfections.
7. Add Decorative Stencil or Inlay Patterns
Stenciling or subtle inlay details create custom artistry. I carefully select geometric or floral motifs that complement the room’s theme.
Precision matters during application. I secure the stencil firmly and apply thin paint layers for crisp results.
This makeover turns a simple table into a statement piece. It introduces personality without altering the structure.
8. Protect with a Custom Glass Top Cover
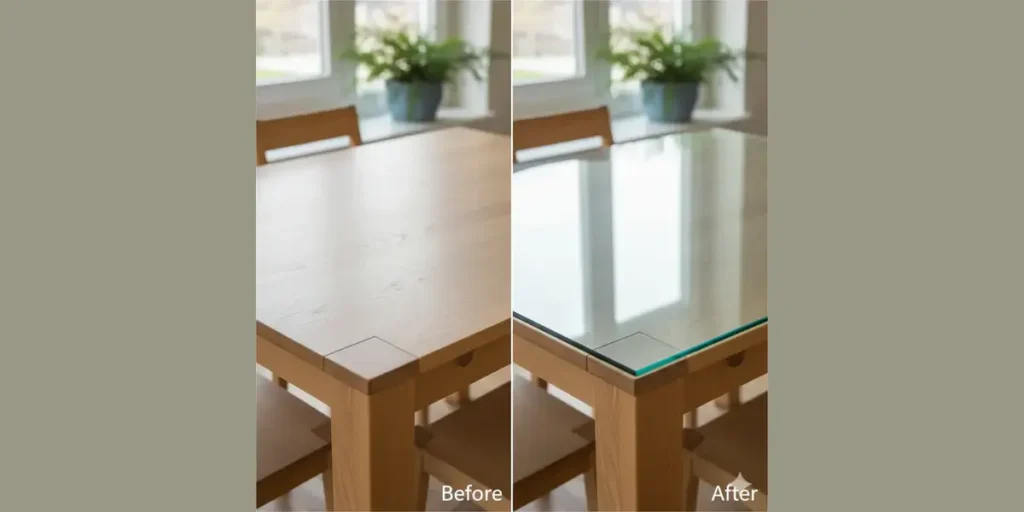
A glass top cover refreshes the appearance while protecting the surface. I choose tempered glass for durability and safety.
This addition preserves the table from scratches and spills. It also adds a sleek modern touch.
The glass layer enhances longevity without changing the original design. It works especially well for frequently used dining spaces.
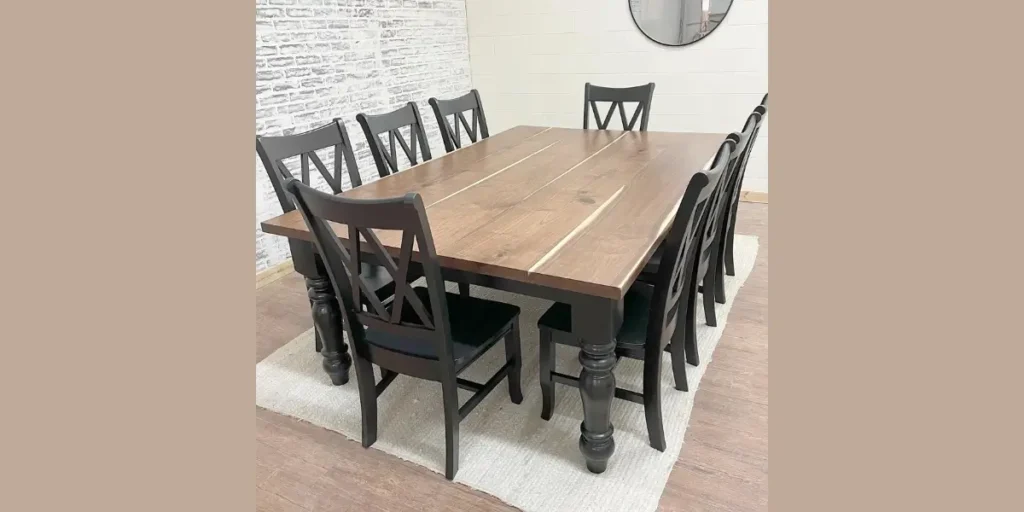
9. Convert to an Extendable Design
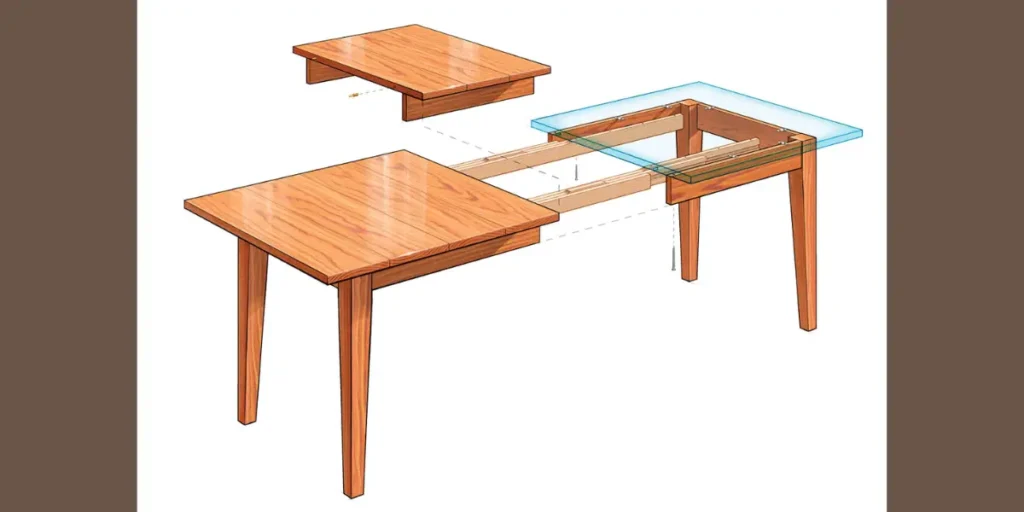
Adding extension leaves improves functionality. I incorporate hidden panels or detachable sections to increase seating capacity.
This modification requires careful carpentry to maintain structural strength. I ensure the extension mechanism operates smoothly.
The result increases flexibility. It allows the table to adapt to larger gatherings without sacrificing everyday practicality.
10. Upgrade Seating to Transform the Look
Sometimes the table remains solid, but the surrounding chairs feel outdated. I often replace seating with upholstered or mixed material options to refresh the entire setup.
Coordinating fabrics and finishes enhances visual cohesion. I ensure chair height aligns properly with the table.
This simple change can dramatically elevate the dining area. It updates the aesthetic without altering the table itself.
Planning Your Dining Table Makeover
Before starting any makeover, I always assess the table’s structure and overall condition. A strong frame allows you to focus on surface improvements without worrying about stability. Proper planning prevents costly mistakes and ensures long lasting results.
I also consider how the updated table will fit within the existing dining room style. A makeover should enhance harmony rather than create visual conflict. With careful preparation, even simple changes can deliver a refined and cohesive transformation.
Inspect Structural Stability
The first step involves checking joints, screws, and support beams. I tighten loose connections and repair weak areas before making cosmetic changes.
A stable foundation guarantees safety and longevity. Ignoring structure can compromise the entire makeover effort.
Choose the Right Finish for Your Lifestyle
Finish selection depends heavily on daily usage. I recommend durable sealants for families with children or frequent gatherings.
Matte and satin finishes conceal minor scratches better than high gloss surfaces. Selecting wisely ensures the table remains attractive over time.
Measure Carefully Before Modifications
Precise measurements prevent alignment issues, especially when replacing legs or adding overlays. I always double check dimensions before purchasing materials.
Accurate planning minimizes waste and ensures smooth installation. It also maintains the table’s structural integrity.
Test Paint or Stain Samples
Before committing to a color, I apply small test patches. Lighting conditions can alter how a shade appears throughout the day.
Testing allows adjustments before full application. This step protects against costly repainting or refinishing errors.
Consider Long Term Maintenance
I evaluate how much upkeep the chosen finish will require. Some surfaces demand regular conditioning, while others need minimal care.
Understanding maintenance expectations helps preserve the makeover’s appearance and prevents premature wear.
Conclusion
A dining table makeover can completely redefine the atmosphere of your space without the expense of replacing furniture.
I always see the table as the heart of the dining room, so even subtle updates can create meaningful visual impact.
Whether you choose to refinish the wood, apply a bold paint color, upgrade the legs, or improve functionality, thoughtful planning makes all the difference.
The key lies in balancing aesthetics with durability so the transformation lasts. With the right approach, your dining table can feel modern, refreshed, and perfectly aligned with your evolving interior style.
FAQs
Refinishing veneer requires caution because sanding too deeply can damage the thin surface layer. I recommend light sanding and repainting rather than aggressive stripping for veneer tables.
I prefer high quality furniture paint combined with a durable polyurethane topcoat. This combination resists scratches and daily wear while maintaining a smooth finish.
Replacing legs can be straightforward if the attachment points are accessible. I always ensure the new legs match the table’s weight capacity and are installed securely for stability.
Using placemats, coasters, and protective pads under décor prevents scratches and heat damage. Regular cleaning with a soft cloth maintains the surface without harsh chemicals.