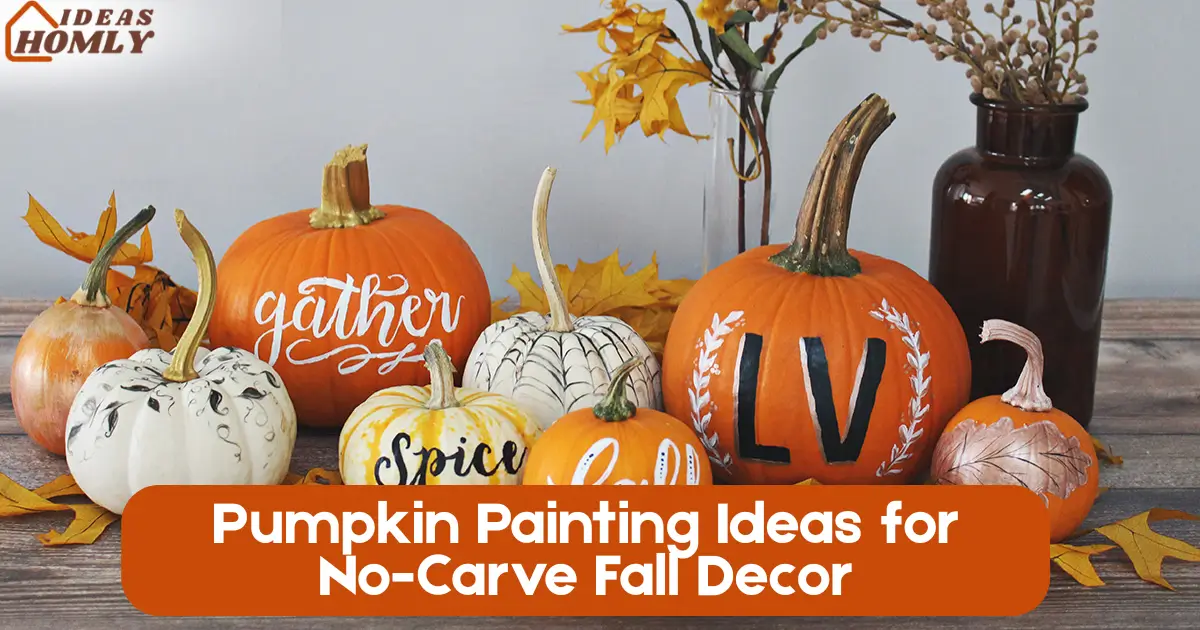
Pumpkin painting ideas for no-carve fall décor have taken over autumn decorating because they’re mess-free, reusable, and stylish. I love how paint can instantly turn a basic pumpkin into something that feels custom-made.
Whether you want a chic centerpiece or a playful front porch display, these no-carve designs make it easy to join in the seasonal fun without scooping out seeds.
Below are some of my favorite approaches that balance creativity with simplicity. You’ll notice many of these work on both real and faux pumpkins, which means you can even reuse them for years.
1. Terrazzo Speckles on a Matte Base
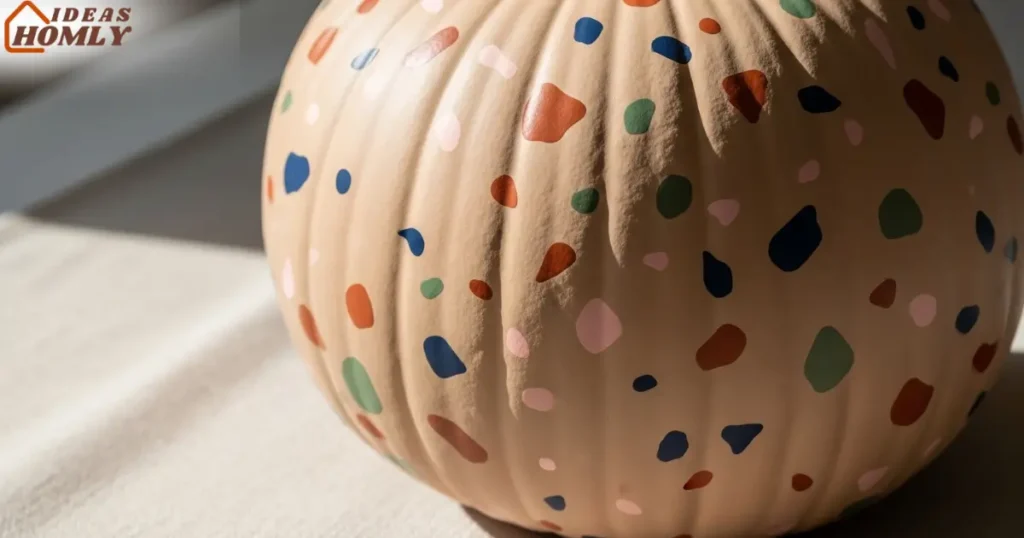
Terrazzo-inspired pumpkins look modern and artsy without much effort. What I love about this look is that it pairs perfectly with minimalist fall tablescapes.
The scattered speckled pattern creates texture and makes even small pumpkins look unique.
How to achieve it:
Start with a matte base coat like white, beige, or soft gray. Once dry, flick or brush small irregular shapes in colors such as terracotta, blush, navy, or green. A simple detail brush works best for creating organic terrazzo specks.
Tools to keep handy:
Acrylic craft paints, detail brushes, and painter’s palette paper are all you really need. For extra durability, seal with a clear matte spray so the pumpkin lasts longer indoors.

Exclusive Pumpkin Painting Kits on Amazon!
Shop top-rated pumpkin painting kits, Halloween Products and more at unbeatable prices. Limited-time offers!
2. Chinoiserie Blue-and-White Florals
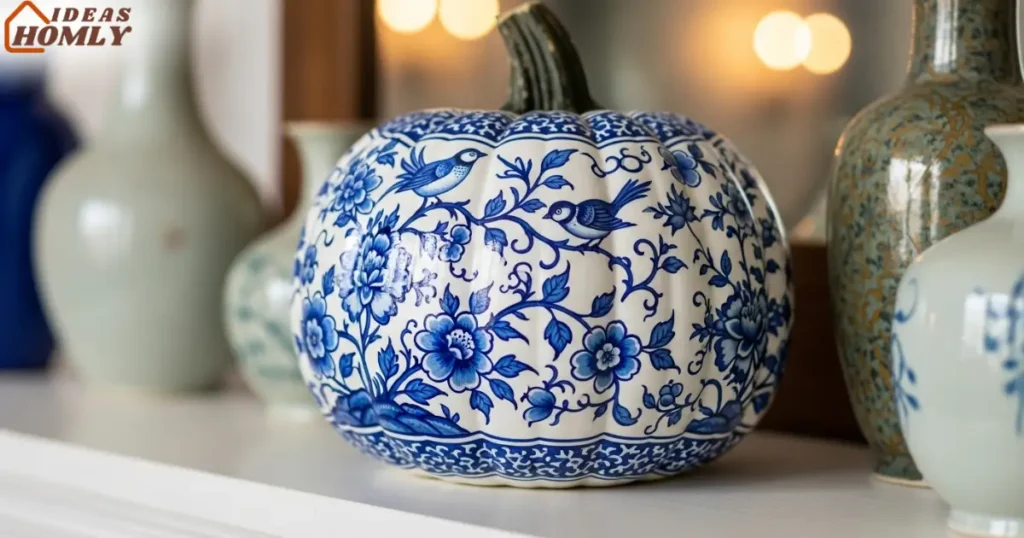
Chinoiserie pumpkins bring elegance into fall décor. I’ve always admired the timeless blue-and-white porcelain look, and painting florals in this style on pumpkins instantly makes them stand out.
Steps to recreate:
Paint the pumpkin with a crisp white base. Once it dries, use cobalt or navy paint to hand-draw floral patterns, vines, or even birds. If freehand feels tricky, stencils with floral outlines work as a guide.
Why it works well:
This design blends beautifully with both modern farmhouse and traditional interiors. It looks especially striking when grouped together on a mantel or entryway table.

Exclusive Halloween Costumes on Amazon!
Shop top-rated halloween costumes and more at unbeatable prices. Limited-time offers!
3. Celestial Moons + Constellations with Gold Leaf Accents
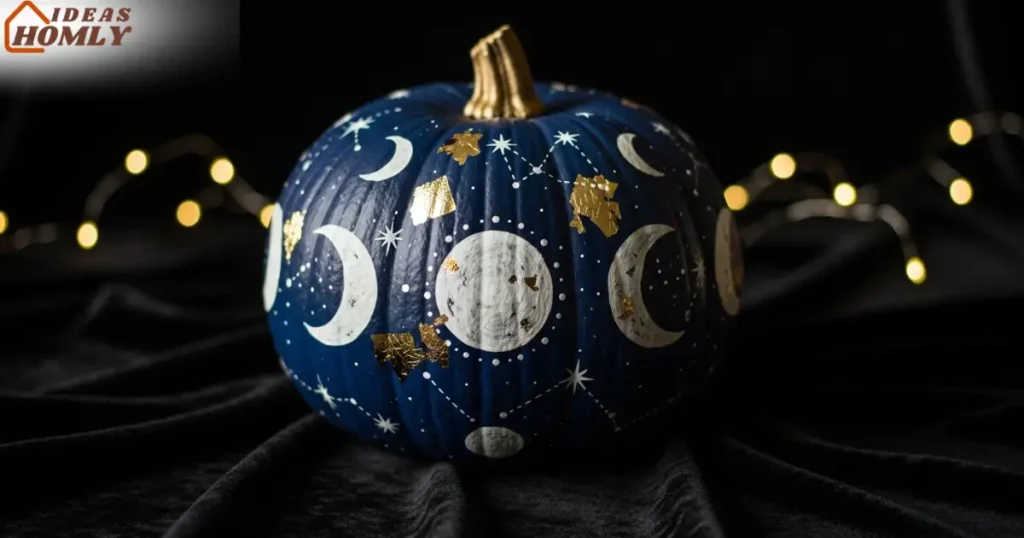
Celestial pumpkins have been trending because they bring a whimsical and slightly mystical vibe. Adding moons, stars, and constellations gives your fall décor a dreamy edge. The gold leaf accents take it up another level by adding shimmer.
How to paint it:
Start with a navy or black base coat. Sketch out moons and star clusters using a white or metallic paint pen. Apply small bits of gold leaf with adhesive to highlight certain areas, giving the pumpkin a glow effect.
Tools you’ll need:
Paint pens, a thin brush, gold leaf sheets, and Mod Podge sealer. I find working on faux pumpkins with this style easier since they can be reused year after year.
4. Dirty-Pour Marble (Acrylic Paint-Pour)
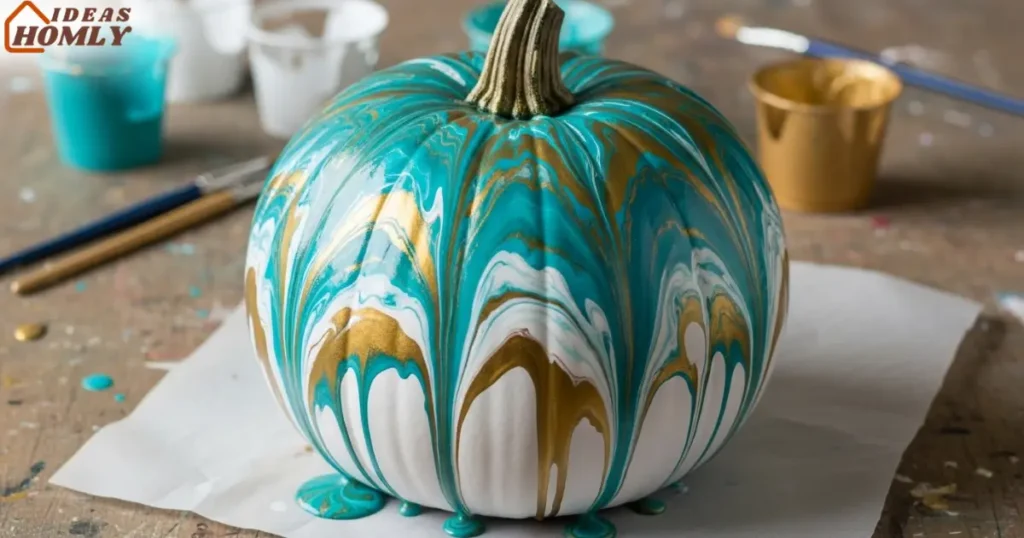
Marbled pumpkins look like abstract art pieces, and the best part is that every single one comes out different. The dirty-pour method, often used in canvas art, translates surprisingly well to pumpkin surfaces.
Process to try:
Choose three to four complementary acrylic paint shades. Pour them into a cup without mixing too much. Flip the cup over the pumpkin, letting the paint drip and swirl naturally. Tilt gently so the marbling spreads evenly.
Why I like it:
This method feels playful and hands-on, but it doesn’t require fine painting skills. Once the paint dries, seal it with gloss spray to enhance the marble effect. A cluster of marbled pumpkins makes a statement centerpiece.

Exclusive Halloween Decorations on Amazon!
Shop top-rated Halloween indoor, outdoor decorations and more at unbeatable prices. Limited-time offers!
5. Buffalo Check or Gingham with Tape Stencils
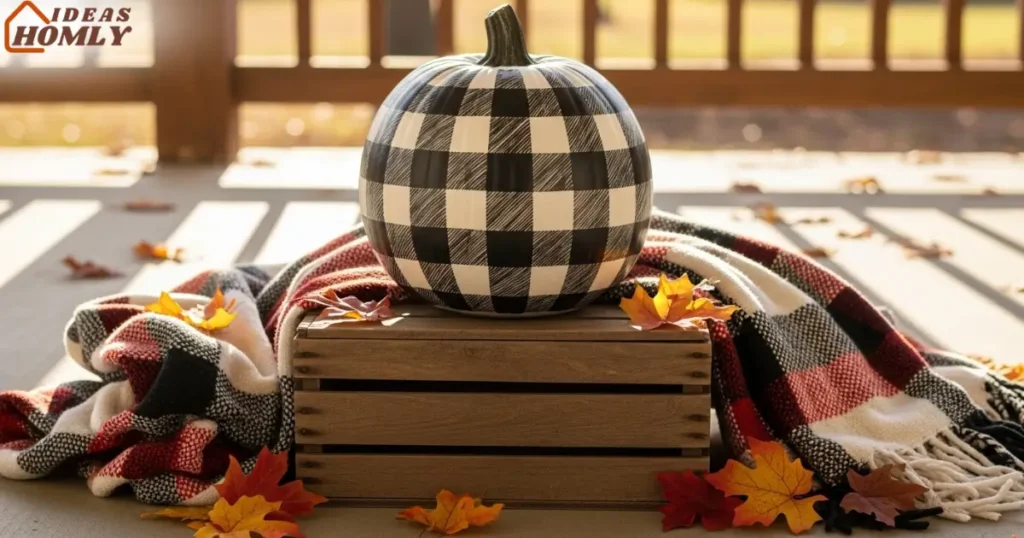
Buffalo check patterns always remind me of cozy fall blankets, so seeing them on pumpkins feels right at home. The bold, checkered design gives off a farmhouse vibe that works beautifully on porches and kitchen tables.
Steps to paint:
Start by painting the pumpkin in a solid light color like white or cream. Once dry, use painter’s tape to section off straight stripes. Paint alternating squares in black or a dark tone to create the check pattern. Carefully peel off the tape for sharp, crisp lines.
Pro tip:
If you love rustic fall décor, group buffalo check pumpkins with plaid throws or wooden crates. The cohesive look feels warm and inviting without looking overdone.
6. Chalkboard Pumpkin You Can Letter on Nightly
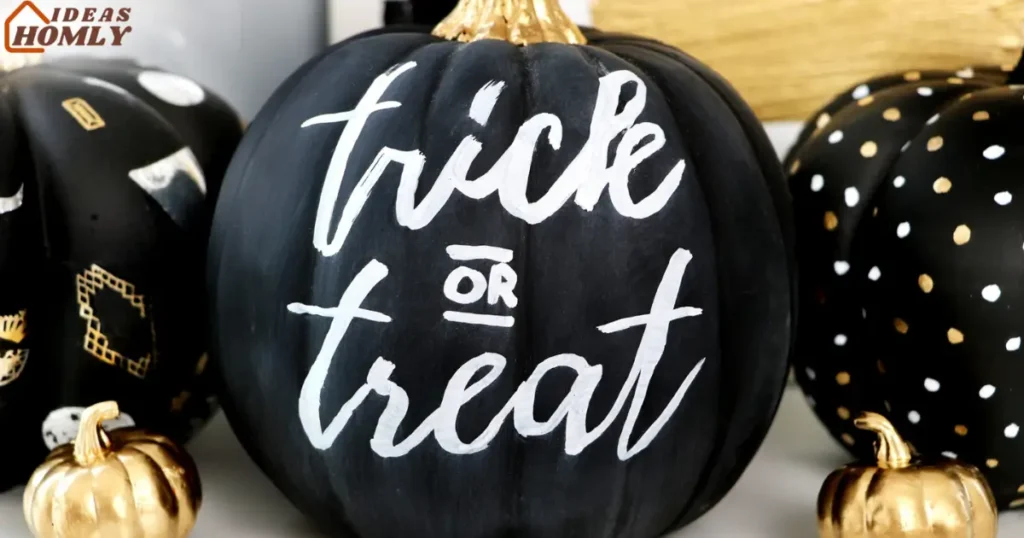
This one is fun because it turns a pumpkin into a reusable canvas. A chalkboard-painted pumpkin lets you change the message every day, whether it’s a festive greeting, spooky countdown, or just a funny doodle.
How to create it:
Coat the pumpkin with chalkboard paint and let it dry completely. Use chalk sticks or chalk markers to write phrases, draw patterns, or even keep score of Halloween games. Erase with a damp cloth and start over whenever you like.
Why I enjoy it:
It’s interactive and perfect for households with kids or for those who love updating their décor often. Plus, faux pumpkins painted this way can be reused year after year, saving time and money.
7. Ombré Metallic Fade (Dark to Light)
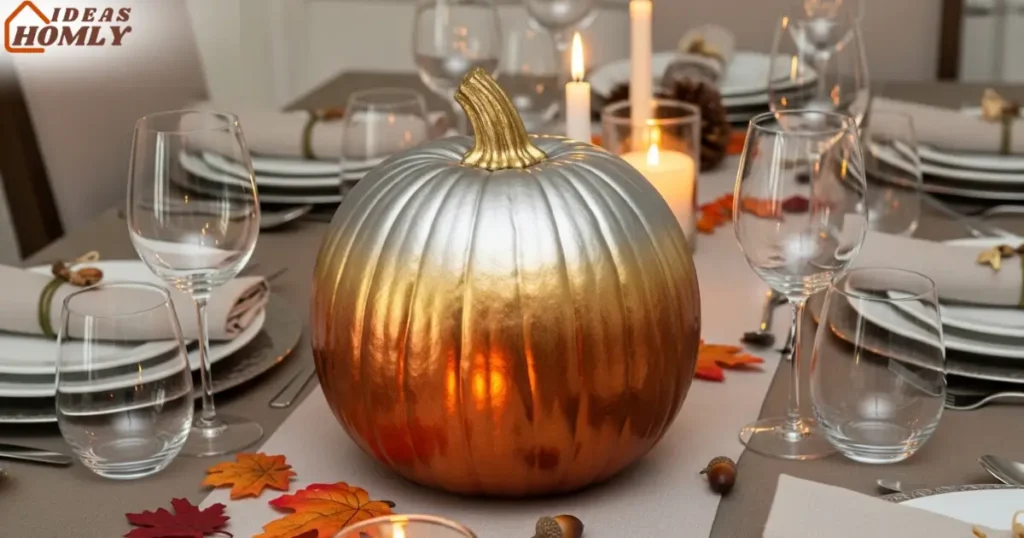
Ombré effects are always striking, and when paired with metallics, they give pumpkins a luxe, high-end look. I love how the gradual fade catches the light and makes the pumpkin shimmer from different angles.
How to do it:
Pick two or three metallic shades, such as copper, gold, and silver. Spray or hand-paint the darkest shade at the bottom, blending upward into lighter tones. Use a sponge brush or blending spray technique to soften the transitions.
Best use cases:
These look stunning as a centerpiece for holiday dinners. They also make great outdoor accents when paired with string lights, creating a subtle glow at night.
8. Hydro-Dipped Swirl Effect
Hydro-dipping gives pumpkins a funky, almost psychedelic vibe. The swirling colors are unpredictable, which makes each pumpkin one-of-a-kind.
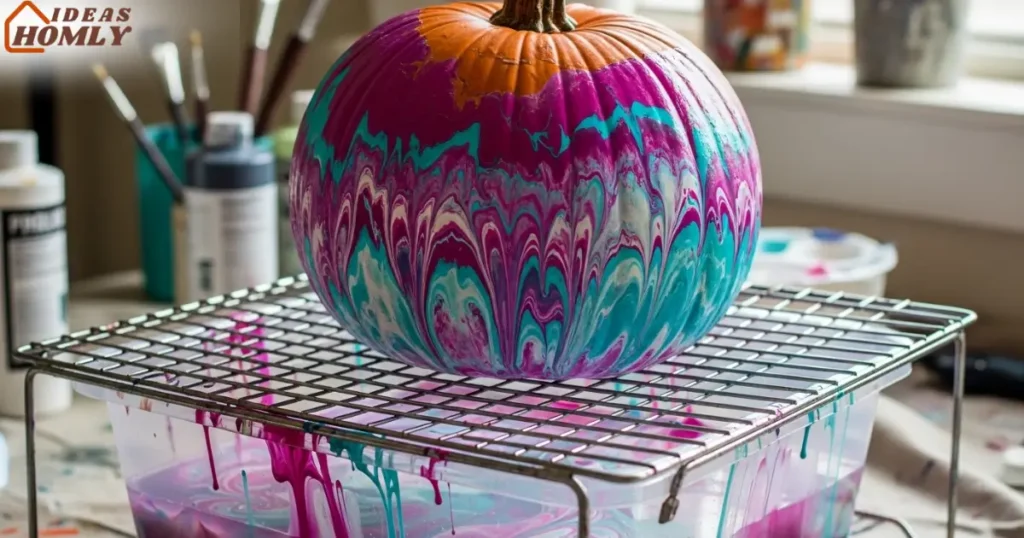
How to achieve it:
Fill a tub with lukewarm water and drizzle nail polish or hydro-dip paint onto the surface. Swirl gently with a stick, then dip the pumpkin slowly into the water. As you lift it, the paint clings in mesmerizing patterns.
Why it’s fun:
This technique feels more like an experiment than a project, and the results never look the same twice. I like pairing hydro-dipped pumpkins with simple solid-colored ones to balance the busy design.
9. Pressed-Flower Decoupage with Mod Podge
Pressed flowers on pumpkins create a soft, romantic look. I like this idea because it blends the feeling of autumn with a touch of spring. It’s also a great way to repurpose flowers that might otherwise go to waste.
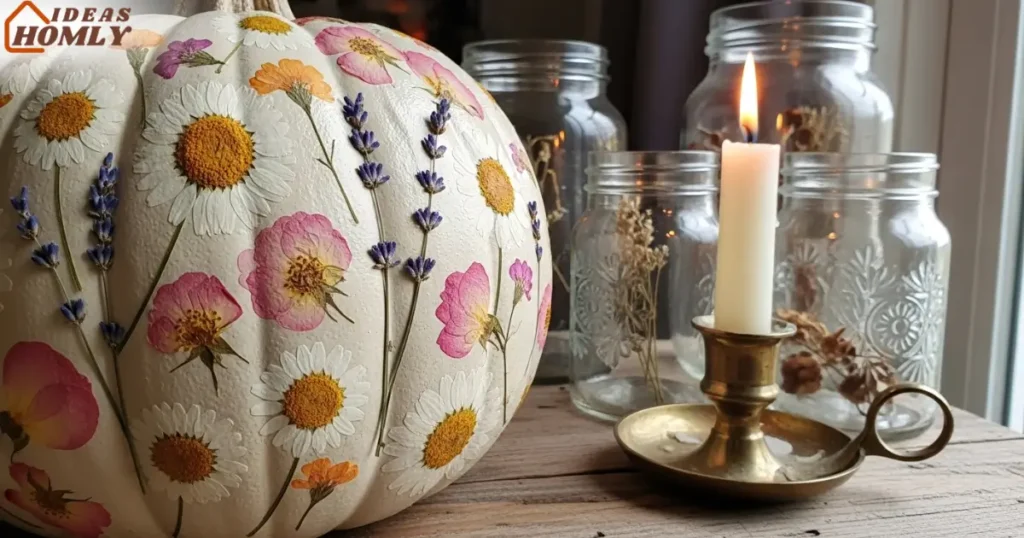
How to do it:
Paint the pumpkin in a neutral shade first. Once it’s dry, arrange pressed flowers across the surface and seal them using Mod Podge or a clear-drying glue. Smooth gently with a brush to avoid air bubbles.
Why it stands out:
The mix of natural petals with the smooth pumpkin surface feels fresh and original. These look especially pretty indoors, styled alongside candles and vintage glass jars.
10. Neon Drip Art with Squeeze Bottles
If you want bold and playful décor, neon drip art is perfect. The dripping paint effect feels spontaneous, like street art meeting fall traditions. I’ve seen kids get a kick out of this one too.
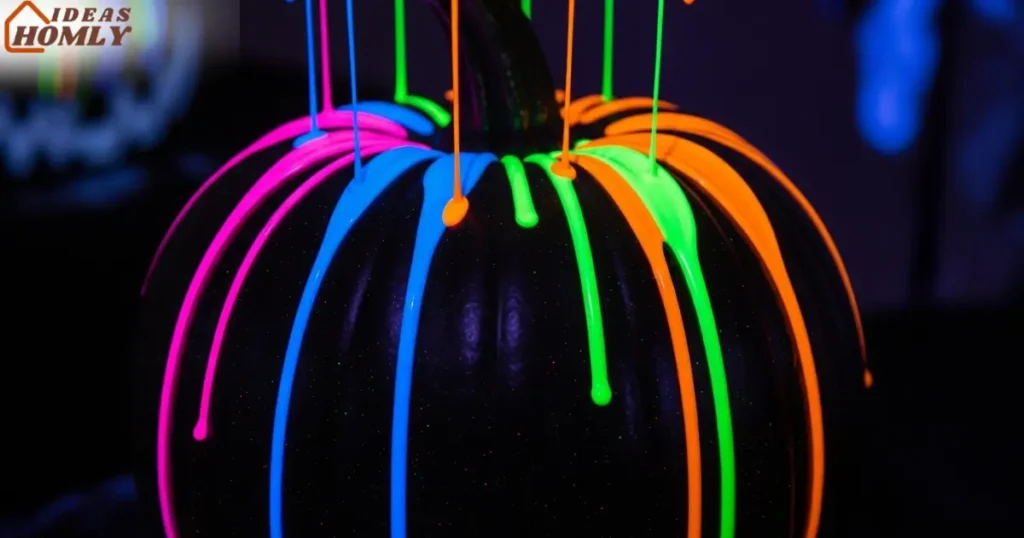
Steps to create:
Start with a dark pumpkin base, like black or deep navy. Use squeeze bottles filled with neon acrylic paints and let them drip naturally down the pumpkin. Layer different neon colors for a vibrant effect.
When it shines:
These are showstoppers at Halloween parties or outdoor displays with black lights. They’re loud, fun, and far from your usual autumn décor.
11. Vintage Apothecary “Specimen” Labels
This idea taps into the spooky charm of Halloween. Adding aged apothecary labels to pumpkins makes them feel like they came straight out of an old potion shop.
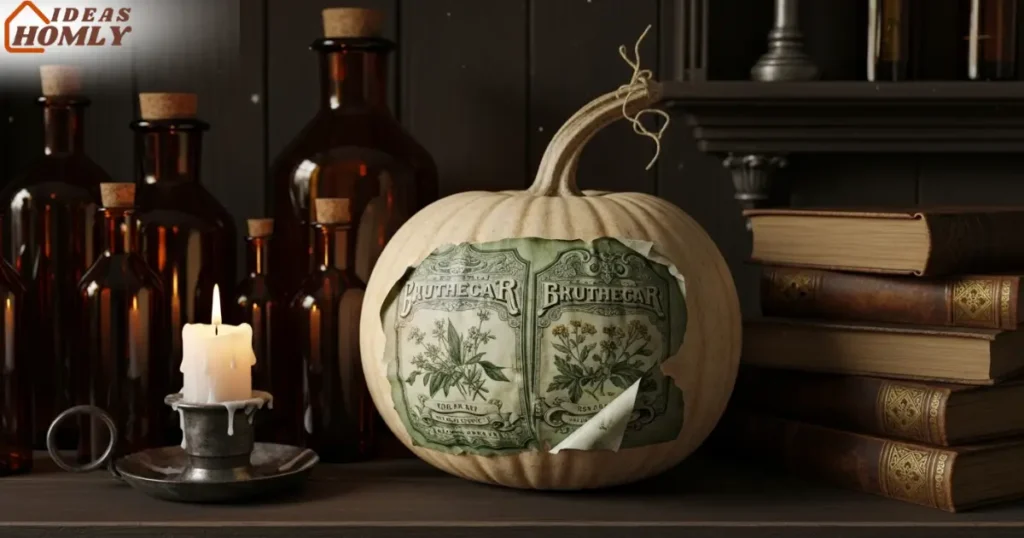
How to recreate it:
Paint pumpkins in muted shades like cream or faded brown. Print vintage-style labels (you can find free printable designs online), then adhere them with Mod Podge. Lightly distress the edges with tea staining or sandpaper for an authentic look.
Why it’s great:
They fit perfectly into gothic or Halloween displays. I like pairing them with old books, candlesticks, and amber glass bottles for a full vintage vibe.
Conclusion
Painting pumpkins instead of carving them gives you endless creative options without the mess. From terrazzo speckles to neon drips, each design can completely shift the mood of your fall décor.
The best part is how versatile these ideas are; some look elegant, others playful, and many can be reused year after year.
If you’ve ever felt limited to carving, these no-carve pumpkin painting ideas open up a whole new way to decorate. Whether you want chic indoor pieces or bold outdoor displays, there’s a style here that will fit your space.
FAQs
Yes, you can. Just remember real pumpkins eventually spoil, so sealing them with a clear spray helps extend their life. Faux pumpkins, on the other hand, last for years and are easier for detailed designs.
Acrylic paint is the most reliable choice. It dries quickly, sticks well, and comes in endless colors. For larger areas, spray paint can save time, while paint pens are great for fine details like constellations or lettering.
For real pumpkins, wiping them down with mild soap and water helps the paint adhere better. For faux pumpkins, a quick dusting is usually enough. Always make sure the surface is completely dry before applying paint.
Sealing with a clear weatherproof spray is key. Keep them in a shaded or covered area to protect from rain and sun damage. Faux pumpkins are the best bet for outdoor longevity since they won’t rot or mold.

