Every Halloween, I find myself staring at a pumpkin and wondering where to start. Complex designs look amazing, but sometimes, I just want something simple that still gets people saying, “Wow, that’s cute.”
That’s exactly why I put together this list of simple pumpkin carving ideas that are perfect for beginners like me and probably you too.
If you’ve ever struggled to get clean lines or ended up with a pumpkin that looked like it fought back, you’ll love these easy designs. They don’t need expert-level skills or fancy tools, just a bit of patience and a sense of fun.
By the end, your porch, living room, or windowsill will look ready for Halloween, even if you’ve never carved a pumpkin before.
Tools & Mindset for Simplicity
Before carving, I always remind myself: simple doesn’t mean boring. The right approach can turn even a basic design into something beautiful. You only need a few essential tools and a relaxed mindset.
Basic Tools You’ll Need:
| Tool | Purpose |
|---|---|
| Pumpkin carving knife or small serrated blade | For controlled cutting |
| Scooping spoon or ice cream scoop | To clean out the inside |
| Drill or hole cutter | For dotted or circular patterns |
| Marker or chalk pencil | To outline your design |
| LED tealights or string lights | Safe and bright lighting |
When I started carving, I used to overcomplicate things, sketching elaborate patterns that looked like they belonged in a museum.
Then I learned the trick: focus on shapes, spacing, and light. Simple shapes glow beautifully once you light them up.
Don’t rush the process. Clean the pumpkin inside thoroughly and thin the walls slightly. It makes carving much easier and prevents accidental cracks.
A helpful mindset tip: treat pumpkin carving like sketching on a temporary canvas. It’s okay if your circles aren’t perfect or if your cat looks more like a raccoon. The charm of homemade pumpkins lies in their little imperfections.
1. Polka-Dot Drill Lantern
This was the first pumpkin design that made me feel like a carving pro. All you need is a drill, a few different-sized bits, and a steady hand.
Start by cleaning and drying your pumpkin. Draw small dots all over it in a pattern—random spots or geometric rows both look great.
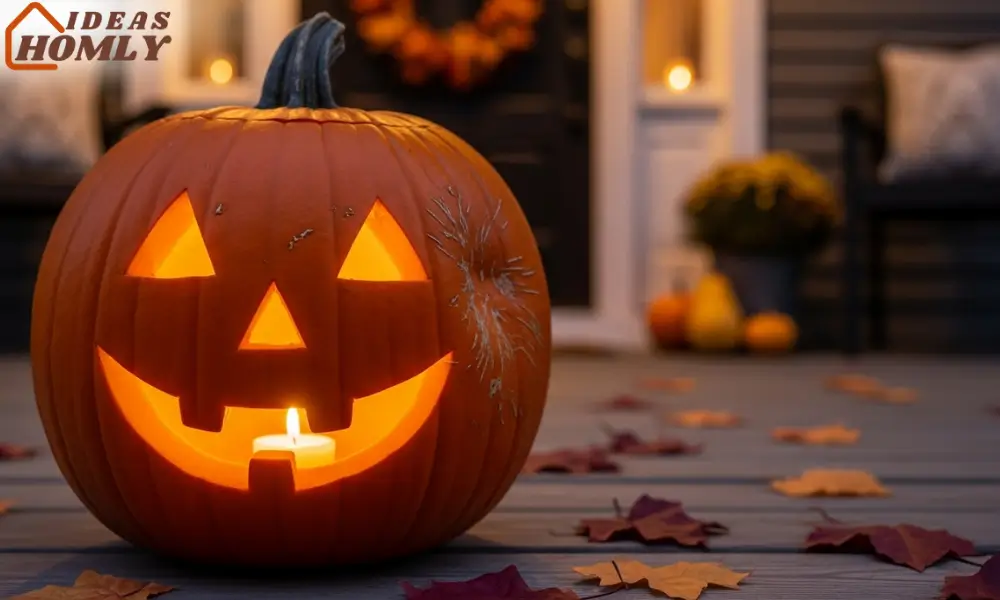
Use the drill to carve out holes following your dots. The result looks like a glowing lantern once you add a light inside.
You can play with the hole sizes to create texture and depth. Larger holes give off stronger light, while smaller ones create a soft, starry glow. If you’re carving multiple pumpkins, try grouping them together for a warm dotted effect on your doorstep.
Tip: Add a touch of color by placing colored LED lights inside. I once used soft orange lights, and it gave the pumpkin a cozy autumn glow that guests loved.
2. Crescent Moon + Stars
I’ve always been fascinated by moonlight pumpkins; they look magical but are surprisingly easy to make.
To create a crescent moon and star pattern, sketch a large moon on the front of your pumpkin using chalk. Add a few scattered stars around it.

Carve out the moon and the stars carefully with a small serrated knife or an X-Acto tool for precise edges. The key here is balance: leave enough pumpkin surface untouched so your design doesn’t collapse.
When you light it up, the glow looks stunning, especially in darker spaces. You can enhance the moon’s texture by scraping the pumpkin skin lightly instead of cutting all the way through, this gives a layered, glowing effect like the real moon.
If you want a little creative twist, sprinkle some glitter or metallic paint around the carvings. Under candlelight, it sparkles just enough to feel whimsical, not tacky.
Lighting Effects for Moon Pumpkins
| Lighting Type | Effect |
|---|---|
| Warm LED Light | Soft, golden glow |
| White Candle | Natural, flickering look |
| Fairy Lights | Starry sky effect |
3. Peekaboo Cat
This one’s a crowd favorite, especially for cat lovers. The idea is to make it look like a cat peeking through a pumpkin window. You’ll need a medium-sized pumpkin with a smooth surface and a cat silhouette stencil (you can easily find free ones online).
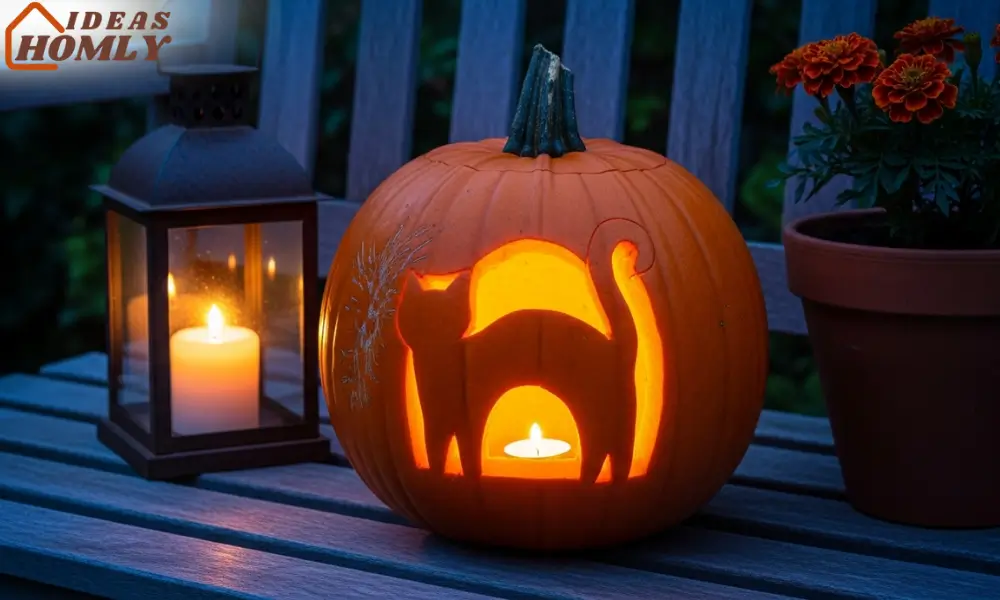
Tape the stencil on the pumpkin and trace around it with a marker. Then carve out just the space around the cat, not the cat itself. The cat shape remains solid, while the open background lets the light shine through, creating that peekaboo effect.
I like to add little whiskers or tiny ear notches for character. If you want to get fancy, paint the cat shape black for more contrast. It’s simple, fast, and looks like you spent way more time on it than you actually did.
A funny thing happened last Halloween, I left my peekaboo cat pumpkin on the porch, and a real stray cat sat next to it for photos. The internet loved it. Proof that even the simplest carvings can steal the show.
4. Smiley Gradient
Whenever I carve pumpkins with kids around or when I’m just too tired for complicated designs, the smiley gradient is my go-to idea. It’s cheerful, fast, and looks adorable once lit up. Think of it as the pumpkin version of a pixelated emoji face.
Start by sketching three or four different-sized smiley faces across your pumpkin, from large at the top to small at the bottom.

Each smiley can have slightly different expressions, a grin, a wink, or a surprised “O” mouth. It’s simple but gives a fun, animated look.
Use a small carving knife for the eyes and mouth shapes. The “gradient” effect comes from varying the depth of your cuts: carve some areas all the way through and others just scrape the surface. The deeper cuts glow brightly, while the shallow ones create a soft halo.
When you place a light inside, you’ll see a glowing row of happy faces fading from bright to dim, it’s pure Halloween serotonin.
If you’re using battery-operated fairy lights, try wrapping them around inside the pumpkin for an even glow. It turns a simple carving into a lively centerpiece for your porch or dining table.
5. Leaf Window
This one is for those who like nature-inspired themes and want something seasonal but calm. I call it the “leaf window” because it looks like you’re peering through autumn leaves into a soft light.
Find a few real leaves of different shapes and sizes; maple, oak, or whatever’s available near you. Press them flat for a few minutes, then trace their outlines onto your pumpkin with a marker.
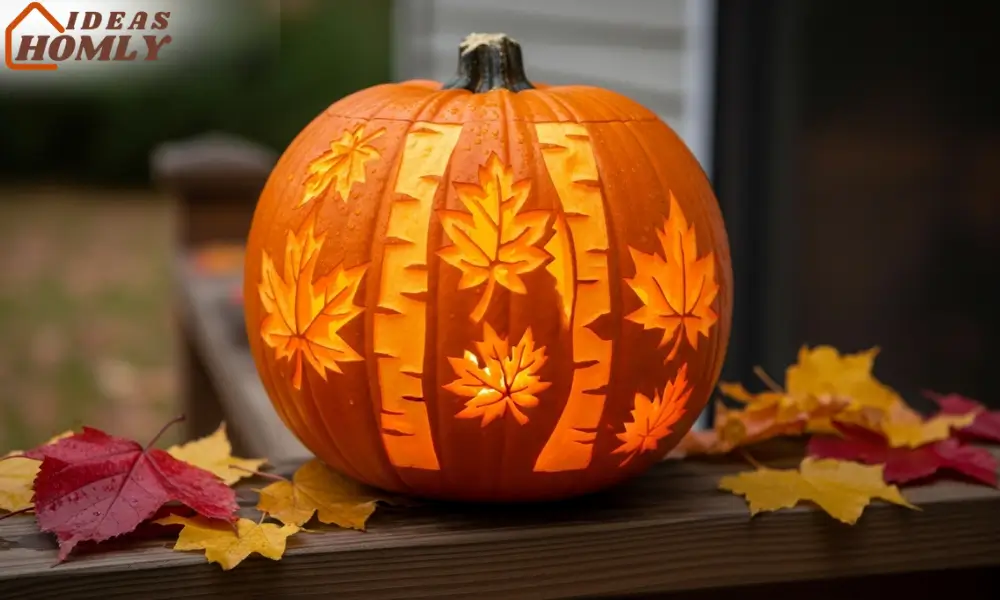
Now carve only the inside sections of the leaf shapes, not the edges. You can use a loop tool or a small linoleum cutter to gently shave the pumpkin skin. Don’t cut all the way through; you’re just removing the orange surface. This lets the light softly filter through, showing off the delicate leaf veins.
I once made three of these and lined them on my window sill, it looked like a glowing forest from the street. If you want to take it up a notch, you can even spray-paint the surface gold or copper for a rustic touch. It reflects light beautifully.
Here’s a quick comparison to help you choose your lighting style for leaf pumpkins:
| Lighting Type | Ideal For | Look |
|---|---|---|
| LED candle | Indoor settings | Warm & cozy |
| String lights | Window display | Even glow |
| Real candle | Outdoor décor | Natural flicker |
6. Monogram Rope-Light
If you want something personal and modern, this one is perfect. It’s a mix of carving and creative lighting that works great for house entrances or family gatherings.
Draw your initial or a short word (like “BOO” or your family name’s first letter) in big block letters on your pumpkin. Instead of carving it out entirely, use a thin drill bit or a pushpin tool to punch small holes along the outline.
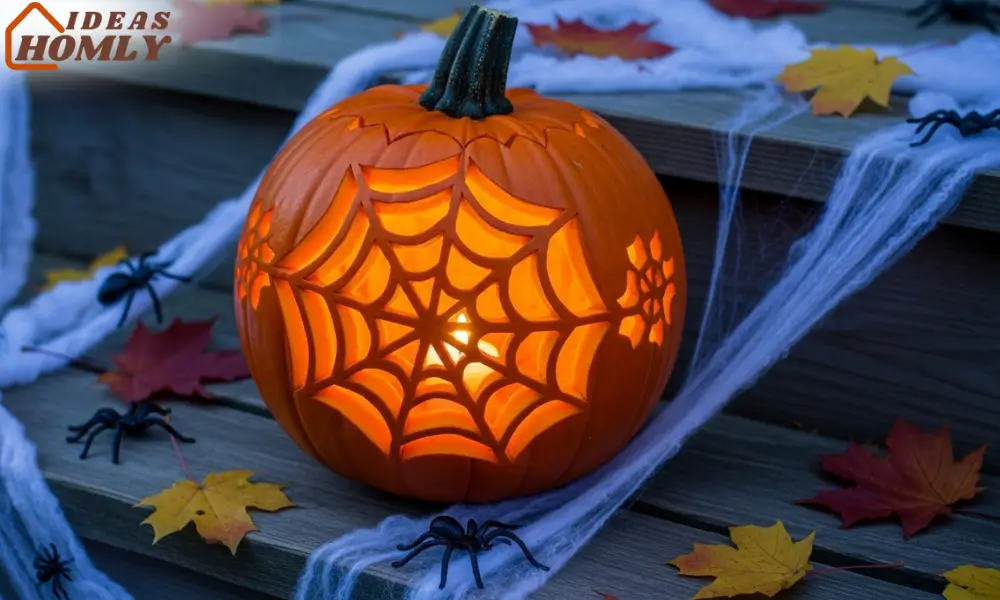
Once done, insert a flexible rope light or mini string light through those holes from the inside. You can secure it using tape or clips. The result looks sleek and professional, almost like a glowing neon sign but made from a pumpkin.
If you’re feeling creative, use colored rope lights or even add a few dots around the letter to make it stand out. It’s one of those designs that looks fancy but takes less than an hour to make.
A pro tip from last year: I paired my “H” monogram pumpkin (for Homly Ideas, of course) with two smaller plain pumpkins beside it. The trio made a perfect porch display that drew compliments from every passerby.
Combining Simple with Complex
Sometimes, I mix one simple design with a more detailed one for variety. For example, a polka-dot pumpkin next to a peekaboo cat creates contrast between playful and spooky. It also looks great in photos, especially for Pinterest or social posts.
You can experiment with layering overlays, like carving a moon and then adding polka dots around it to create a glowing sky effect.
If you’re into color, add a splash of paint or metallic markers on the carved parts. Soft gold or black accents make your pumpkins stand out without looking overdone.
Here are a few easy combo ideas you can try:
- Polka + Face: A dotted pumpkin with a smiling face hidden among the holes.
- Moon + Cat: A crescent moon background with a cat silhouette in front.
- Leaf + Initial: A carved leaf window design with a glowing letter in the center.
Combining designs keeps your display interesting while still being beginner-friendly. The trick is to keep one pumpkin simple and let another one carry the detailed charm.
Display Arrangements
How you display your pumpkins can make as much difference as the carving itself. I’ve learned that lighting, height, and grouping create instant visual appeal, even if the carvings are simple.
Here’s what usually works best for me:
| Display Type | Where It Works Best | Why It Looks Good |
|---|---|---|
| Clustered group (3-5 pumpkins) | Porch corners or stairs | Creates a cozy, layered effect |
| Linear lineup | Windowsill or walkway | Looks organized and modern |
| Mixed sizes | Outdoor garden or patio | Adds natural balance and texture |
If you’re displaying outdoors, try mixing carved pumpkins with uncarved ones. A few gourds or mini pumpkins can break up the pattern and make it look more intentional.
Adding some autumn leaves, hay, or string lights around the base ties everything together beautifully.
For indoor displays, I often use battery candles instead of real ones, they last longer and don’t create heat. You can even place carved pumpkins on wooden trays or glass stands for an elevated, clean look.
Conclusion
I’ve tried plenty of pumpkin carving projects over the years, some turned out great, others ended up looking like they needed therapy but the simple designs always get the best reactions.
There’s something refreshing about clean, minimal carvings that still bring the Halloween vibe.
Whether it’s a dotted lantern that glows like a cozy constellation, a cat peeking through its pumpkin home, or a simple smiley face that makes your porch look welcoming, these easy ideas work every time. The best part? You don’t need to be artistic or have hours to spare.
Simple pumpkin carving is about having fun, not perfection. I always remind myself: even a slightly uneven moon or an off-centered smile adds charm. So grab your tools, pick a pumpkin, and start carving.
By the time the sun sets, you’ll have a glowing masterpiece that feels personal, creative, and most importantly, stress-free.
FAQs
The polka-dot drill lantern is hands-down the easiest. You only need a drill and a few minutes to make perfectly spaced dots. It looks elegant and glows beautifully without needing any artistic skill.
I always scoop out all the pulp, dry the inside, and then rub petroleum jelly or vegetable oil on the cut edges. It keeps the pumpkin from drying out quickly. If it’s warm outside, I even refrigerate mine overnight to help it last through Halloween week.
LEDs are safer and last longer, especially if you’re keeping your pumpkins indoors or around kids. Candles give a nice flicker, but I prefer LED lights for consistent brightness and zero fire risk.
Yes! Mixing simple ideas makes your pumpkin look creative without much effort. For example, pair a crescent moon with polka dots or add a leaf pattern inside a letter monogram. It keeps things interesting while staying beginner-friendly.
I usually compost mine or break it up for garden soil. If you’ve used paint or glitter, remove those sections first. Some people also roast the seeds—just clean, season, and bake them for a tasty fall snack.

