
Dining room table makeover ideas can breathe new life into a space without the cost of replacing furniture. I have worked with many homeowners who underestimated how transformative a simple update can be.
A well planned makeover restores character, improves durability, and aligns the table with your current style. Whether you prefer a painted refresh or a refined wood finish, the right approach makes a dramatic difference.
In this explanation, I will share practical inspiration to help you reimagine your dining table and turn it into a polished focal point once again.
Why a Dining Table Makeover Makes a Big Impact
A dining table sits at the center of daily life, so even small updates create noticeable change. I often tell homeowners that refreshing this single piece can shift the entire room’s atmosphere.
Instead of investing in new furniture, a makeover allows customization. You can align color, finish, and texture with your evolving style.
Below are ten practical and creative ways to transform your dining table while preserving its structure and purpose.
1. Classic White Paint Refresh
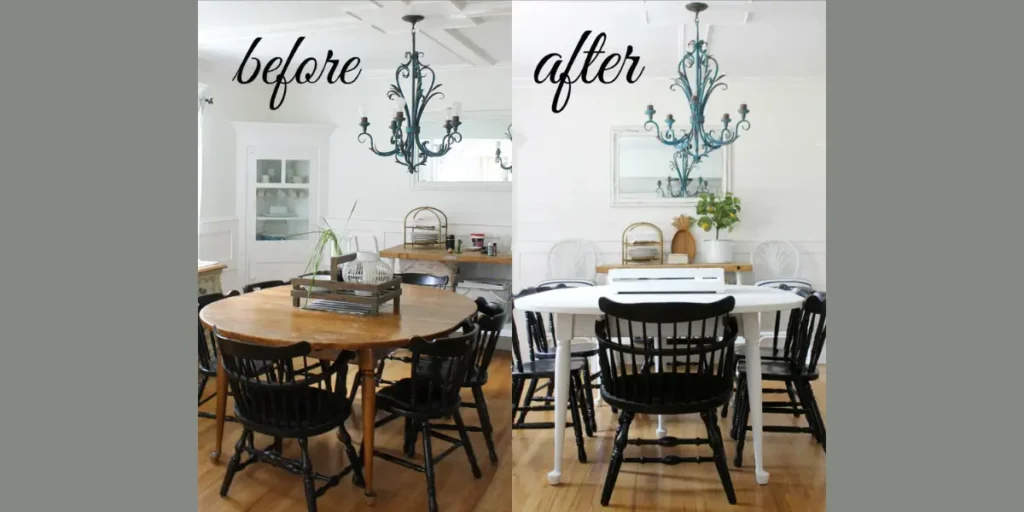
A fresh white paint finish instantly brightens a tired dining table. I begin by sanding the surface thoroughly to remove old varnish and ensure smooth adhesion. Primer creates a clean base and prevents uneven coverage.
I prefer satin or matte finishes because they offer subtle sheen without looking overly glossy. Clean brush strokes and proper drying time are essential for a professional result.
This makeover suits farmhouse and modern interiors alike. It lightens the room visually and gives an older table a refined, updated presence.
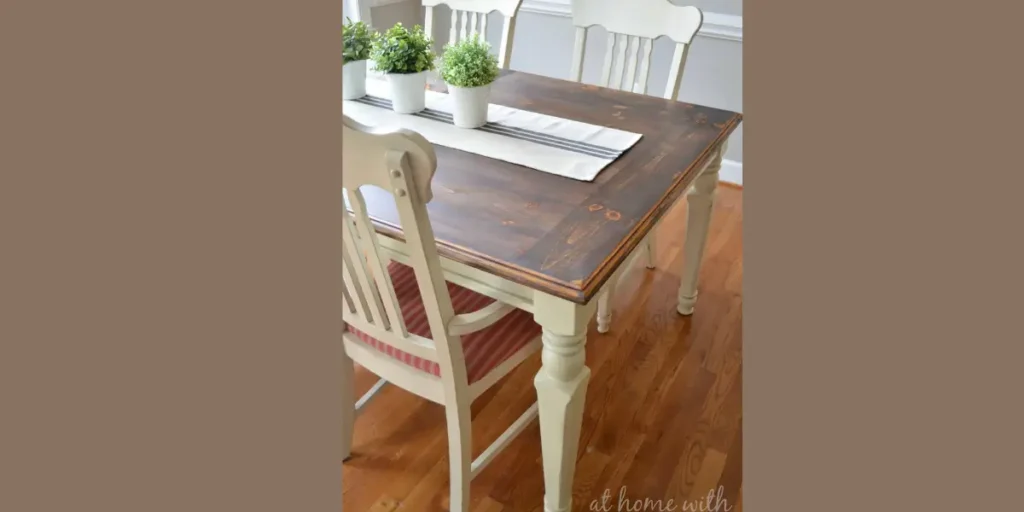
2. Two Tone Paint Design
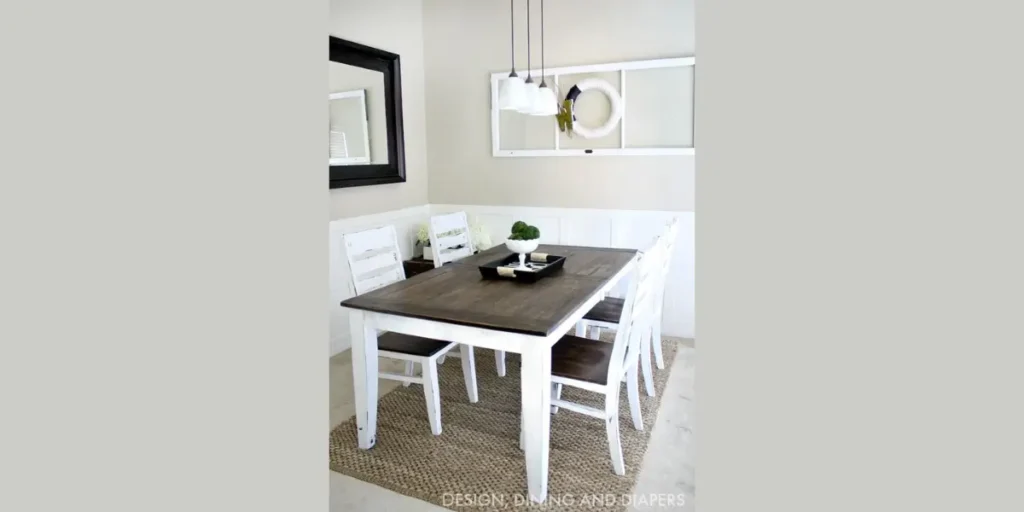
A two tone approach adds depth and contrast. I often paint the base in a bold shade while keeping the tabletop stained in a natural wood finish. This combination highlights structure and craftsmanship.
Careful masking ensures crisp separation between colors. I always choose complementary tones to maintain cohesion within the room.
This design works beautifully in transitional spaces. It modernizes the table without erasing its traditional character.
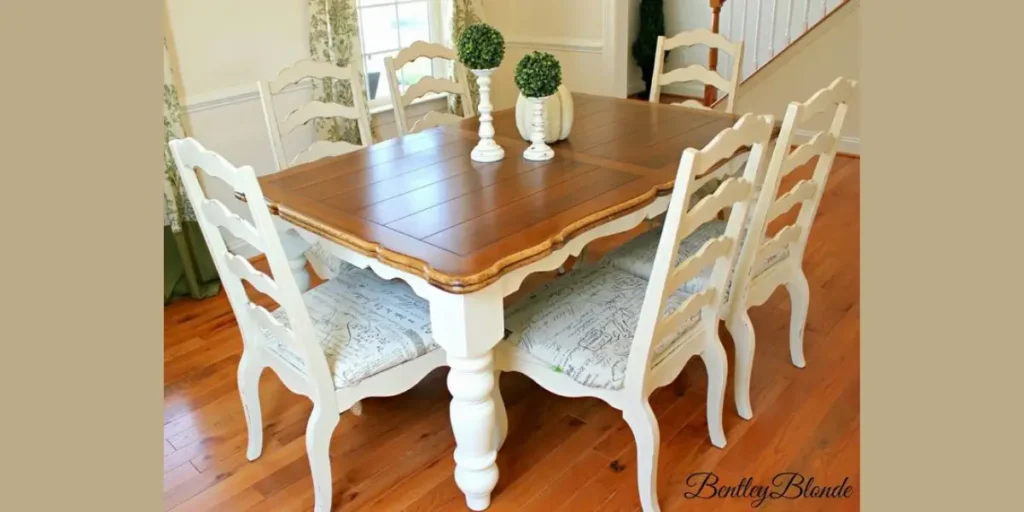
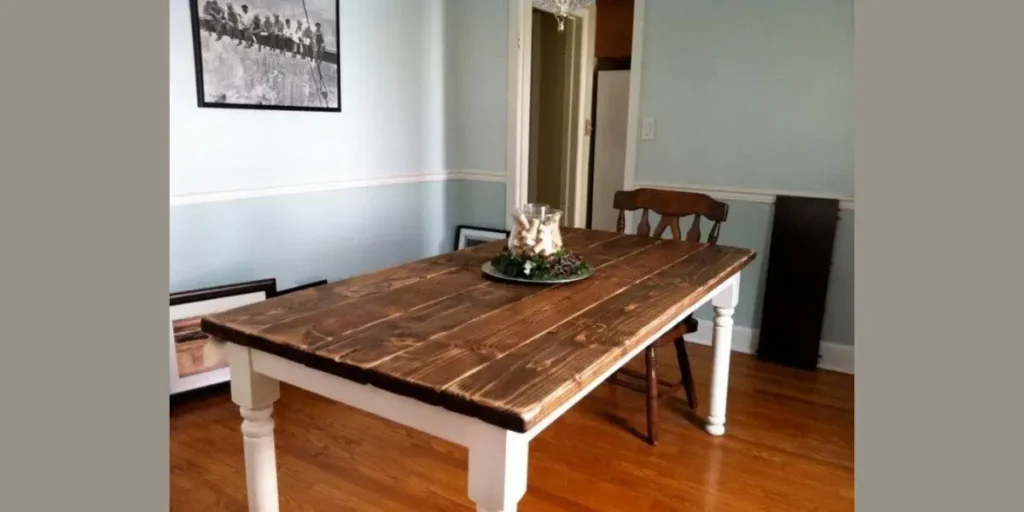
3. Natural Wood Refinishing
Stripping old layers of paint or stain reveals the natural beauty of the wood grain. I use a quality stripper followed by sanding to smooth imperfections. This process restores authenticity.
Once the surface is clean, I apply a fresh stain that enhances depth without overpowering the grain pattern. Sealing protects the finish for long term durability.
Refinishing preserves craftsmanship while modernizing the appearance. It suits homes that value natural warmth and timeless texture.
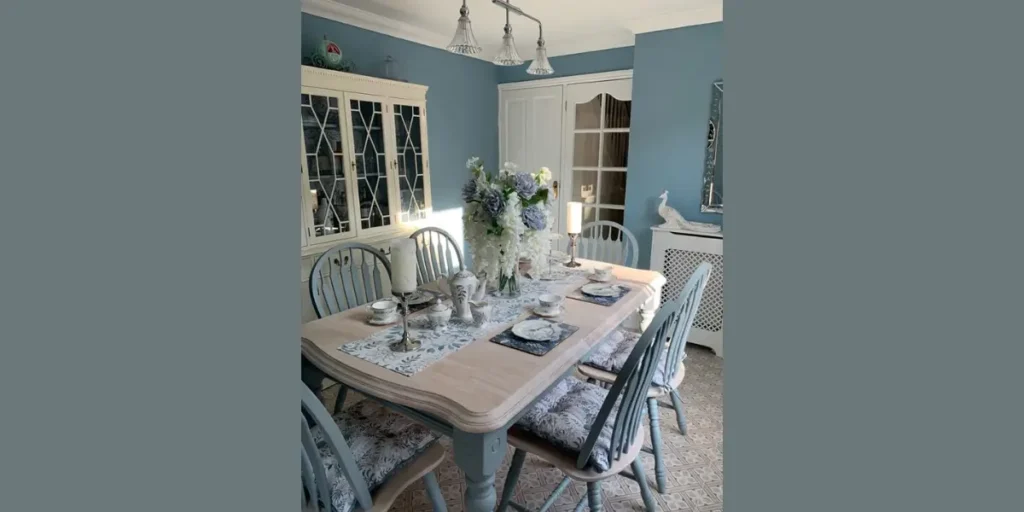
4. Chalk Paint Rustic Makeover
Chalk paint offers a soft, matte texture that feels relaxed and inviting. I apply it with light, even strokes and often use subtle distressing along edges for character.
After drying, I seal the surface with wax or polyurethane to protect against daily wear. The finish feels tactile and visually warm.
This makeover complements farmhouse and vintage inspired interiors. It transforms an ordinary table into a charming centerpiece with personality.
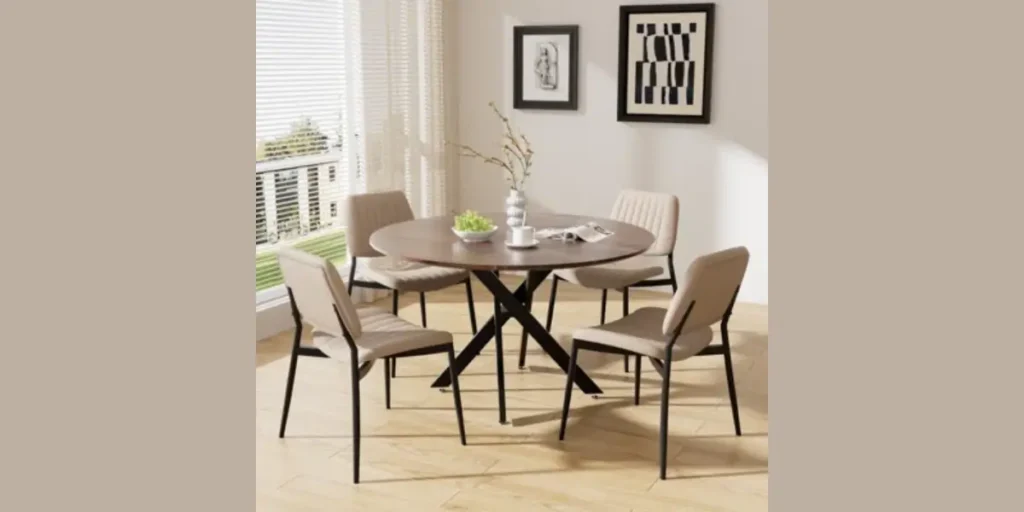
5. Modern Black Statement Finish
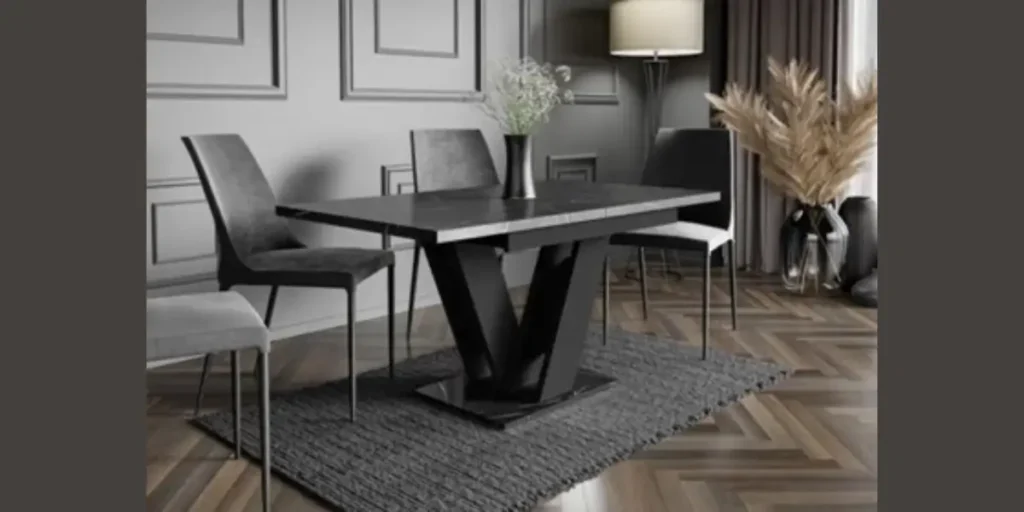
A bold black finish creates dramatic contrast. I prepare the surface carefully to avoid uneven absorption and use multiple thin coats for depth.
Matte or satin black works best in modern interiors. I balance the dark tone with lighter chairs or surrounding décor to prevent heaviness.
This makeover delivers instant sophistication. It anchors the dining space confidently while maintaining clean, contemporary appeal.
6. Marble Contact Paper Upgrade
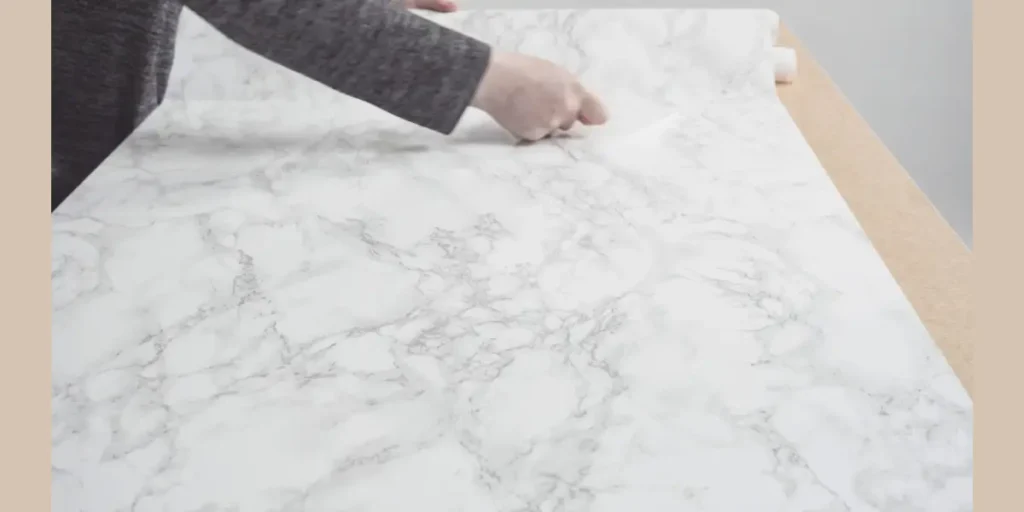
Marble contact paper provides an affordable luxury effect. I carefully measure and smooth the adhesive sheet to eliminate air bubbles. Precision ensures realism.
The faux marble surface pairs well with sleek metal or upholstered seating. Proper alignment of veining enhances authenticity.
This solution works well for renters or quick updates. It introduces elegance without permanent structural changes.
7. Epoxy Resin Gloss Top
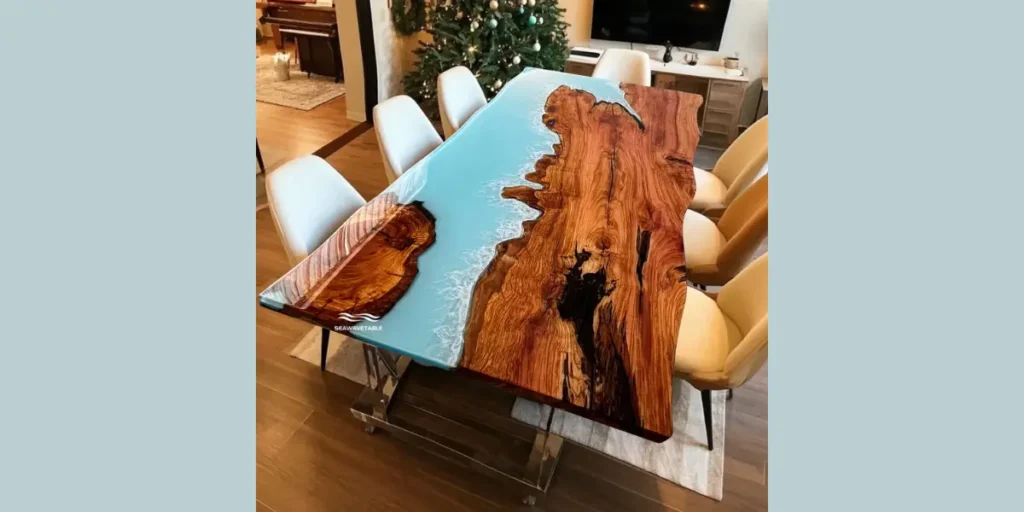
An epoxy resin top adds shine and durability. I mix and pour carefully, ensuring an even coat across the entire surface. Patience prevents imperfections.
The resin deepens wood tones and protects against spills and scratches. Proper curing time is essential for lasting strength.
This technique suits modern and industrial interiors. It creates a high gloss, glass like finish that feels polished and resilient.
8. Distressed Vintage Finish
Distressing techniques introduce aged character. I lightly sand edges and corners to reveal underlying layers or natural wood beneath paint.
Layered paint applications create depth and texture. I seal the finish to protect the intentionally worn look.
This approach works beautifully in rustic or cottage inspired homes. It gives the table a curated, timeworn charm without compromising functionality.
9. Bold Color Pop Makeover
A bold color can redefine a neutral dining space. I often select navy, forest green, or muted teal to create personality without overwhelming the room.
Careful preparation ensures the color appears rich and consistent. I pair vibrant finishes with simple décor for balance.
This makeover expresses creativity confidently. It transforms the table into a focal point that energizes the entire dining area.
10. Upholstered Base Panels
Adding upholstered panels to the base softens the structure visually. I secure fabric neatly using adhesive or tacking methods for a tailored finish.
Textured fabrics such as linen or velvet introduce warmth and subtle luxury. Proportion remains important to avoid excess bulk.
This unique update adds depth and sophistication. It enhances comfort and creates a custom look that feels thoughtfully designed.
How to Plan a Successful Table Makeover
A successful dining table makeover starts with preparation, not paint. I always evaluate the table’s condition, material, and existing finish before deciding on a method.
Solid wood allows for sanding and refinishing, while veneer surfaces require more delicate handling. Proper assessment prevents costly mistakes and ensures long lasting results.
Planning also includes selecting finishes that align with your lifestyle. If the table sees daily use, durability becomes a priority.
I recommend protective sealants and quality materials to maintain both beauty and function. A well planned approach turns a simple refresh into a professional looking transformation.
Preparation and Tools Checklist
Before beginning, gather essential tools such as sandpaper in multiple grits, primer, paint or stain, high quality brushes or rollers, and protective sealant.I always use drop cloths and gloves to maintain a clean and safe workspace.
Surface preparation remains critical. Thorough sanding removes old coatings and creates adhesion.
Cleaning away dust ensures smooth application and prevents uneven texture. Skipping these steps often leads to premature wear or peeling.
Finish Comparison Guide
| Finish Type | Best For | Visual Effect |
|---|---|---|
| Matte Paint | Farmhouse or rustic styles | Soft, understated texture |
| Satin Finish | Modern updates | Subtle, clean sheen |
| Wood Stain | Natural wood restoration | Enhanced grain depth |
| Epoxy Resin | High traffic households | Durable glossy protection |
Choosing the right finish depends on both aesthetic goals and maintenance expectations. I always balance appearance with practicality to ensure the makeover remains attractive over time.
Conclusion
A dining table makeover is more than a cosmetic update; it is an opportunity to redefine the heart of your home.
I have seen how a thoughtful refresh can restore character, improve durability, and align a well loved piece with a new design direction.
Whether you choose paint, stain, or a bold creative finish, preparation and quality materials make all the difference. When executed carefully, a simple transformation can feel custom and intentional.
By investing time in planning and finishing, you can turn an outdated table into a polished focal point that supports everyday living and special gatherings alike.
FAQs
Repainting works best when you want a dramatic color change or modern update. Refinishing suits solid wood tables where the natural grain deserves highlighting. I base the decision on material quality and desired style outcome.
Most projects require two to four days, depending on drying and curing times. Preparation and sealing add to the timeline. I always allow sufficient curing time to ensure durability.
High quality furniture paint or acrylic enamel performs well. I prefer durable, washable finishes that resist scratches and stains. Proper sealing enhances longevity significantly.
Yes, but the surface must be clean, smooth, and dry. I recommend light sanding to improve adhesion. Imperfections underneath may show through thin adhesive sheets.
Yes, when preparation and sealing are done properly. Using quality materials and allowing proper curing time ensures the finish withstands daily use without peeling or fading.